NIKIMAT


Amel Super Maramu 2000
|
Lofrans Tigres Windlass Overhaul Part 31: 16 Pictures from 279 to 294 Reassembly of the shove gipsy, gipsy / chain wheel and gipsy holder |
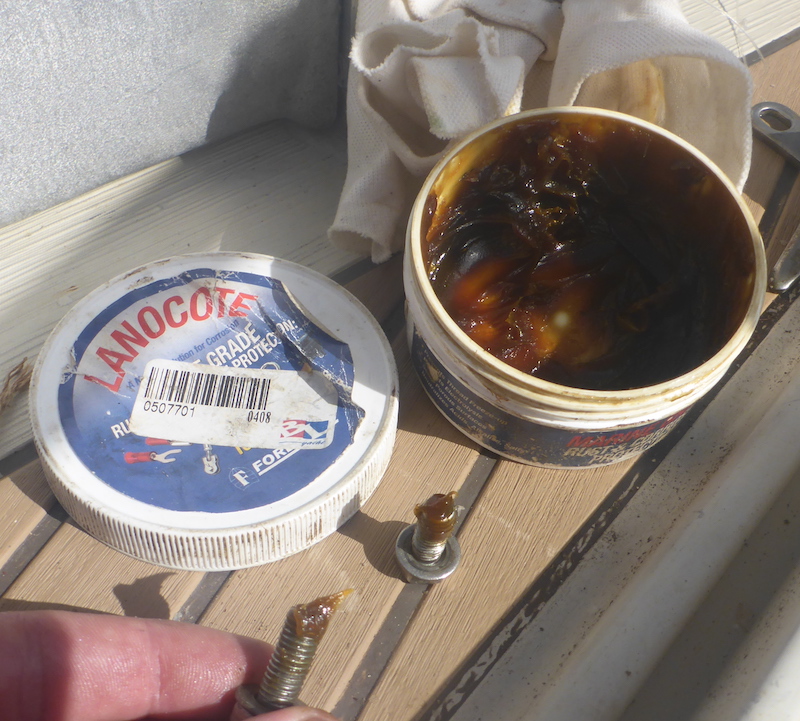
Pictures 279 to 294 are similar to the links below, except for using a different grease and adding an O Ring at the end.
Reassembly of the shove gipsy, gipsy / chain wheel and gipsy holder
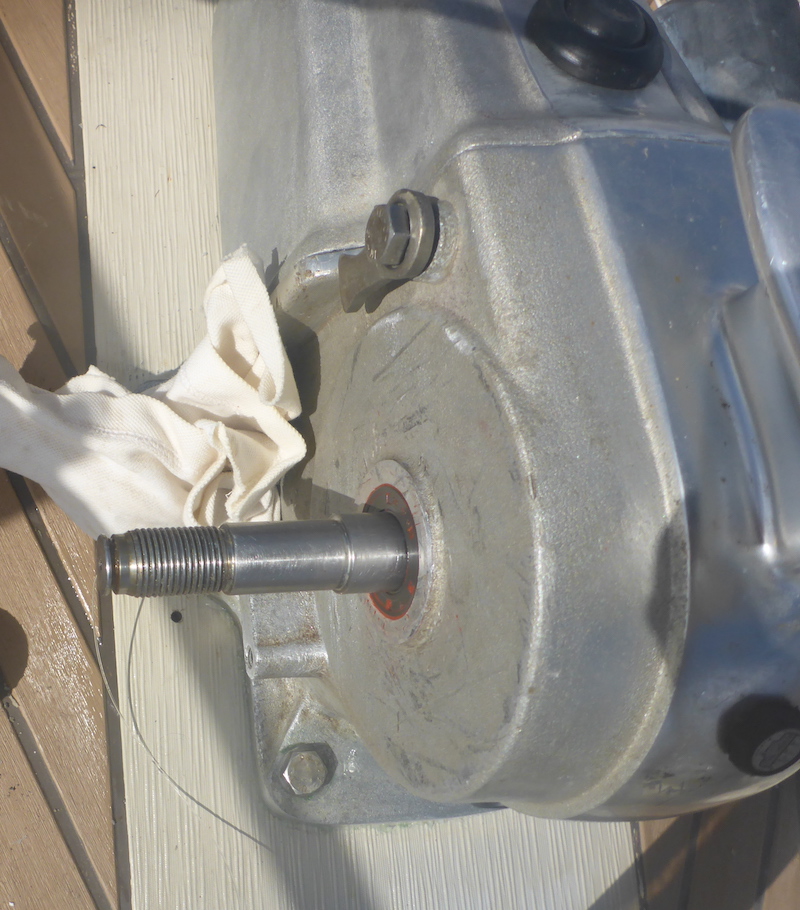
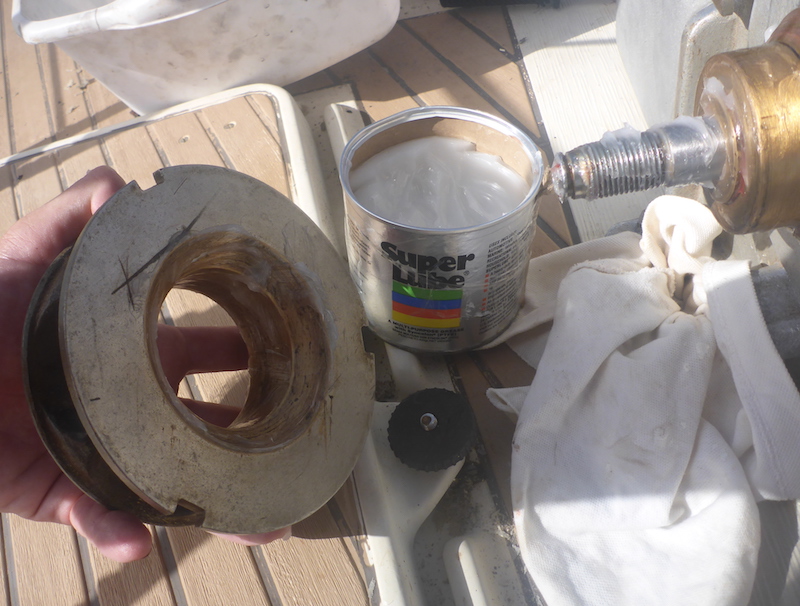
Picture 279
James from Maramu #220 SV Sueno suggests to use the white lithiums because they tend to stain the deck and sails less.
The best white lithium James came across for this application (and winches/turnbuckles as well) is the Vari-prop grease
Picture 280
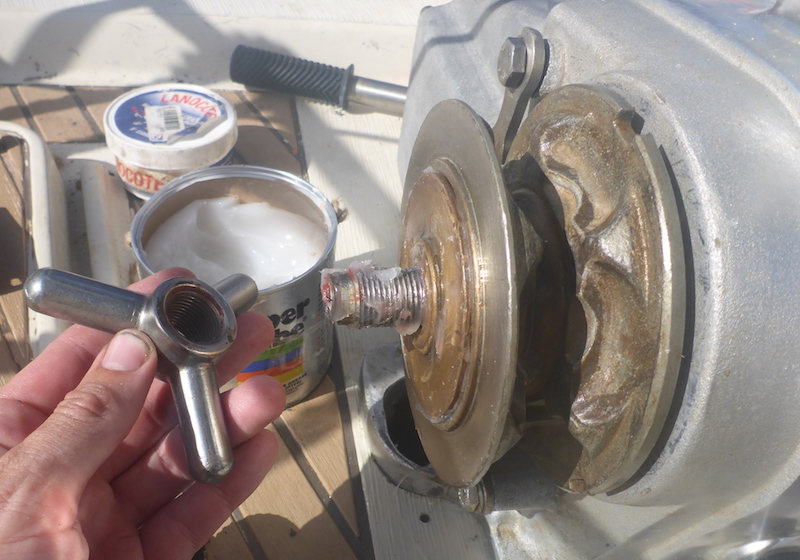
Greasing and adding Key 6x6x30 (Part 209)
Note: the previous time did a better planning to have the key place up
Note: block the chain hole to avoid parts such as keys, blot, etc. to fall in
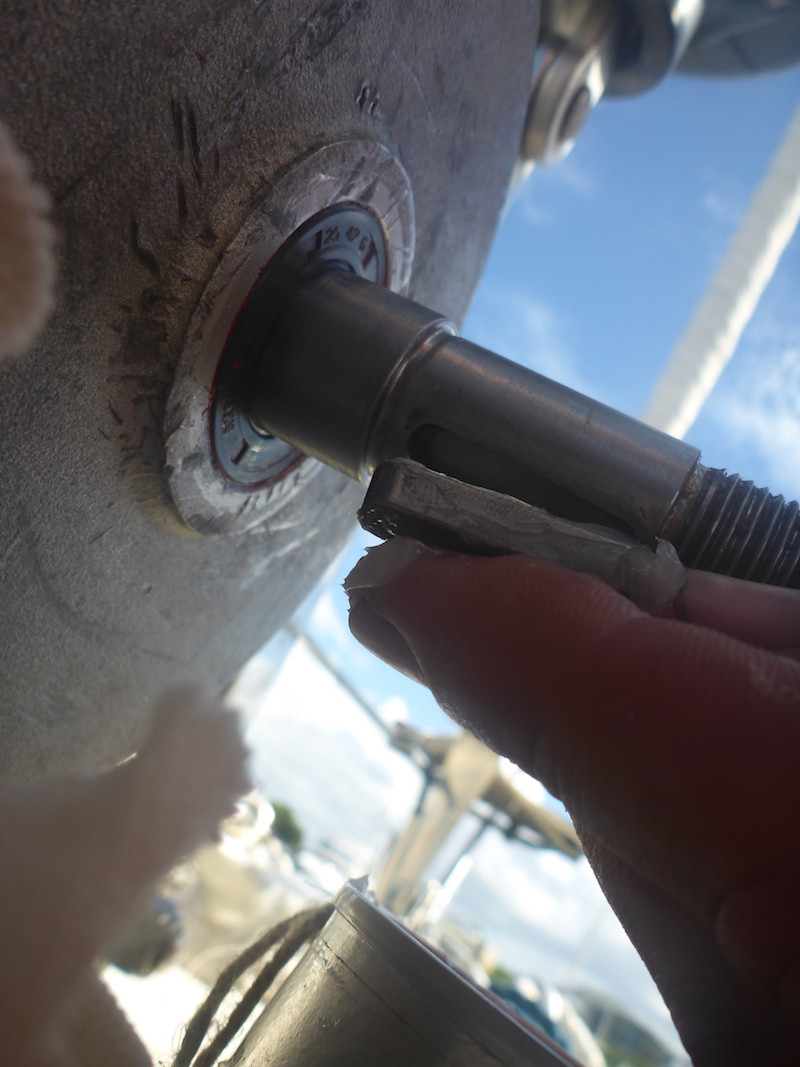
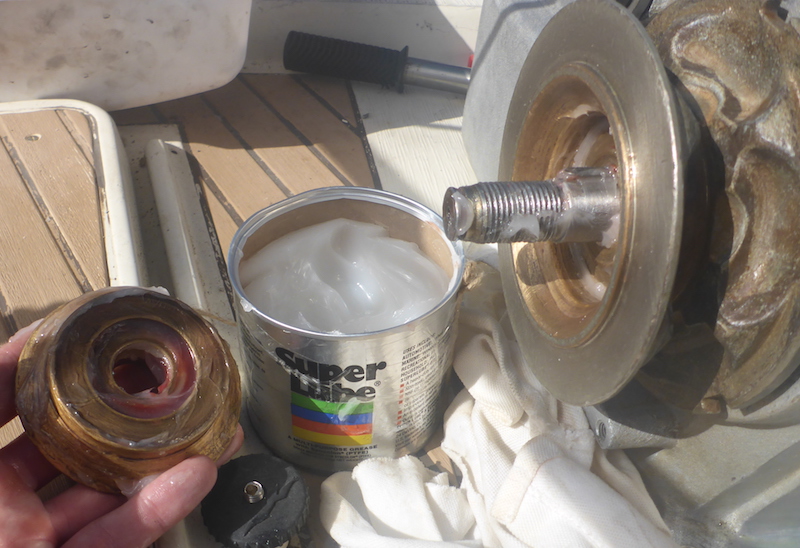
Picture 281
Grease and slide the Inner Clutch cone (Part 277) over the Key 6x6x30 (Part 209)
Picture 282
Now in place
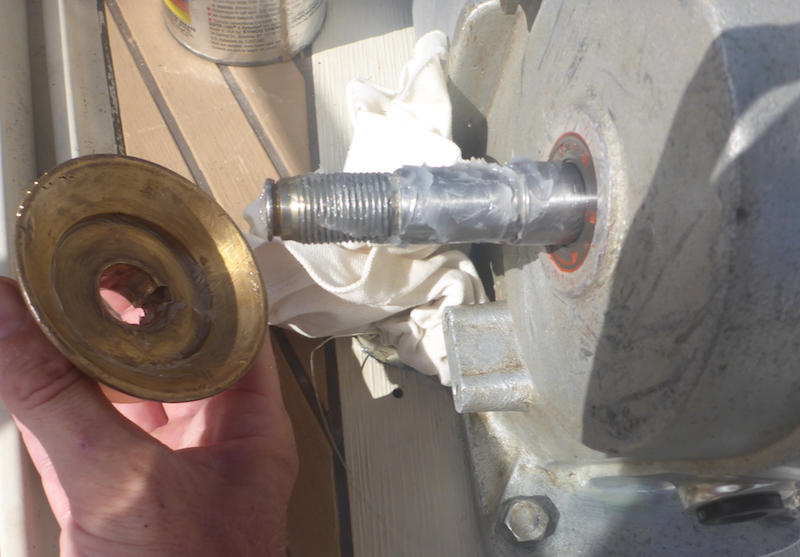
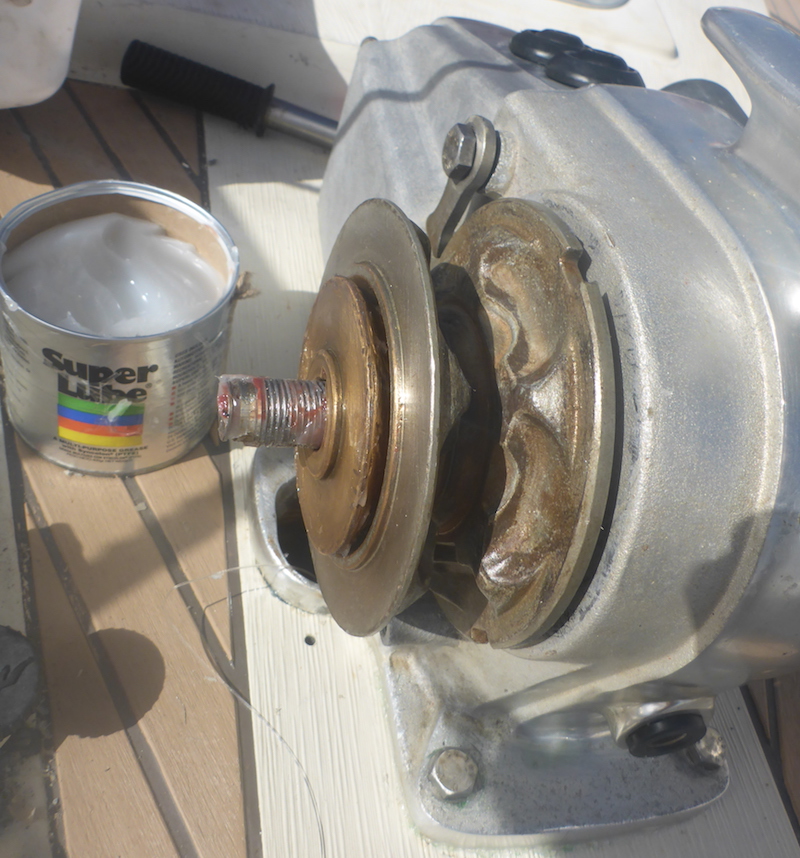
Picture 283
Grease and slide the Gipsy chain (Part 276) over the Inner Clutch
Picture 284
Now in

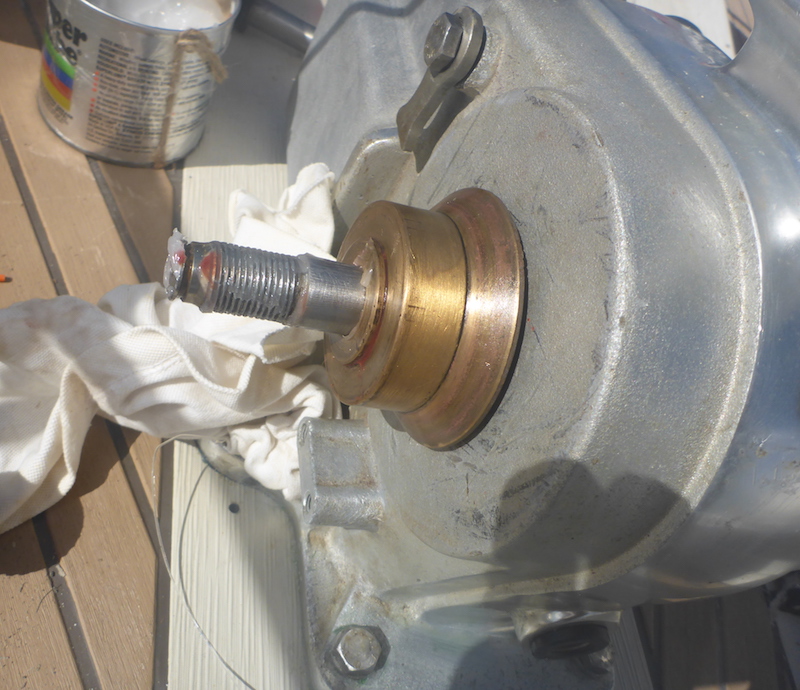
Picture 285
Grease and slide the Outer Clutch Cone (Part 318) over the key
Picture 286
Now done
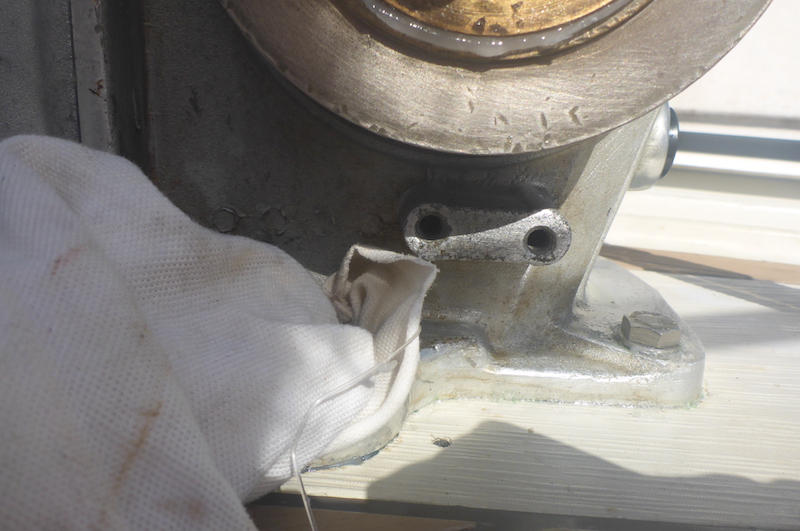
Picture 287
Put back the chain stripper
Picture 288
Putting Lanocote over the bolt
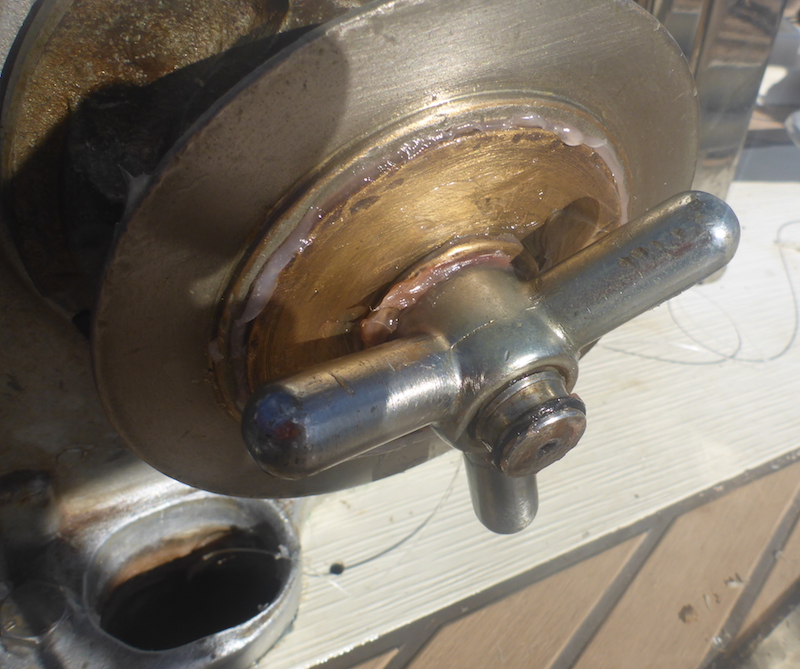
Picture 289
Grease and bolt the Wingnut (Part 317)
Picture 290
Tight a little the wingnut
Picture 291
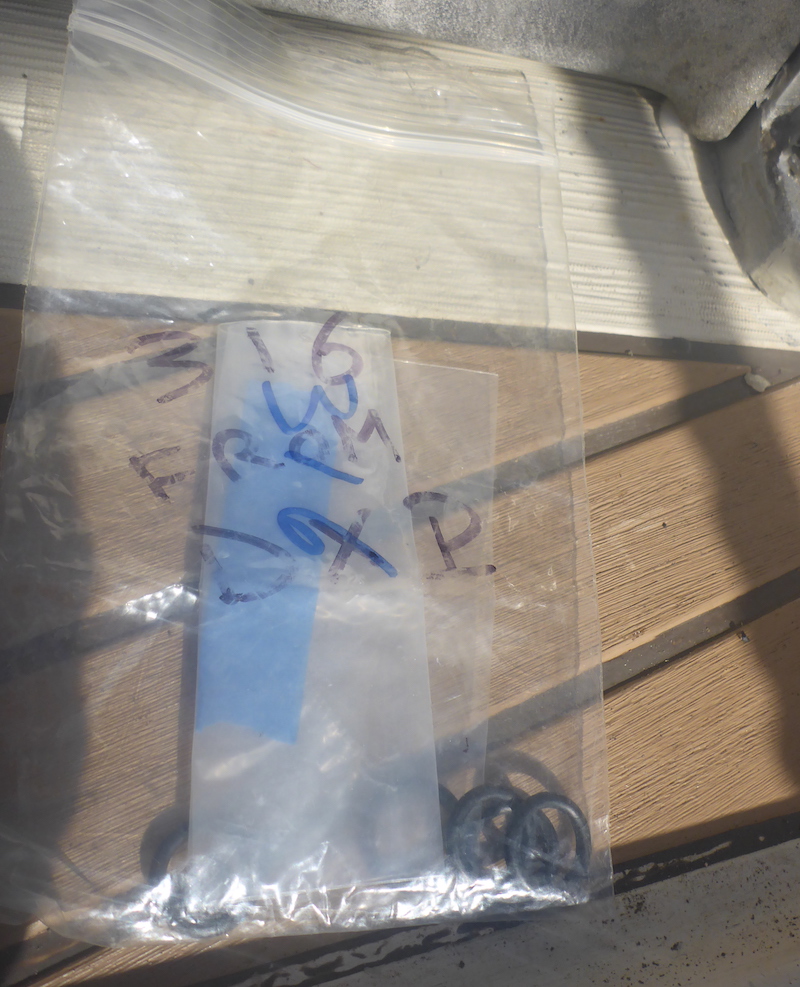
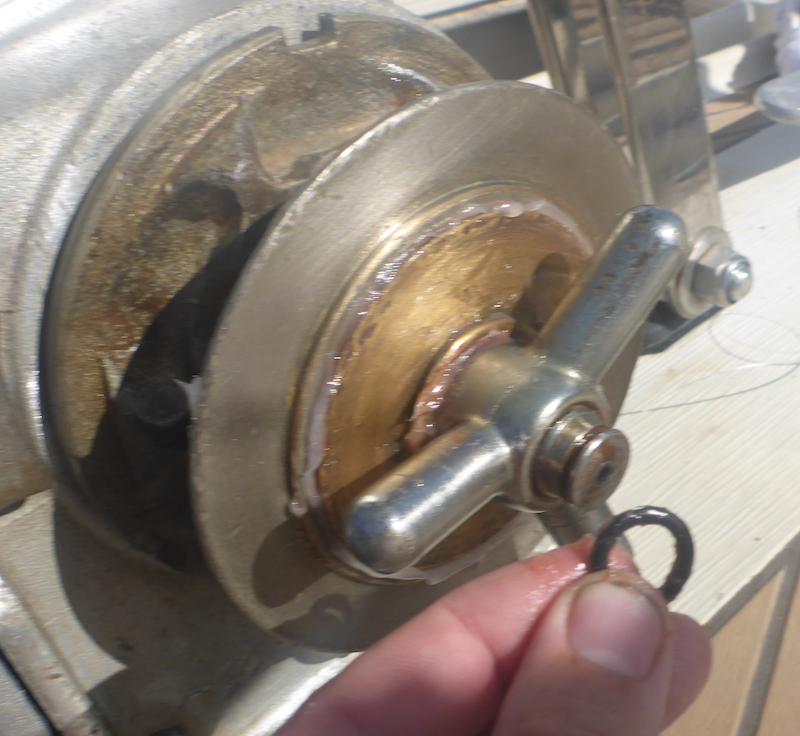
On the end of the shaft there is an O Ring seal 117 (Part 316)
Picture 292
Put grease on the O Ring seal 117 (Part 316) and add it on
This will help keeping on the shaft the Wingnut (Part 317)
Picture 293
Now on
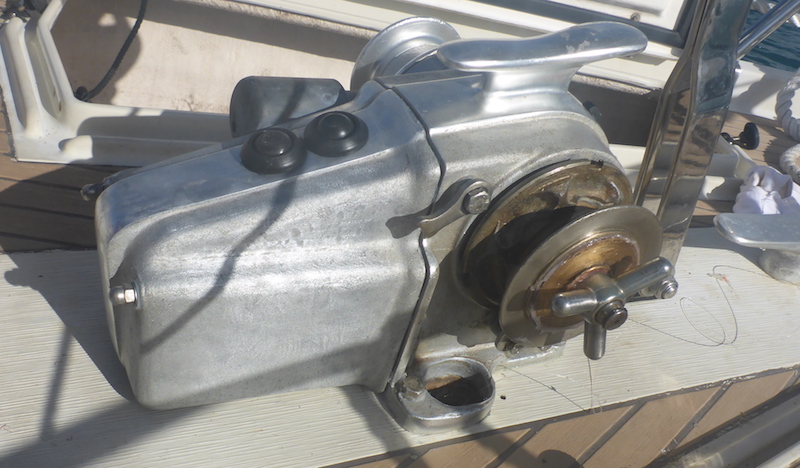
Picture 294
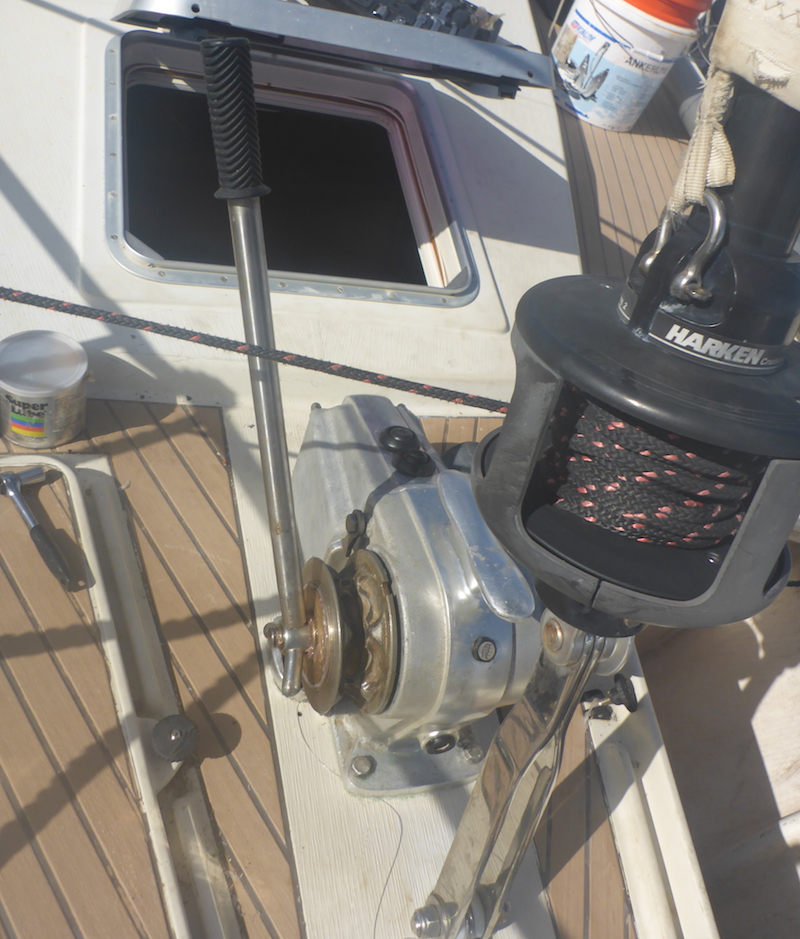
Totally reassembled
|
Next: Part 32
|
|
Part 1 10 Pictures from 01 to 7
Part 2 17 Pictures from 8 to 24
Part 3 8 Pictures from 25 to 32
Part 4 15 Pictures from 26 to 40
Part 5 8 Pictures from 41 to 48
Part 6 7 Pictures from 49 to 55
Part 7 13 Pictures from 56 to 68
Part 8 5 Pictures from 69 to 73
Part 9 10 Pictures from 74 to 83
Part 10 4 Pictures from 84 to 87
Part 11 7 Pictures from 88 to 94
Part 12 6 Pictures from 95 to 100
Part 13 8 Pictures from 100 to 107
Part 14 6 Pictures from 108 to 114
Part 15 15 Pictures from 115 to 129
Part 16 16 Pictures from 130 to 145 |
Part 17 3 Pictures from 146 to 148 Putting key back on Electric motor shaft
Part 18 8 Pictures from 149 to 156
Part 19 12 Pictures from 157 to 168
Part 20 9 Pictures from 169 to 177
Part 21 16 Pictures from 178 to 193
Part 22 15 Pictures from 194 to 208
Part 23 19 Pictures from 209 to 217
Part 24 20 Pictures from 218 to 239
Part 25 5 Pictures from 240 to 244
Part 26 3 Pictures from 245 to 247
Part 27 6 Pictures from 248 to 253
Part 28 4 Pictures from 254 to 258
Part 29 7 Pictures from 259 to 266
Part 30 12 Pictures from 267 to 278
Part 31 16 Pictures from 279 to 294
Part 32 6 Pictures from 295 to 300
|