NIKIMAT


Amel Super Maramu 2000
|
Lofrans Tigres Windlass Overhaul Part 10: 4 Pictures from 84 to 87 Removing oil, lay parts, failed attempt to remove the bolt to inspect the brushes |
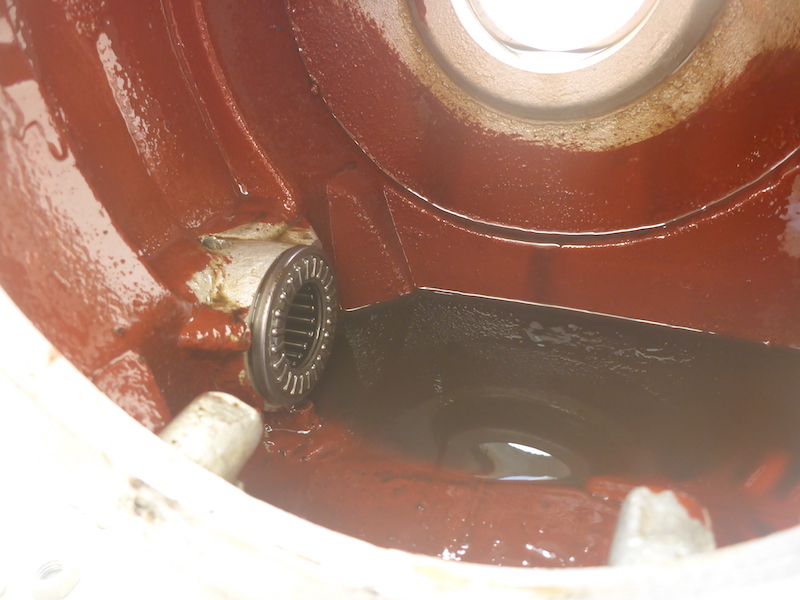
Picture 84
Inside the windlass was still the Combined bearing Rax 720 (Part 346)
Somehow, I did not feel I wanted to try to remove it
Picture 85
Absorb the rest of the oil
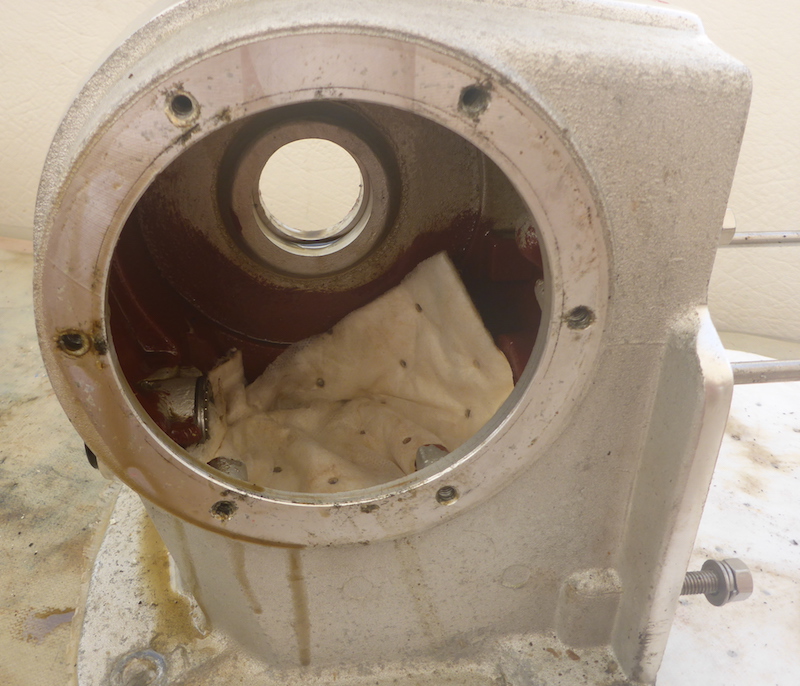
Cleaning
Picture 86
In order to not forget any part, I put them in order they were removed (including seal, o ring, circlip, etc. that will be replaced)

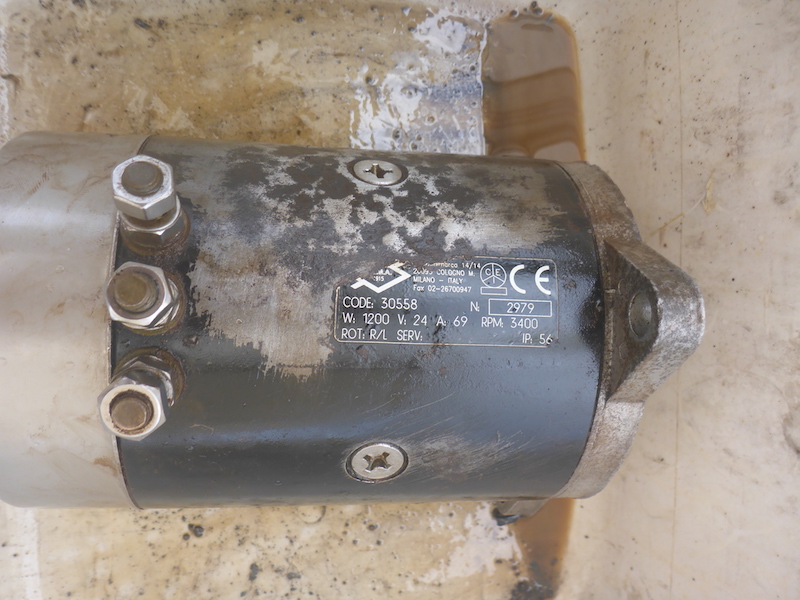
Picture 87
Using sand paper, removed the rust from the electric motor
My biggest disappointment is that after 4 hours of trying
(using penetrating oil and gently hammering screw driver)
I was not able to remove any of the screw to inspect the brushes...
Meaning, when the brushes are out, I won't be able to use my spare (which cost $78)
but will spend $1220 (plus shipping) for a new Electric motor 1200 Watt 24 Volt (Lofran part#418b or Imtra part LWP8252)
When I purchase the vessel in 2012, I remember in the survey it said 1 of the electric switch was not working
I had it changed, I wish the person at the time would have mention something about the rust, etc.
A good reminder you always to supervise people you hire
|
Next: Part 11
|
|
Part 1 10 Pictures from 01 to 7
Part 2 17 Pictures from 8 to 24
Part 3 8 Pictures from 25 to 32
Part 4 15 Pictures from 26 to 40
Part 5 8 Pictures from 41 to 48
Part 6 7 Pictures from 49 to 55
Part 7 13 Pictures from 56 to 68
Part 8 5 Pictures from 69 to 73
Part 9 10 Pictures from 74 to 83
Part 10 4 Pictures from 84 to 87
Part 11 7 Pictures from 88 to 94
Part 12 6 Pictures from 95 to 100
Part 13 8 Pictures from 100 to 107
Part 14 6 Pictures from 108 to 114
Part 15 15 Pictures from 115 to 129
Part 16 16 Pictures from 130 to 145 |
Part 17 3 Pictures from 146 to 148 Putting key back on Electric motor shaft
Part 18 8 Pictures from 149 to 156
Part 19 12 Pictures from 157 to 168
Part 20 9 Pictures from 169 to 177
Part 21 16 Pictures from 178 to 193
Part 22 15 Pictures from 194 to 208
Part 23 19 Pictures from 209 to 217
Part 24 20 Pictures from 218 to 239
Part 25 5 Pictures from 240 to 244
Part 26 3 Pictures from 245 to 247
Part 27 6 Pictures from 248 to 253
Part 28 4 Pictures from 254 to 258
Part 29 7 Pictures from 259 to 266
Part 30 12 Pictures from 267 to 278
Part 31 16 Pictures from 279 to 294
Part 32 6 Pictures from 295 to 300
|