NIKIMAT


Amel Super Maramu 2000
|
Galvanic Isolator Installation Installing the Galvanic Isolator and measure reading
|
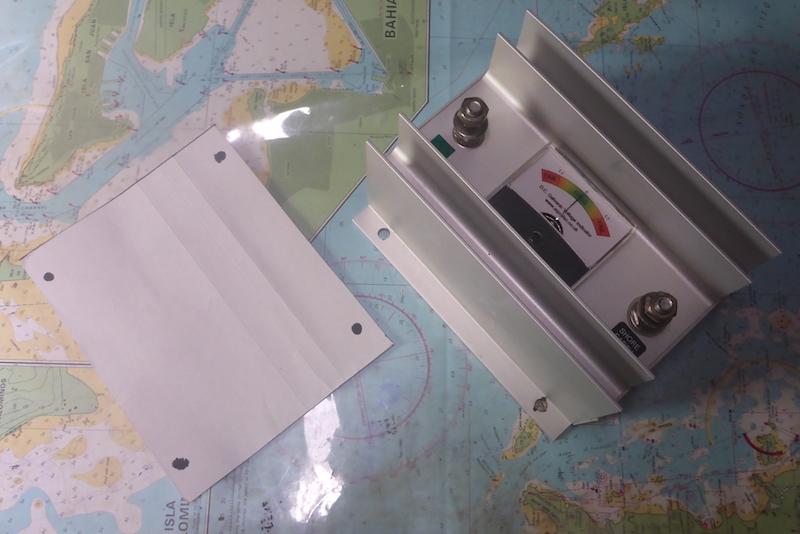
I used cardboard to have an estimate of the distance between the holes.
I used this to remove the sound proofing material
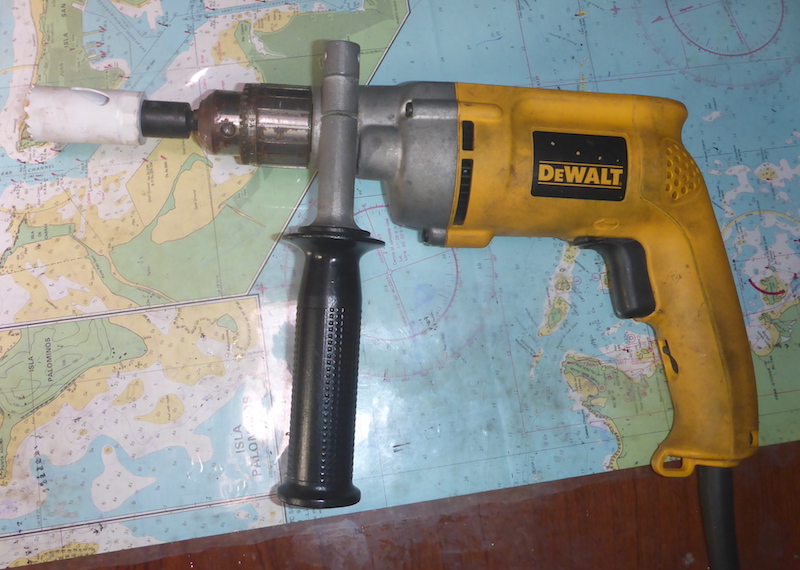
Was a clean way to remove the sound proofing material
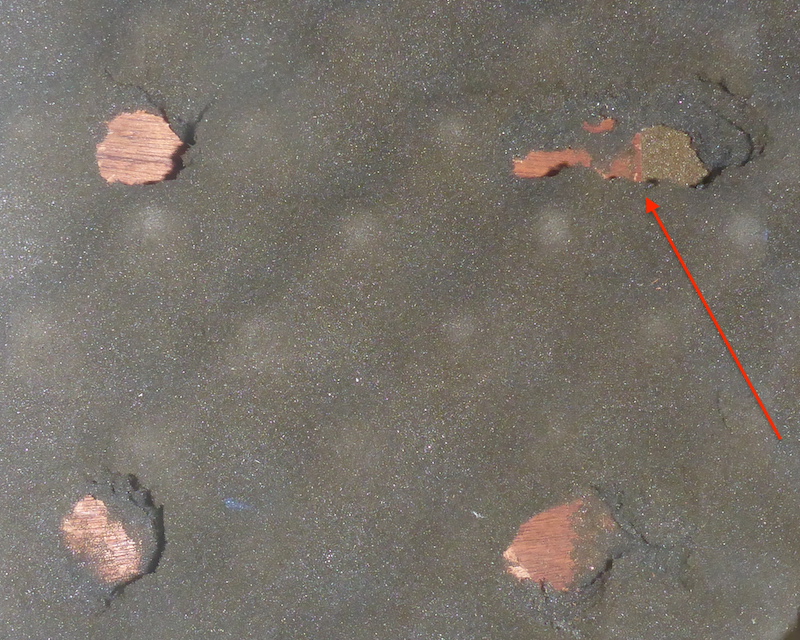
BUT note on the right side
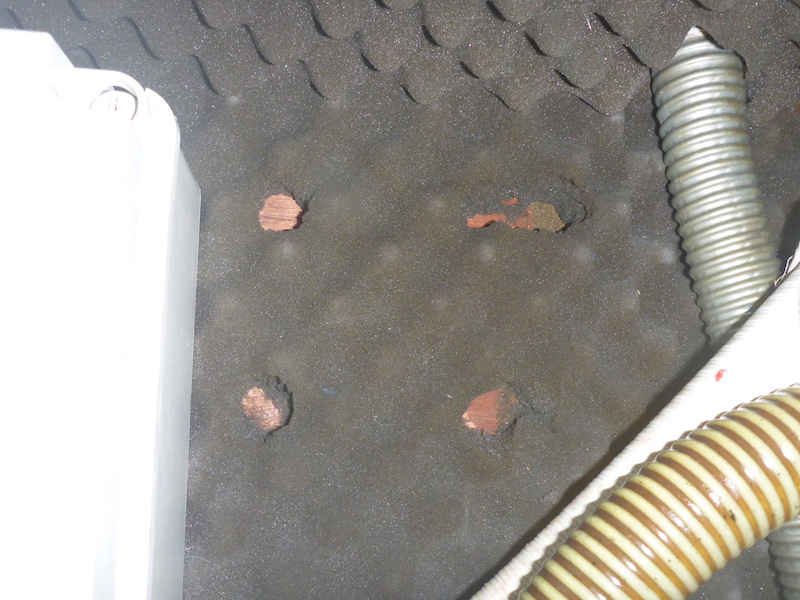
The board on which I plan on screwing on the Galvanic Isolator is shorter than expected
I was also able to estimate his thickness and concluded the 3" long screw were too long, so chose the 2 1/2" instead
It actually took a long time installing because of the tight space
Making the wire, I used a 6ft long 10 gage green (since I couldn't find yellow/green)
6ft was too long, but I wanted to have margin for error
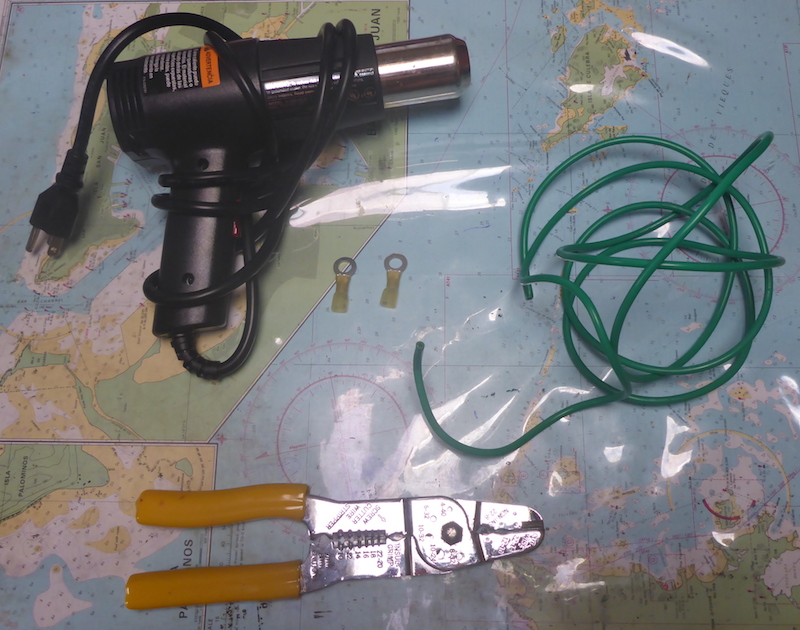
Cut and clamp heat shrink terminal
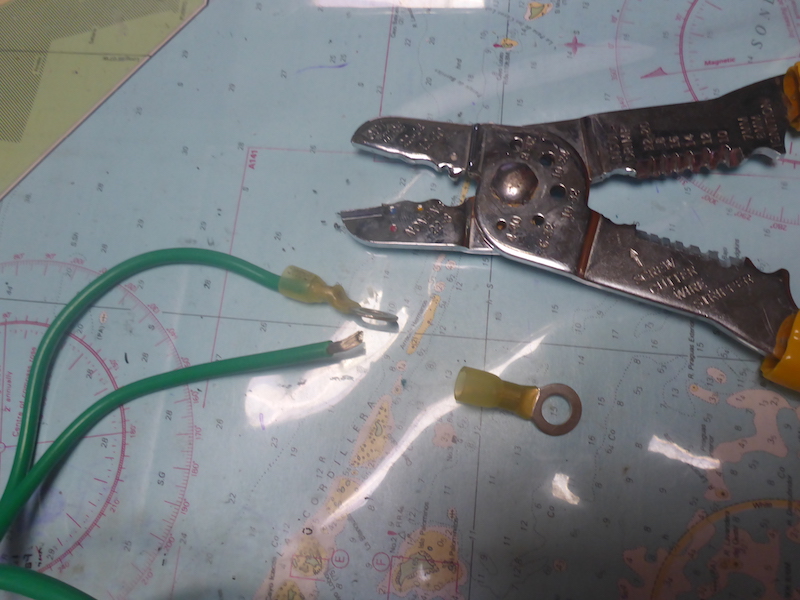
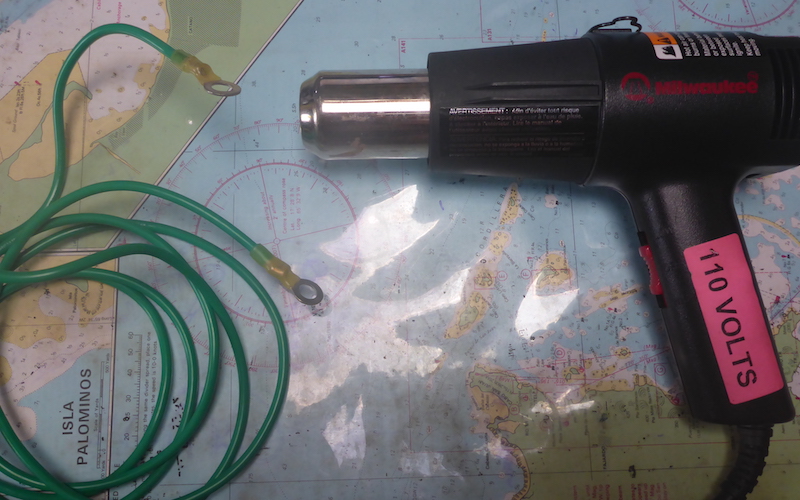
heat the terminal
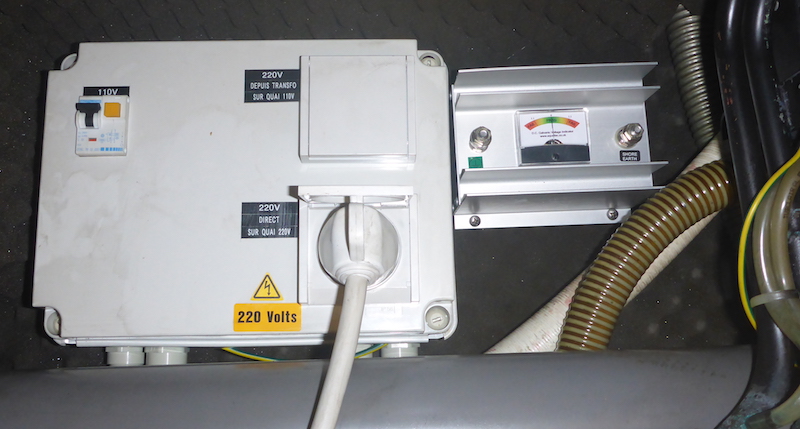
Do I need to write that you need to disconnect the power from the shore before opening the box?
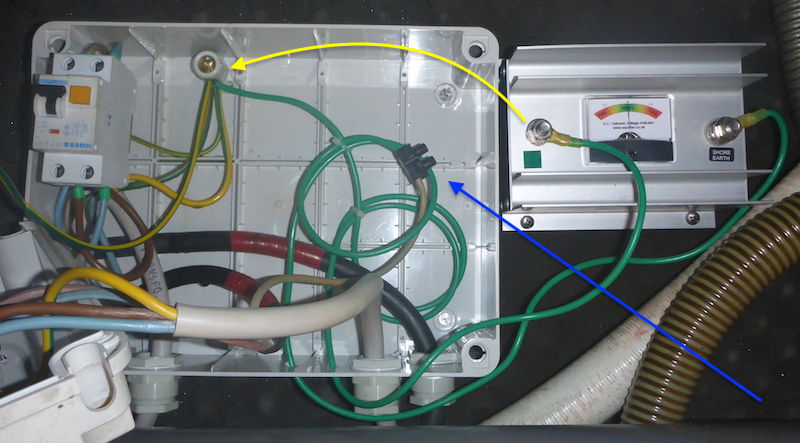
The purple arrow point to the green/yellow (or earth) of my 50 amp shore power
Which I will connect via a "domino" to the 10 gage green wire (which I cut)
That wire is going to the "Shore side" of the Galavanic Isolator.

You can see the "domino" (blue Arrow) connecting the 2 previously mentionned
I also put the 2nd wire (Yellow Arrow) going from the other side of the Galvanic Isolator to the ground of course it goes down, then up
I forgot to mention: how do the 2 new wire go through the box?
Originally I was hoping there was enough space through the existing holes, was not the case
So had to drill 2 small hole just big enough to pass these wires
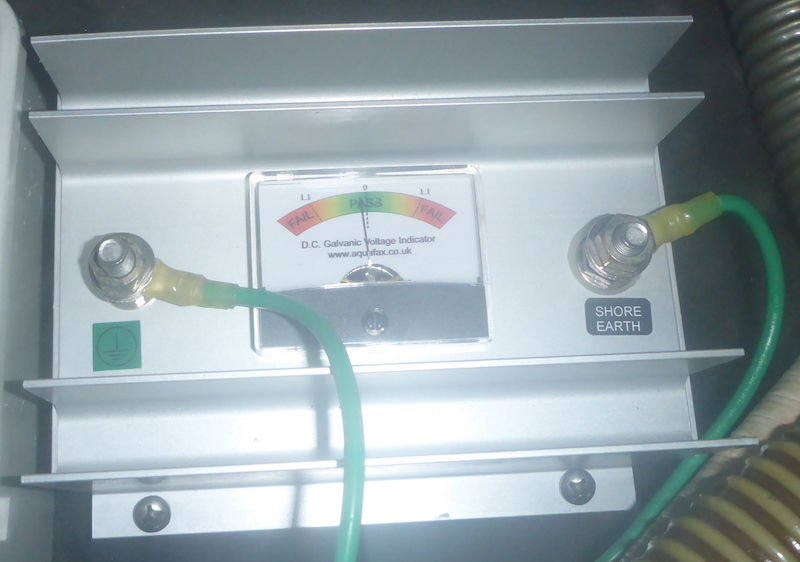
Finished
Note the needle is centered
After I connect back the shore power, you can see the needle moved a little to the left, and thanksfuly is well within the Green zone
Back to Galvanic Isolator information