NIKIMAT


Amel Super Maramu 2000
|
Galvanic Isolator Installation Exploring further which helped me decide on the location of the Galvanic Isolator
|
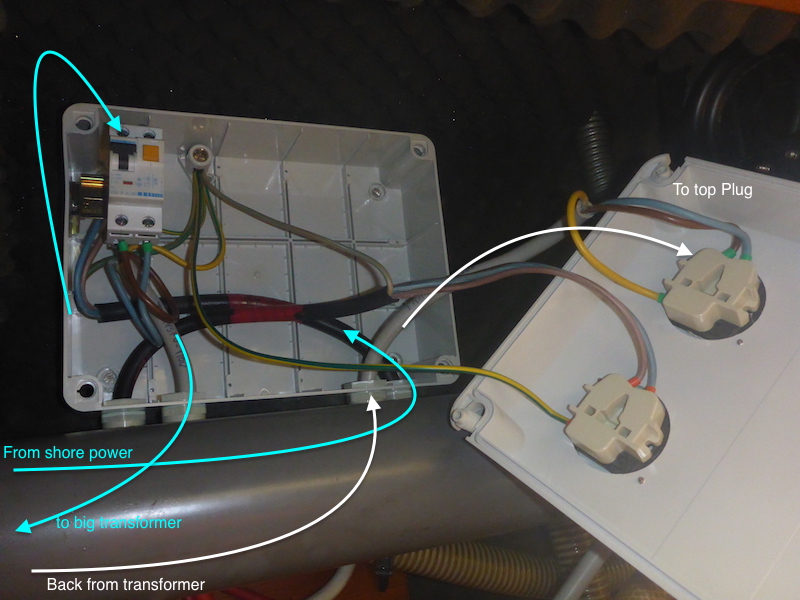
Note about the 110 Volt shore power
Comes from the shore power
To the 30 Amp breaker
Exit to big 110 to 220 volt transformer
Then comes back (white arrow) as 220 Volt to top plug
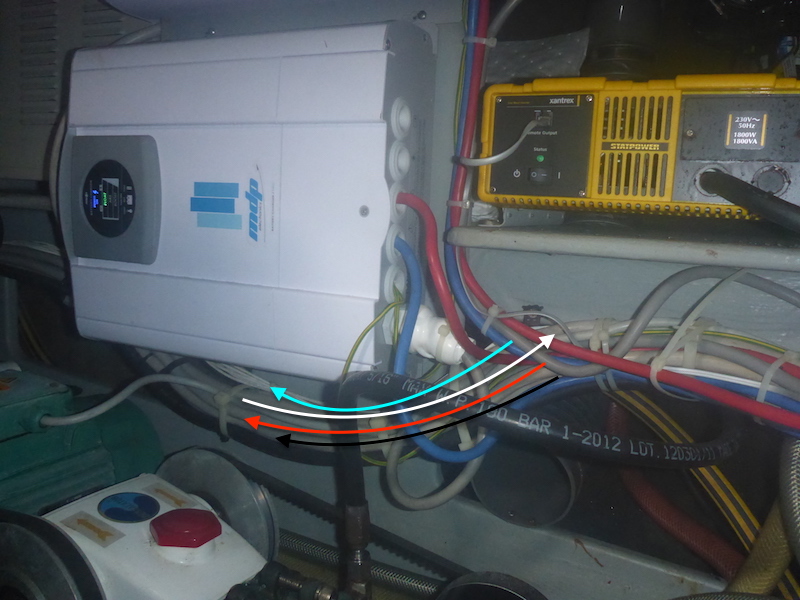
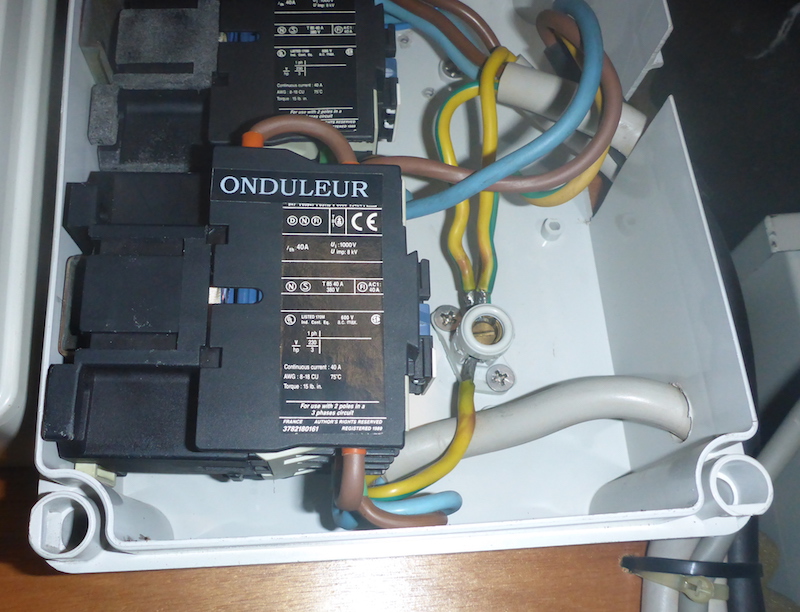
Close up of the connections
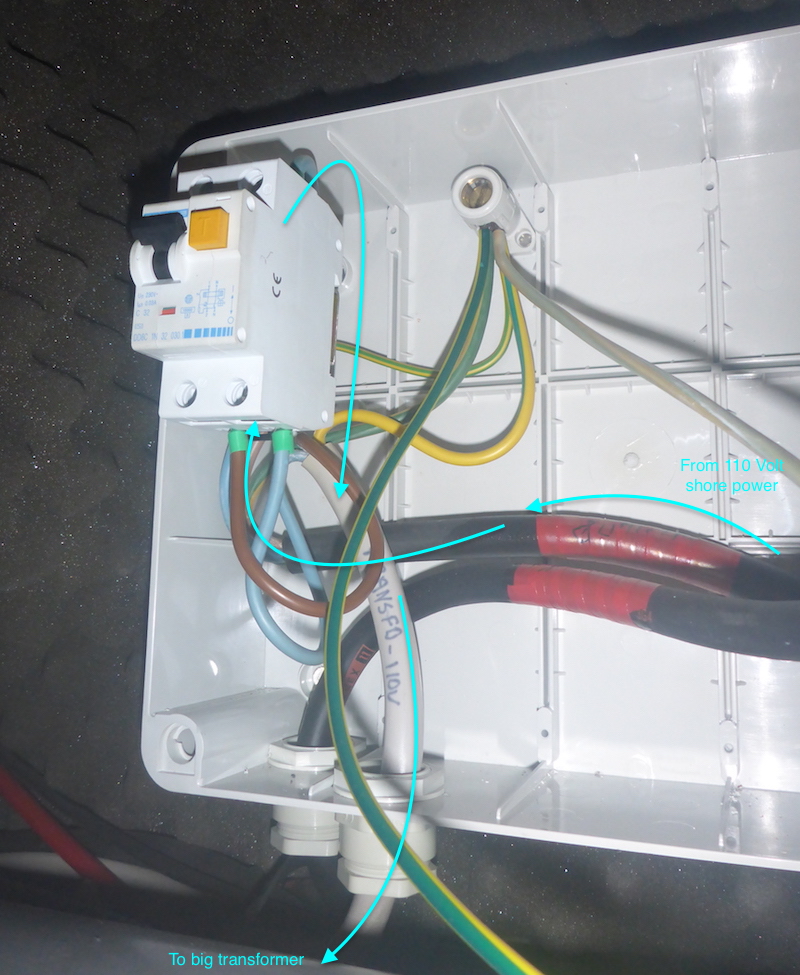
Following:
Red Arrow 220 Volt shore power
Blue Arrow 110 Volt shore power to Big Transformer
White Arrow 220 Volt return line from Big Transformer
Now joining the party the (Black Arrow) 220 Volt Black cable from the Inverter
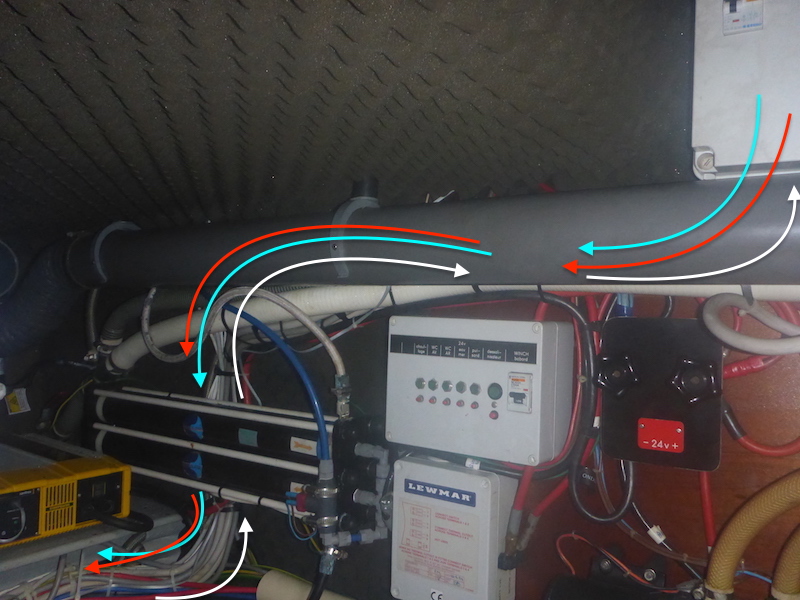
Going under the former Dolphin 30 Amp Charger, now a MDP 40 Amp
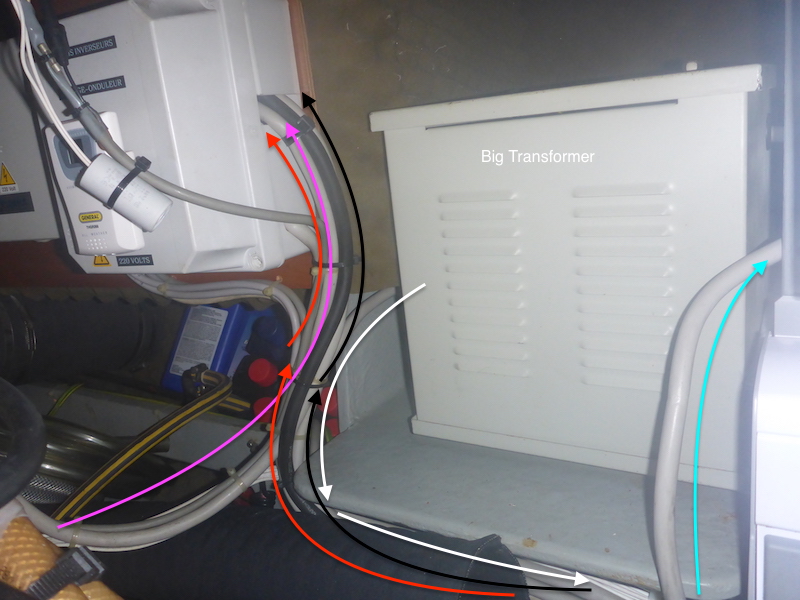
Blue Arrow 110 Volt shore power to Big Transformer
White Arrow 220 Volt return line from Big Transformer
Red Arrow 220 Volt shore power to 2nd Magic box
(Black Arrow) 220 Volt Black cable from the Inverter to 2nd Magic box
Then the (Pink Arrow) 220 volt from generator is joining the party
I made a mistake with the pink arrow, it actually enter the bottom part of the box
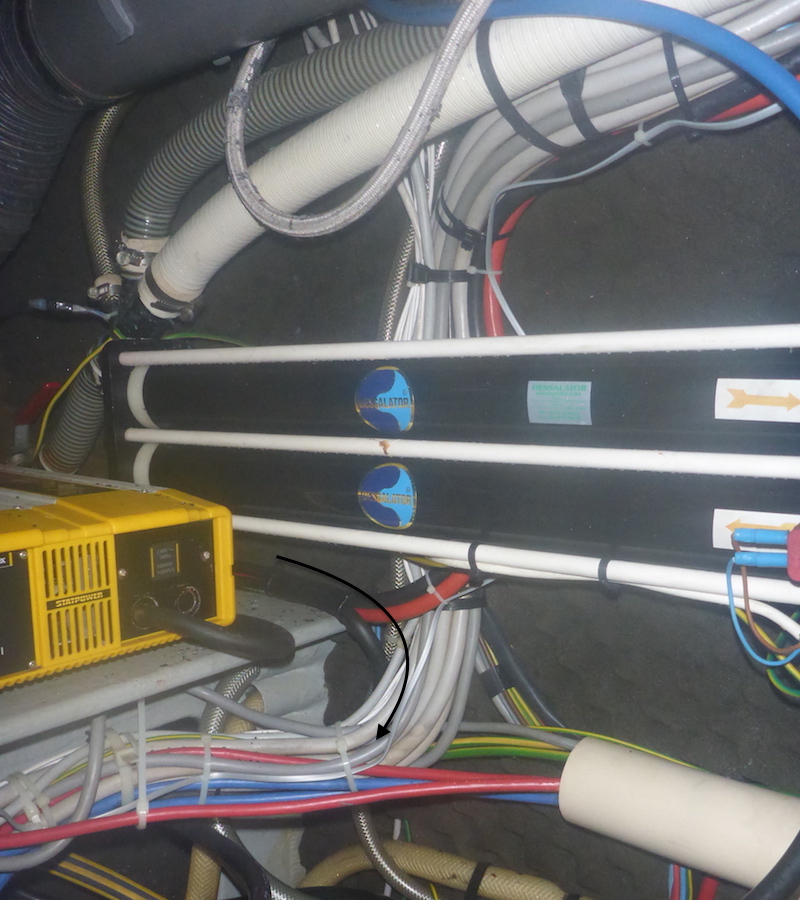
Ho la la... Good thing people say picture is worth a thousand words because I am speechless
If I was disappointed by the simplicity of the first box, I am definitely impressed by that one
All I know is some sort of (Magnet?) that will move if you start the generator (or inverter) and disable the shore power to prevent accidents.
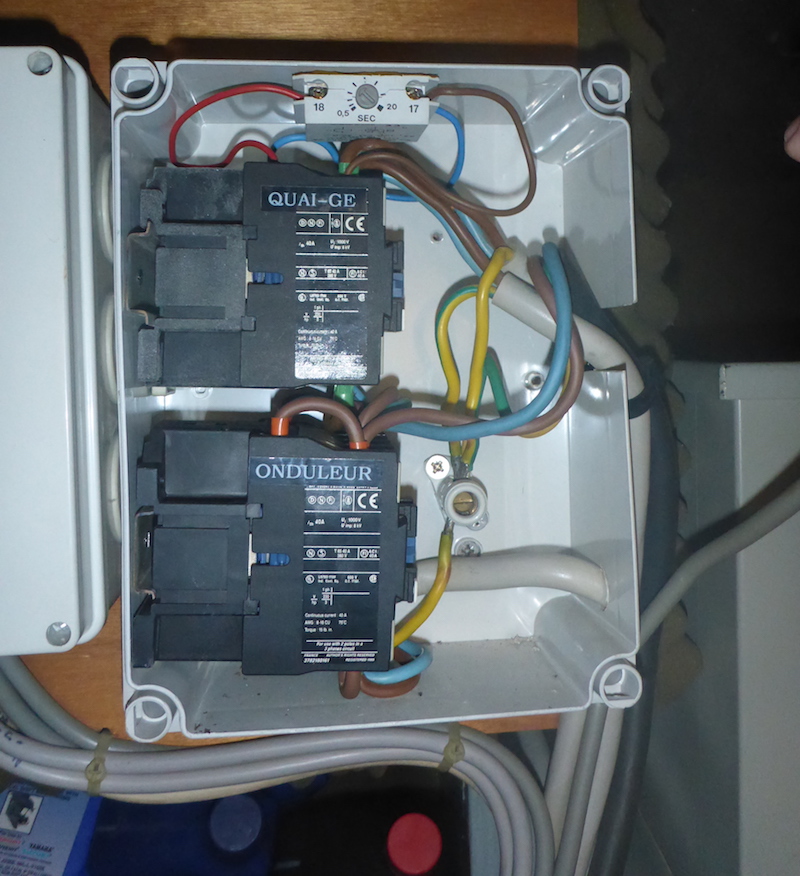
Interesting timer at the top
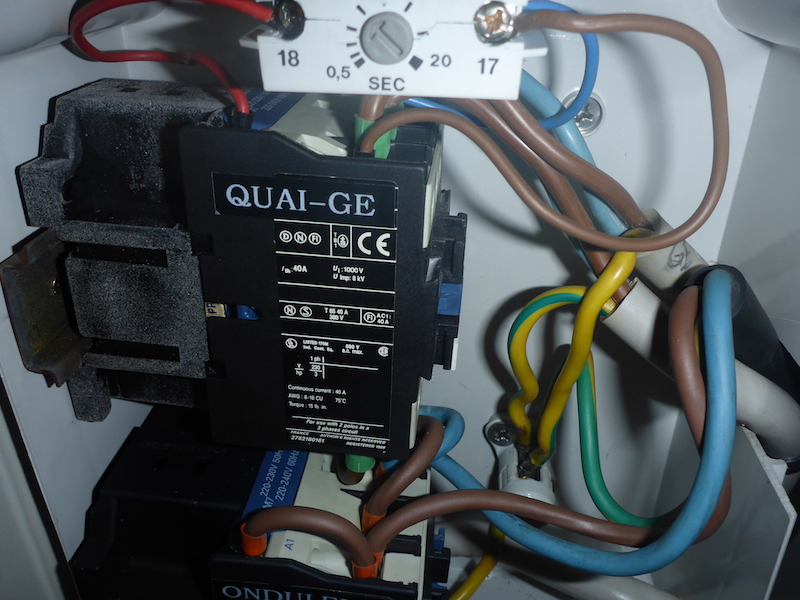
Close up
Close up

Next:
Part 3
Deciding on the location, testing the Galvanic Isolator and adding spacers