NIKIMAT


Amel Super Maramu 2000
|
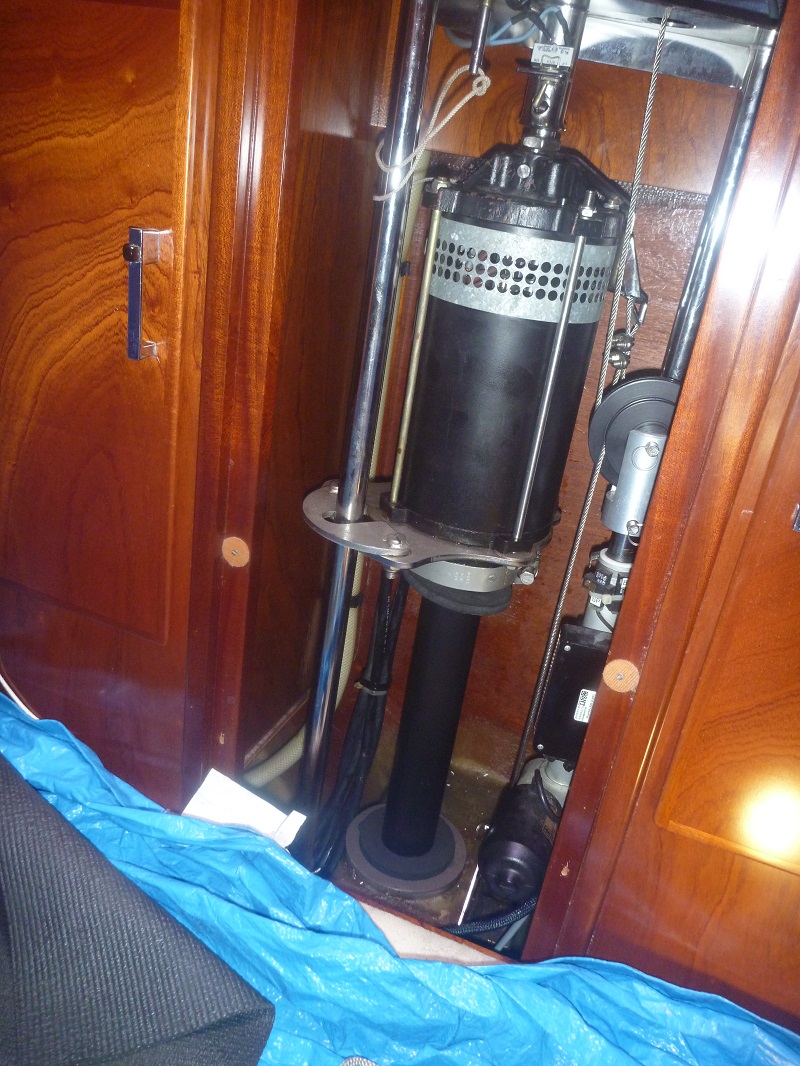
On NIKIMAT, SM2K #289 this is how we overhaul the Bow Thruster in November 2013.
We following information written by Gary Silver SM2K #335 Liahona and the notes added by Bill Rouse S/V Bebe SM2K #387 and just took pictures to show the work. For my first time, it took 2 persons 4 half days
You know you will need the 3 neoprene seals from Amel (2 of 1 type, one of another).
3 bearing: 6006 JEM (Open Bearing)
1 seal: 30 x 42 x 8
1 seal: 60 x 80 x 12 (that goes inside the boat in the forward cabin). O ring 78.00 x 3.00 O ring 40.00 x 2.50
You can download the information:
|
First removed all I could (mattress, etc.)
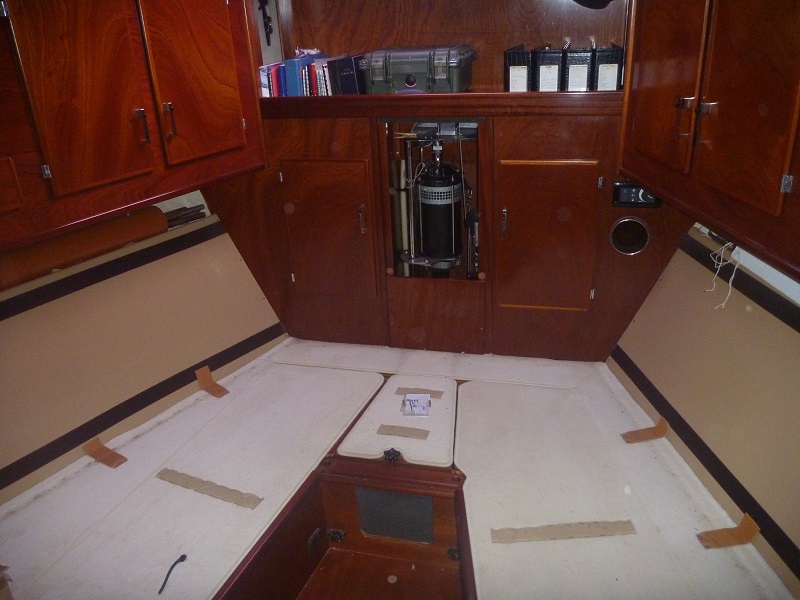
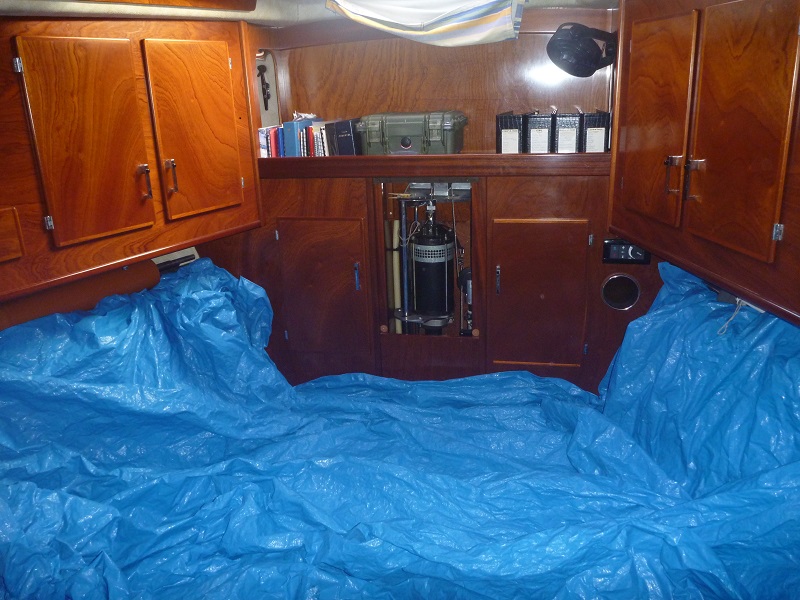
Added a double layer of protection
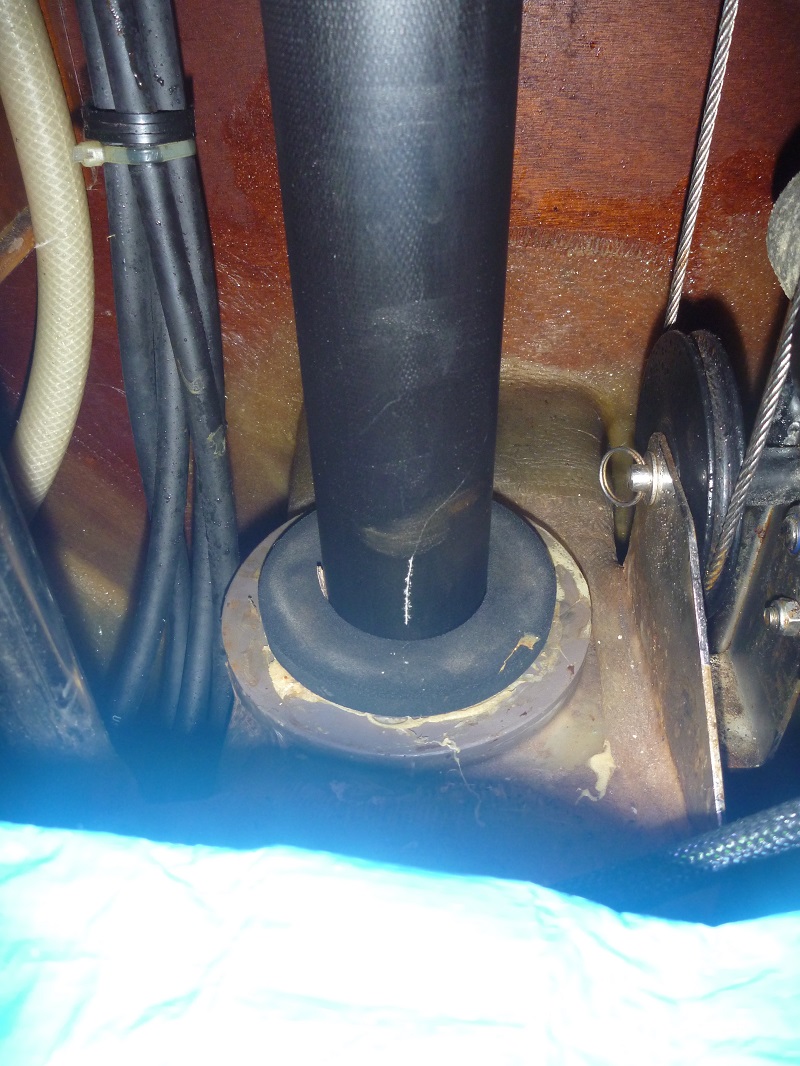
Marked the bow thruster
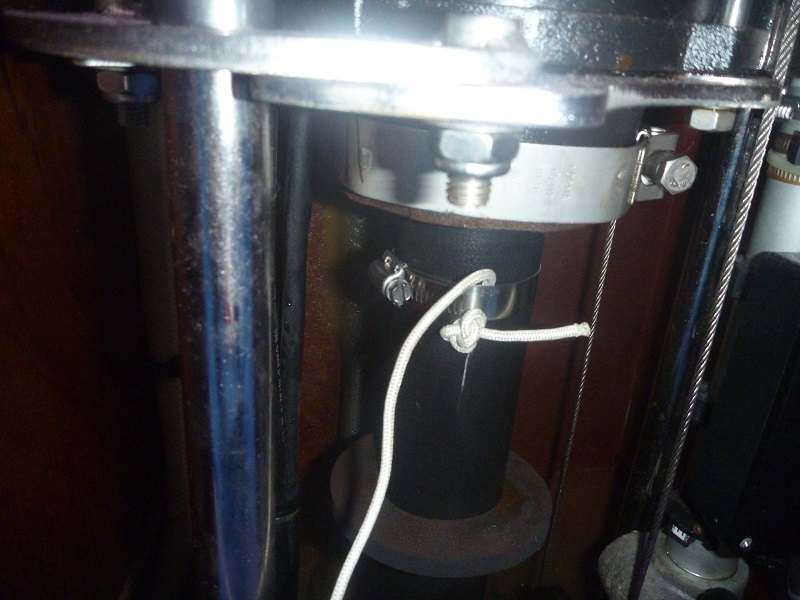
Attached a clamp with a rope
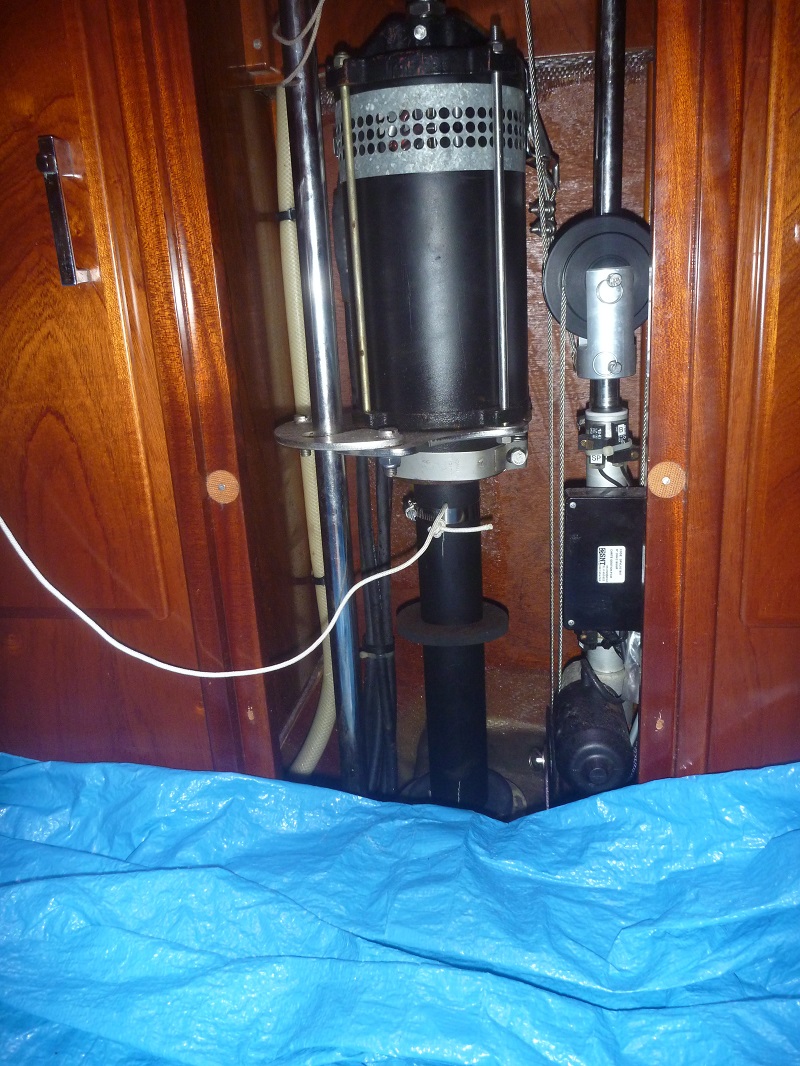
Rope to the cleat
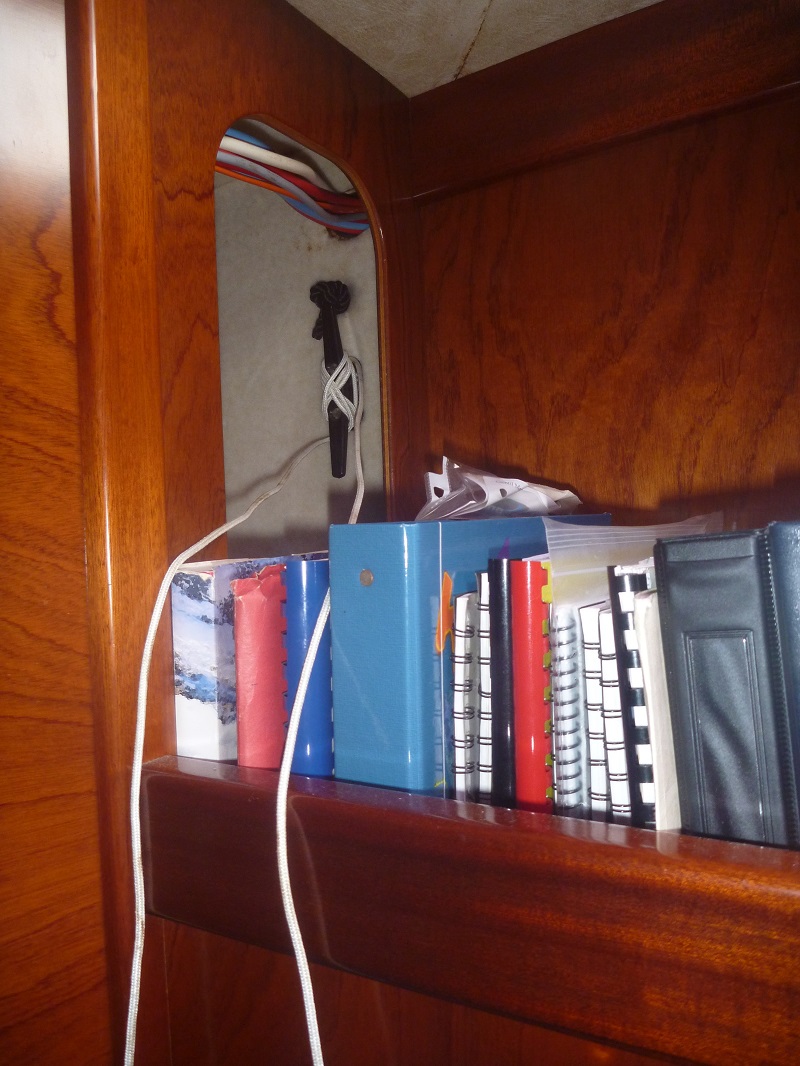
Close up of the clamp with rope
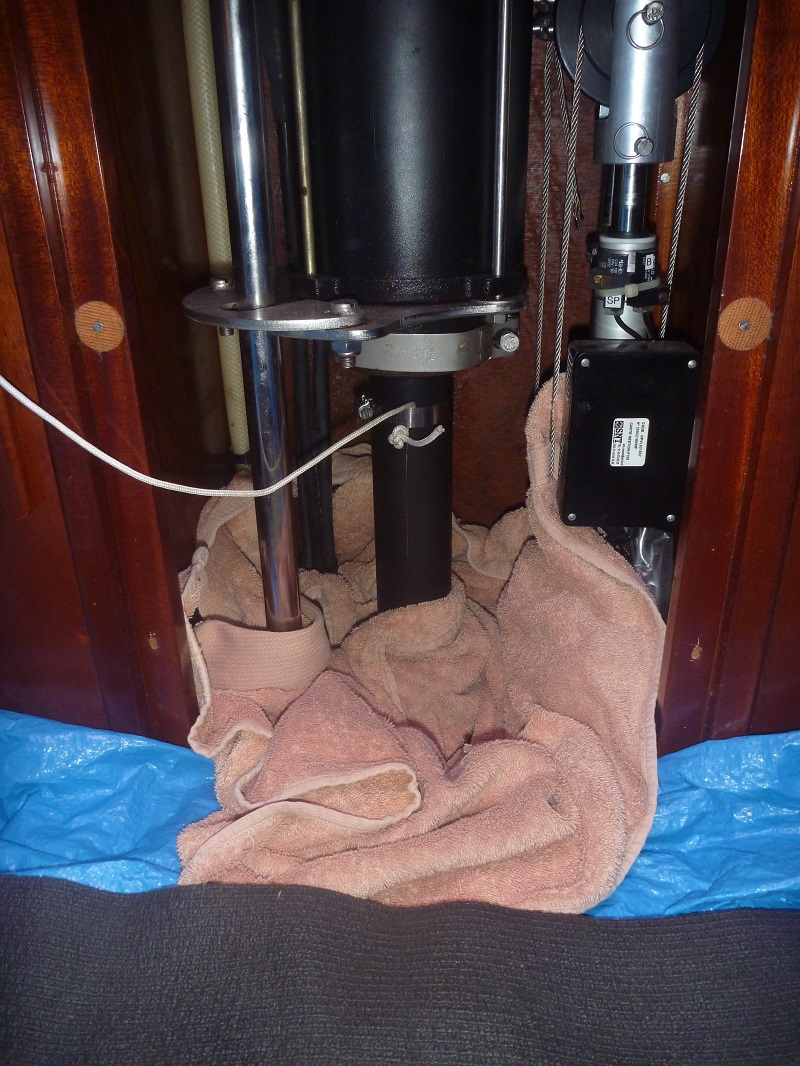
Added a towel so that we would not loose any parts.
Removed the clamp
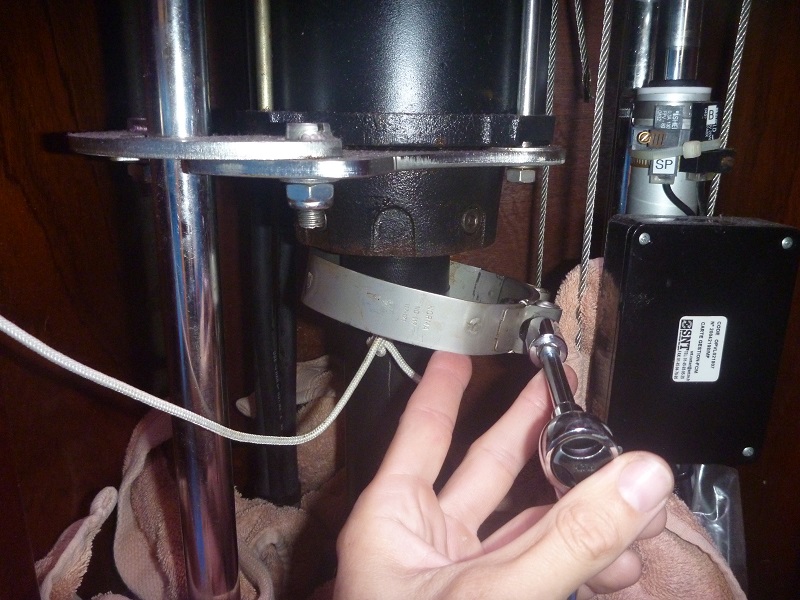
We had to use 90* plyers
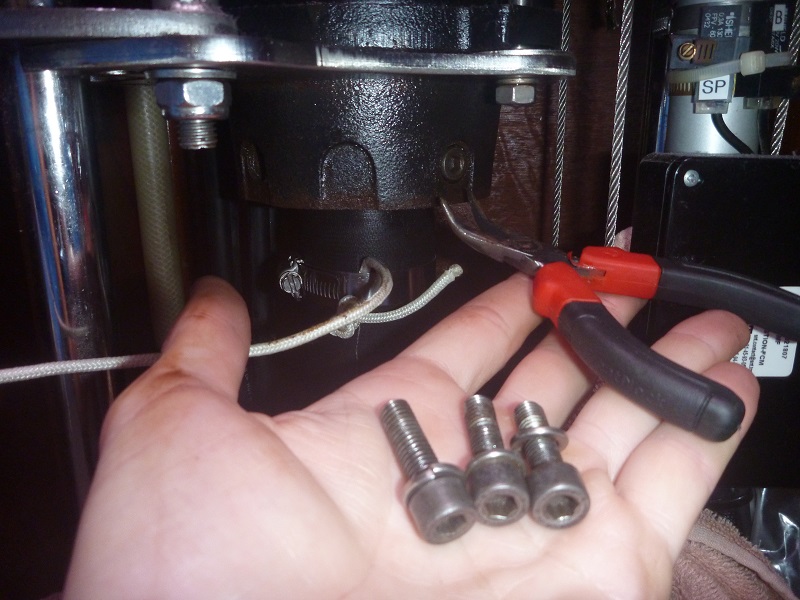
Lower the unit, now it is only hold by the clamp (and rope)
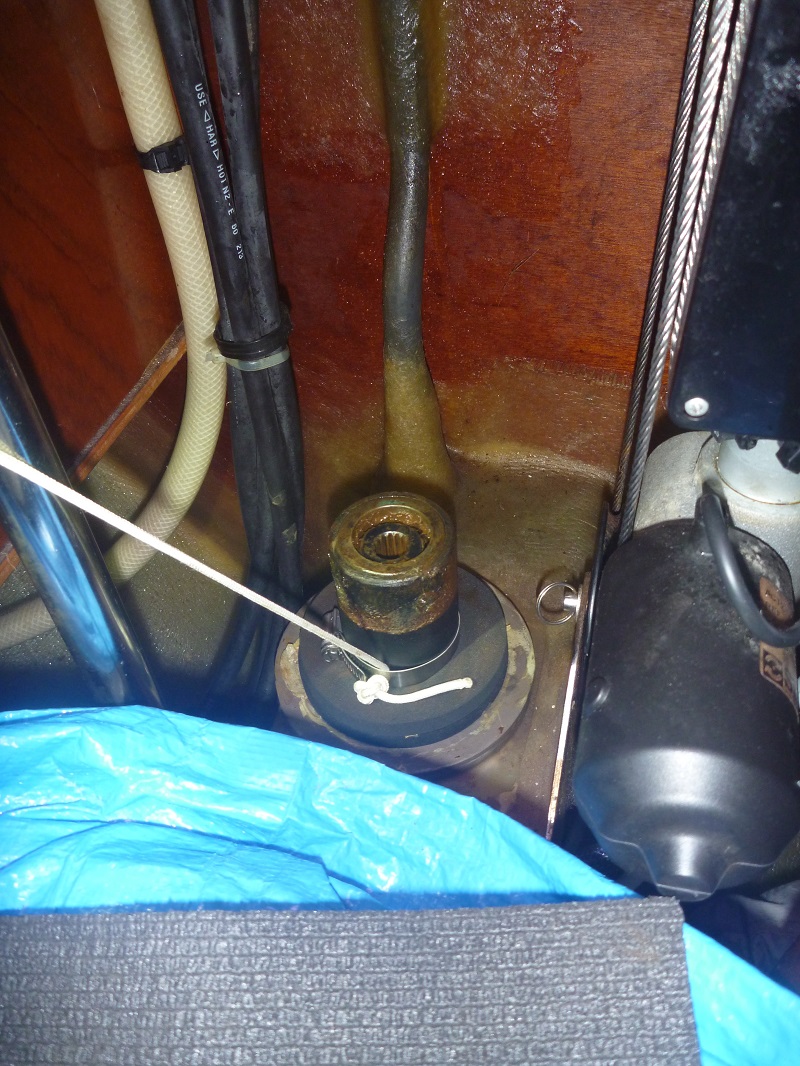
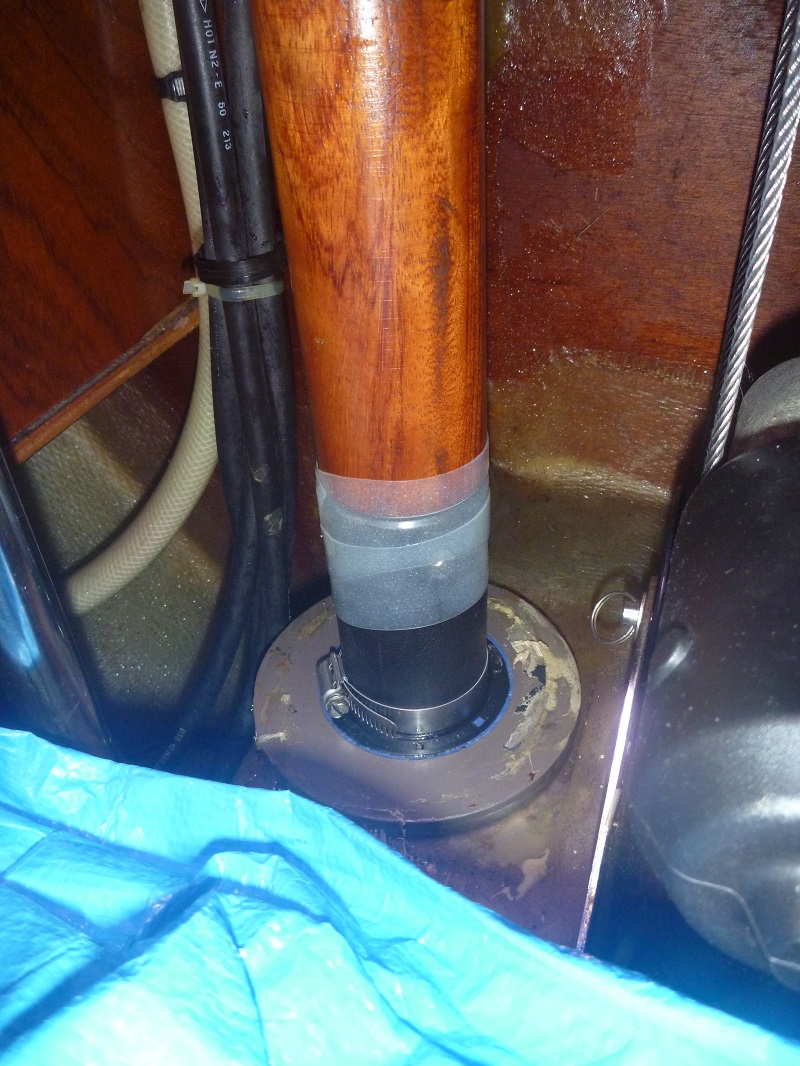
Install Amel special tool and attach its rope to the cleat (note we attached to the other cleat the rope attached to the clamp)
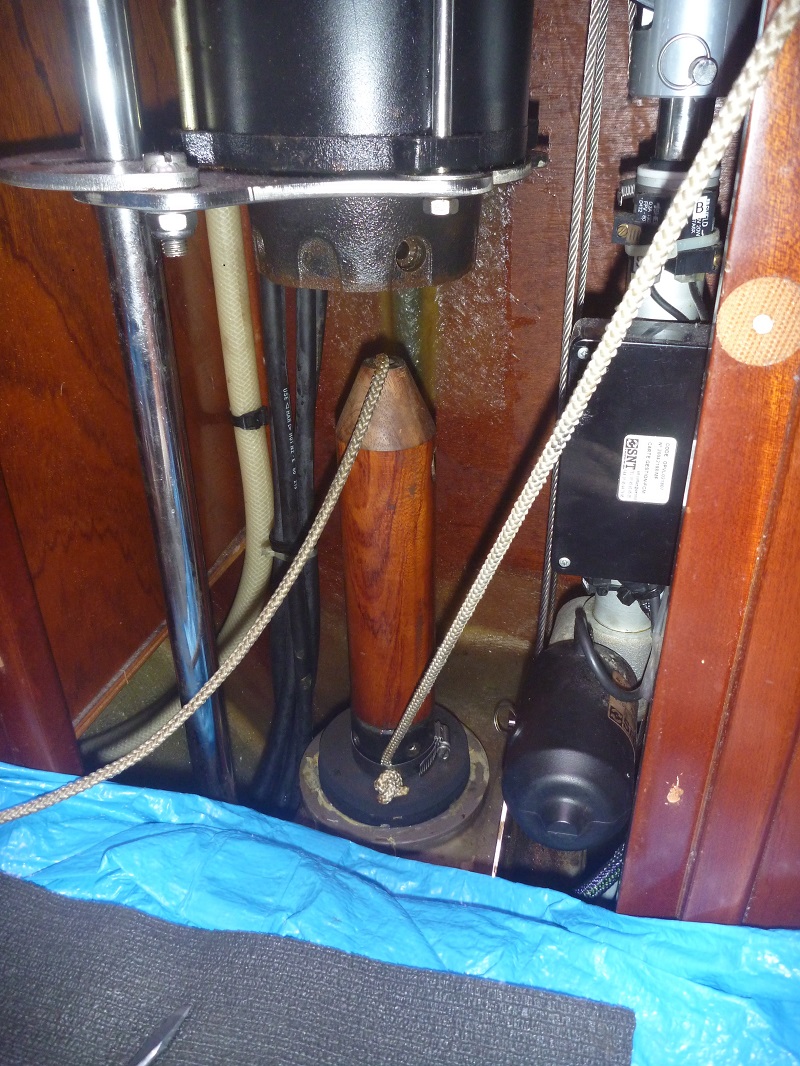
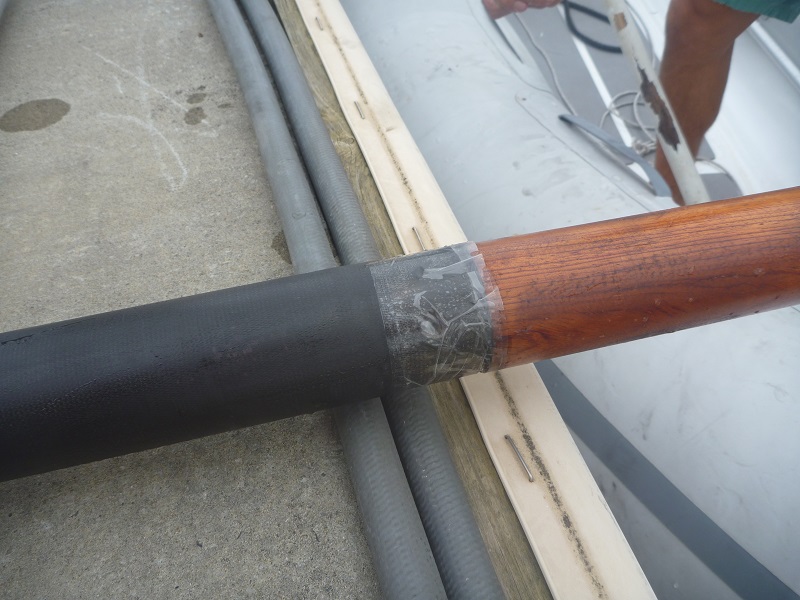
Originally used some rescue tape to cover all holes and spaces, but it was too thick to go through, so used regular scotch tape
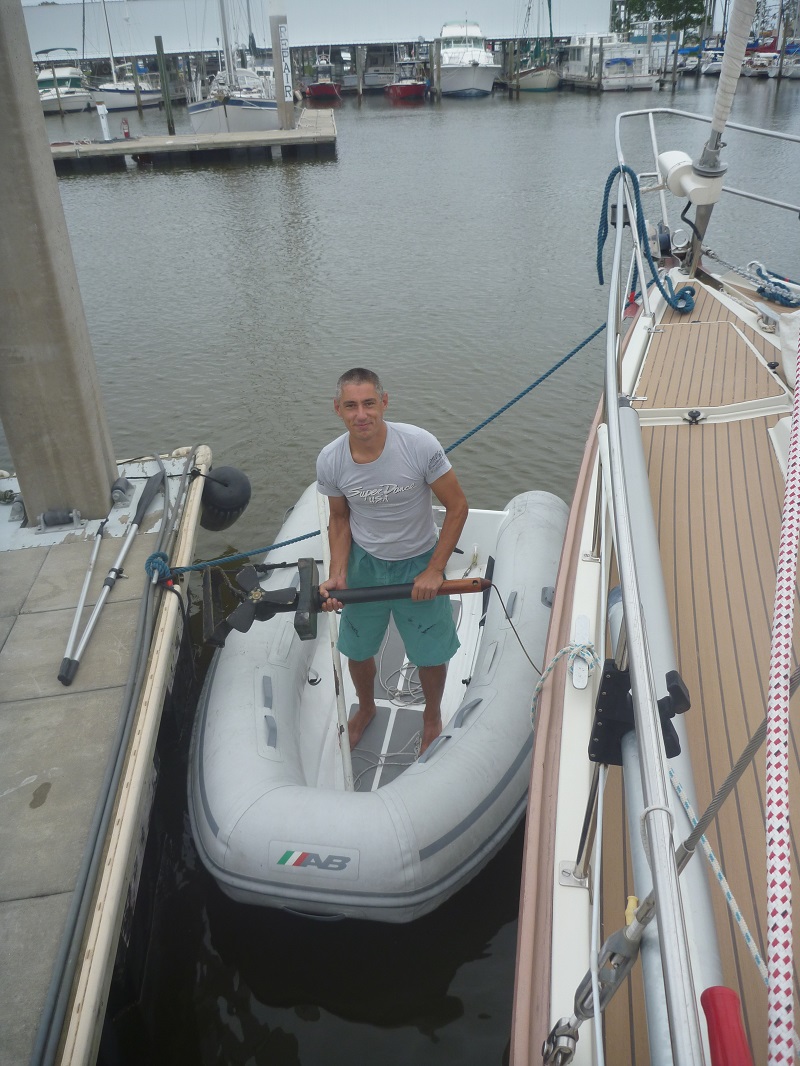
Removed the clamp, slowly lower the unit in the water, while on the other side Mike used a hook to grab the bbow thruster.
Regular scotch tape we end up using.
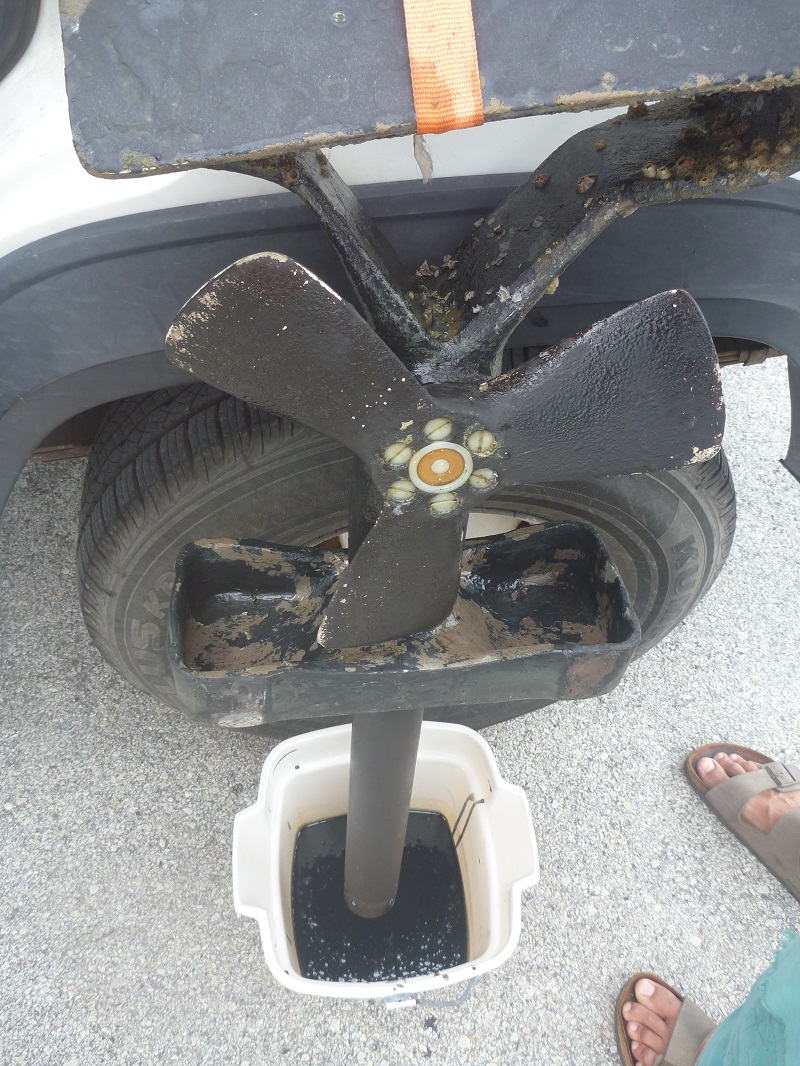
Put upside down the bow thruster to collect the oil, then clean bernicles
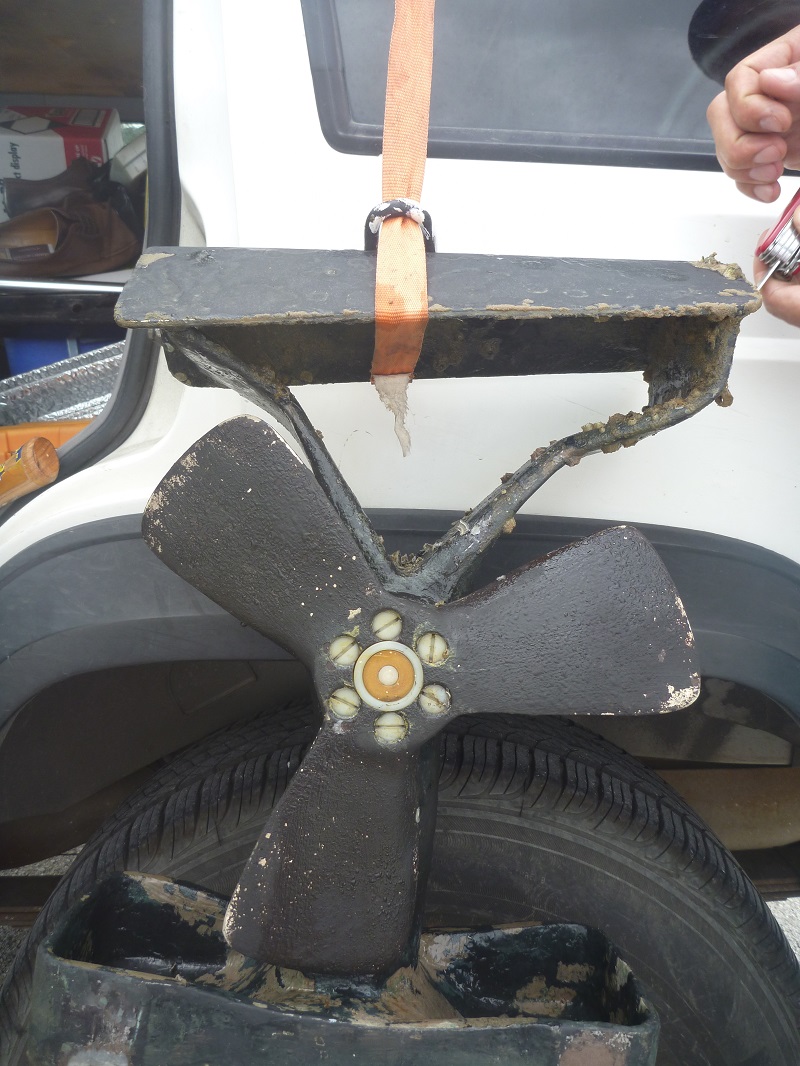
Different view of bow thruster upsidedown to collect the oil.
Trying to properly balance the boat, I had placed lots of heavy weight forward, and noted I was (in my opinion) dangerous closed to the water (about an inch or 3 cm).
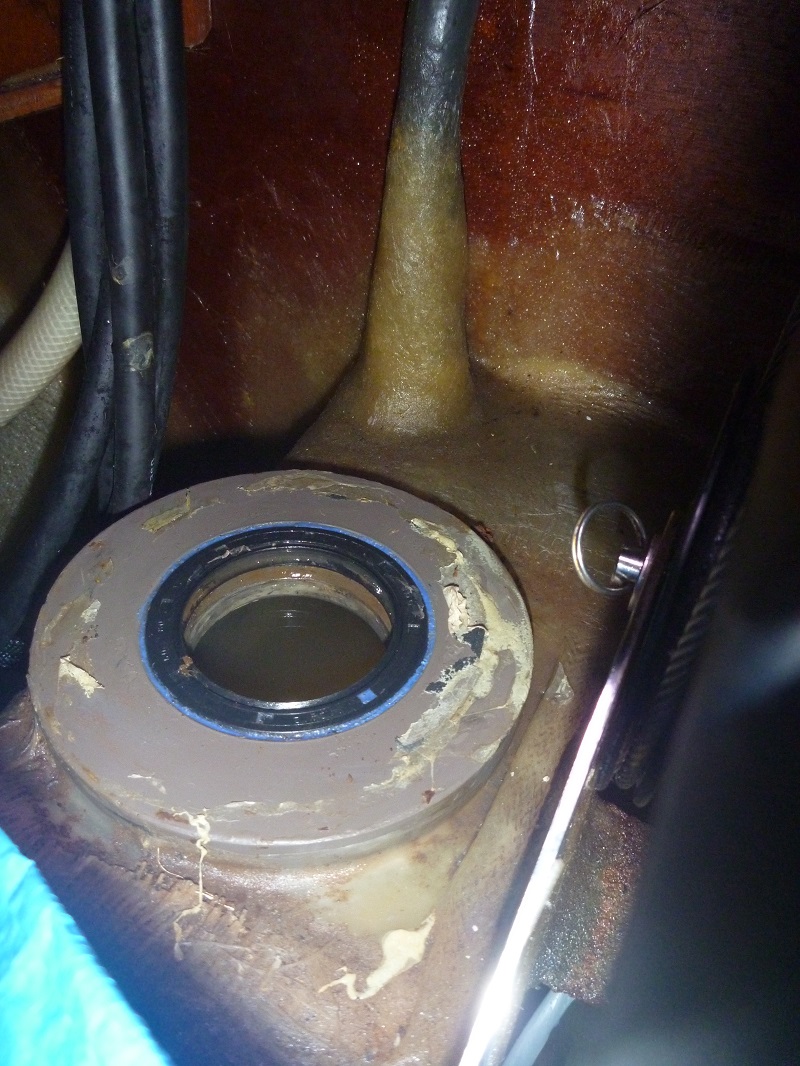
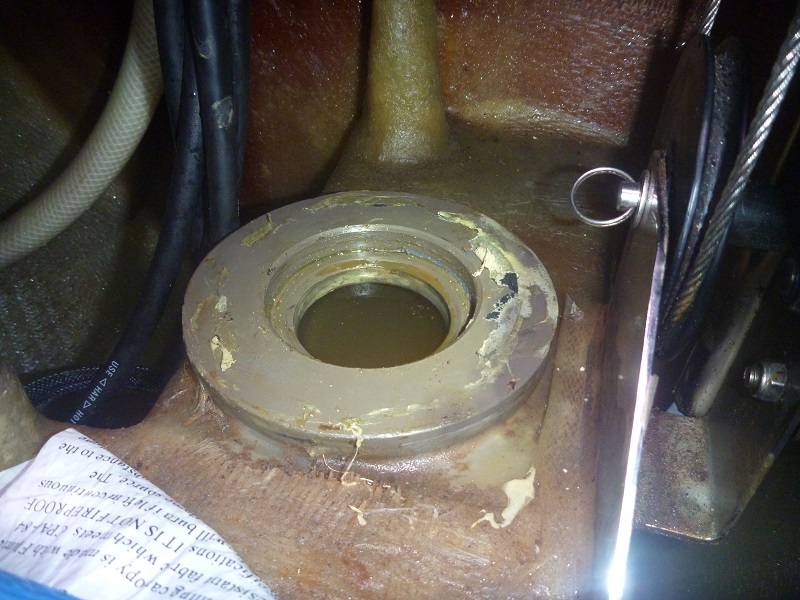
Removed the old seal (please note that I did not had the 2 retainer screws).
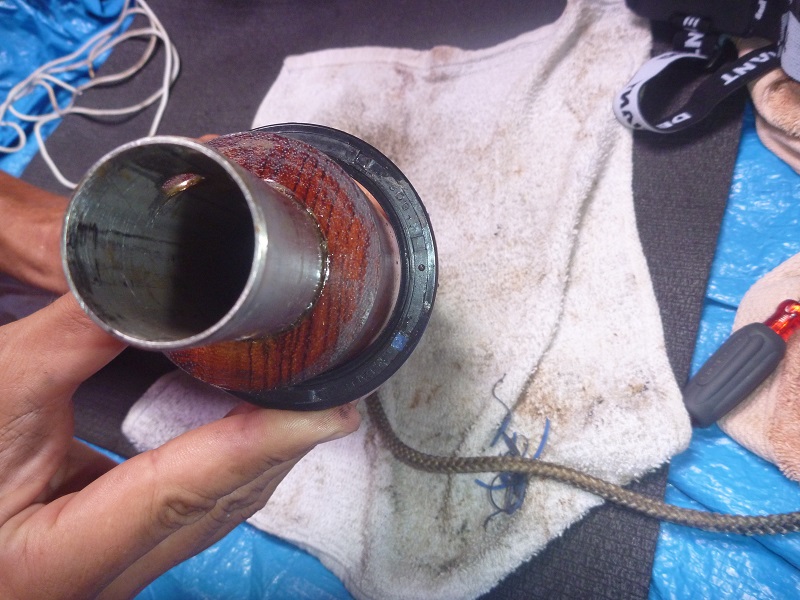
You can see with the new seal that there is little space arround the Amel special tool to put tape.
Unscrew the plastic bolts, then removing the pin that holds the hub
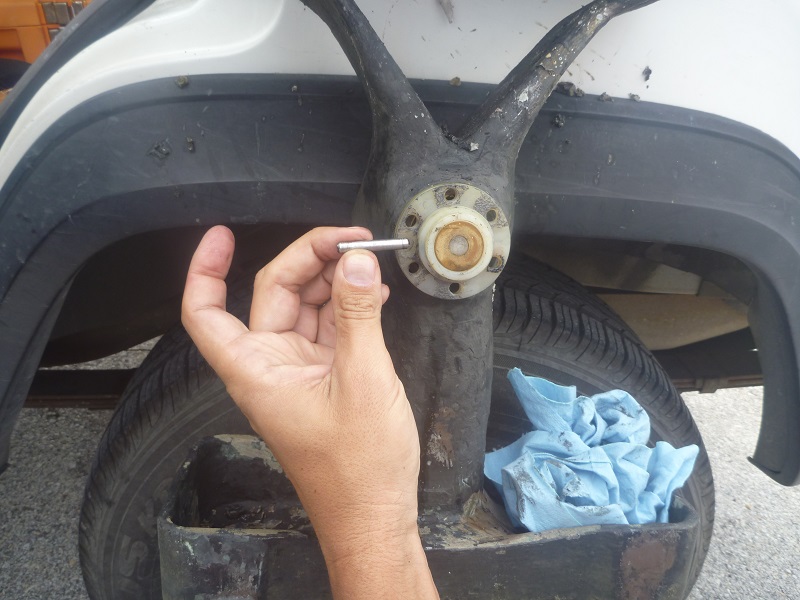
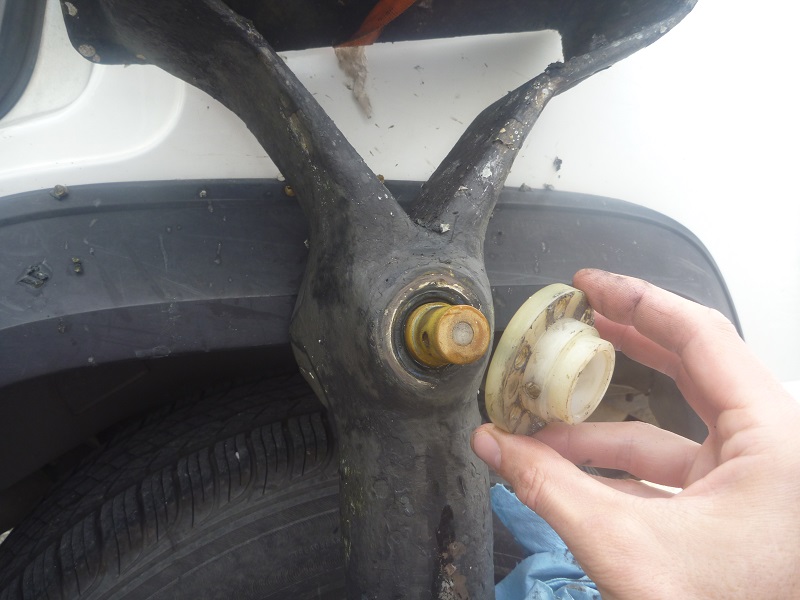
Remove the hub
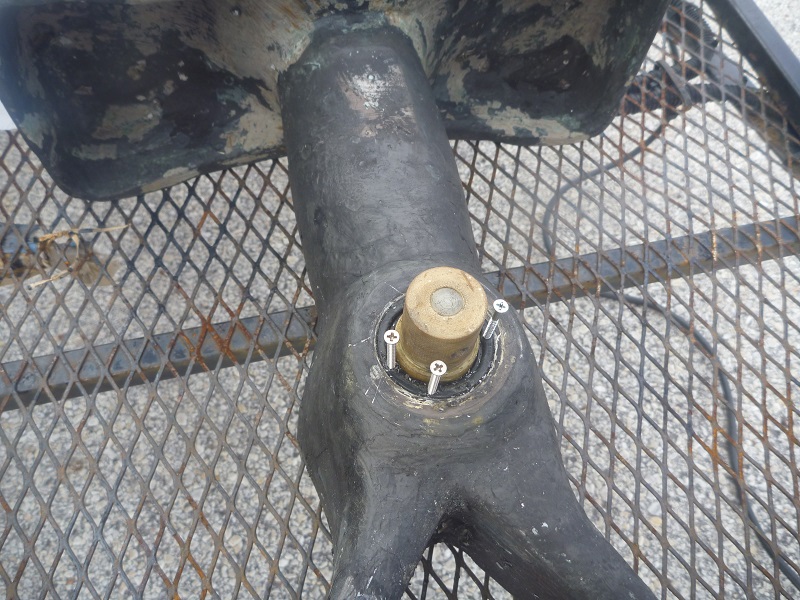
Carefully screw 3 little screws
Improvised a tool to be able to pull the screws
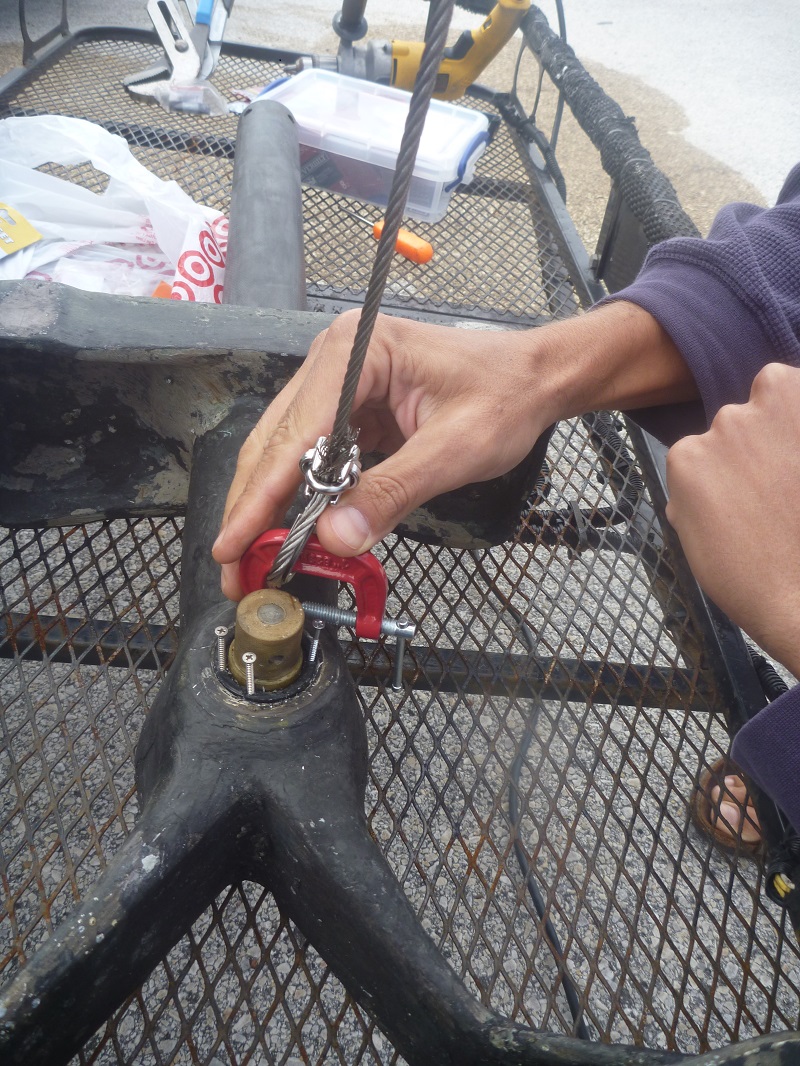
Some weight at the end to pull through
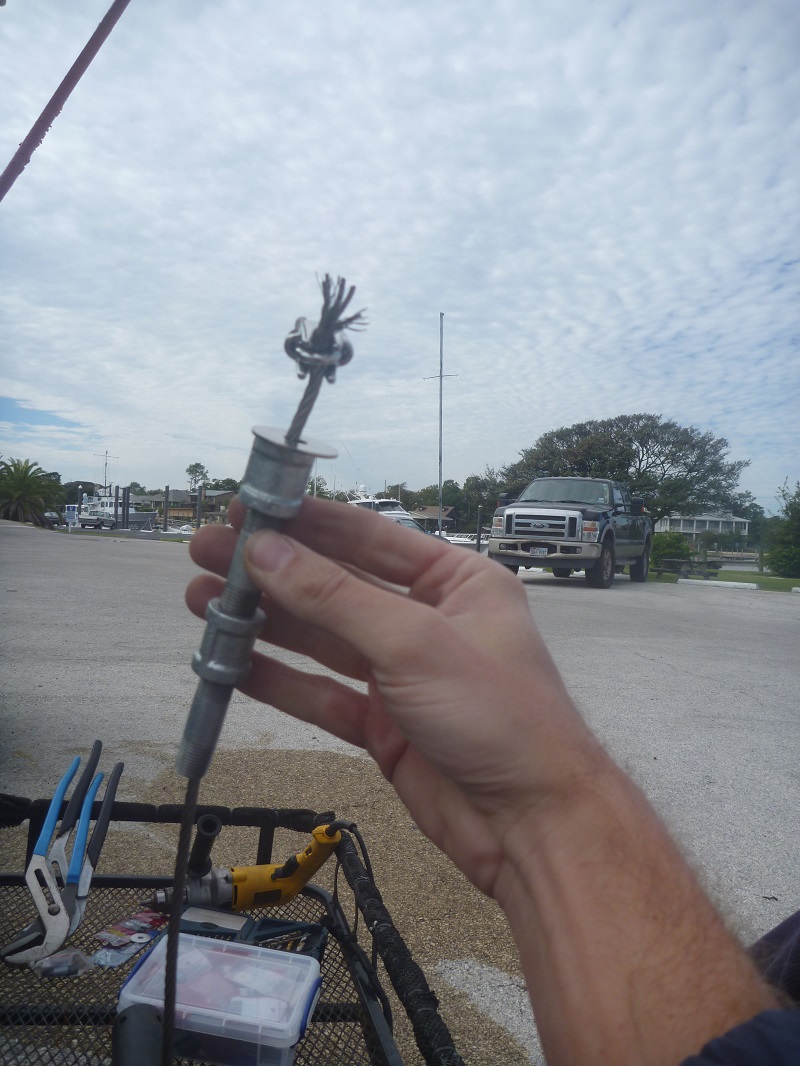
Success, the seal is now removed!
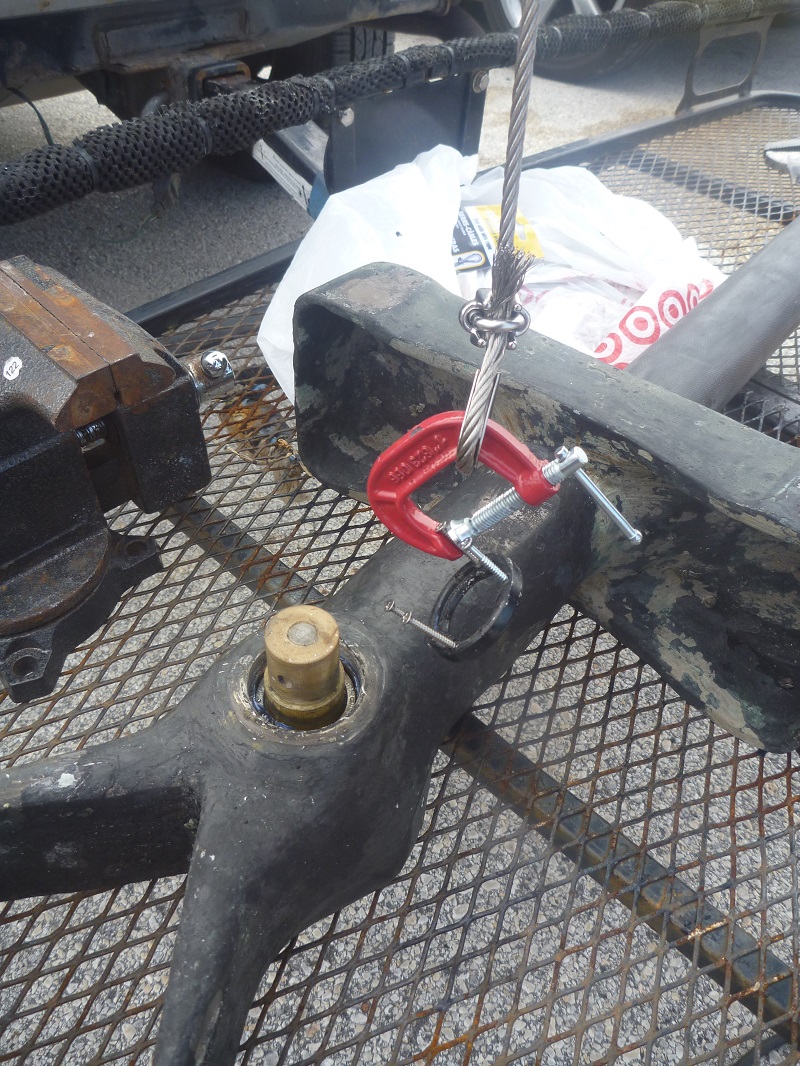
We now locate at the bolt
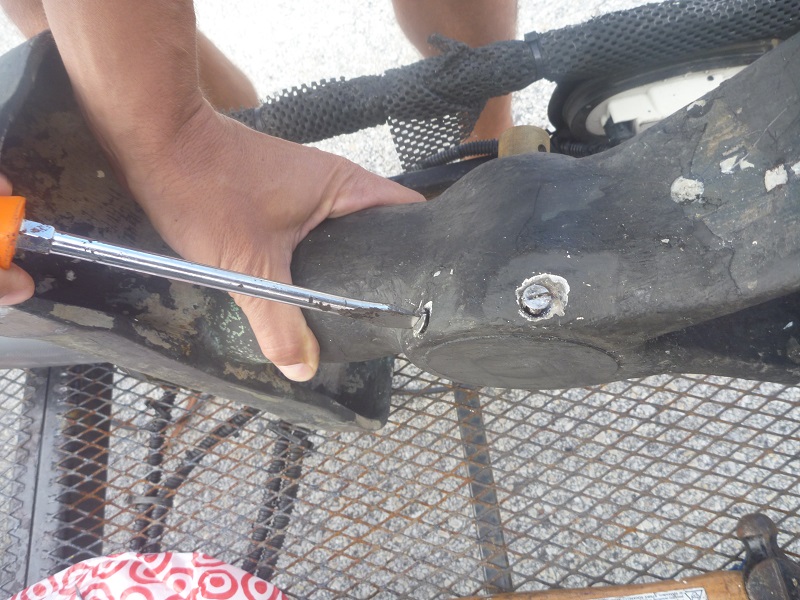
Then unscrew them
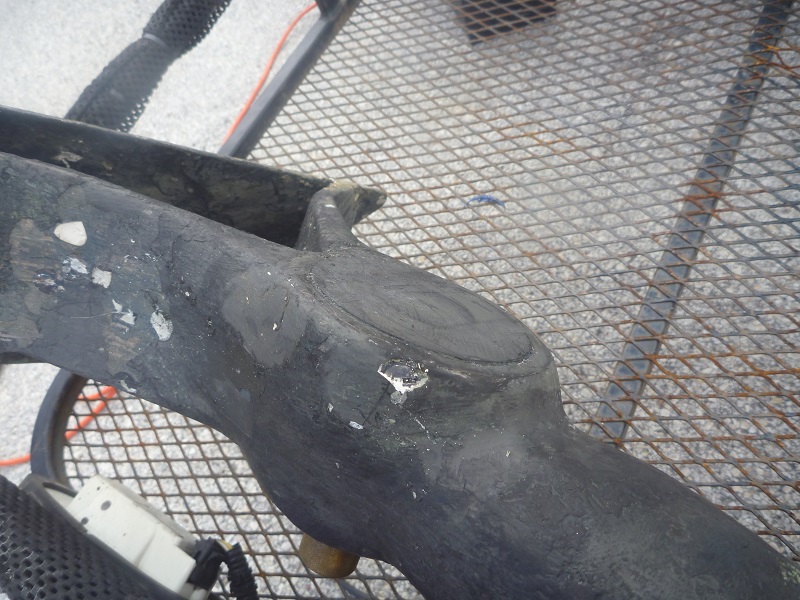
Clean the top part
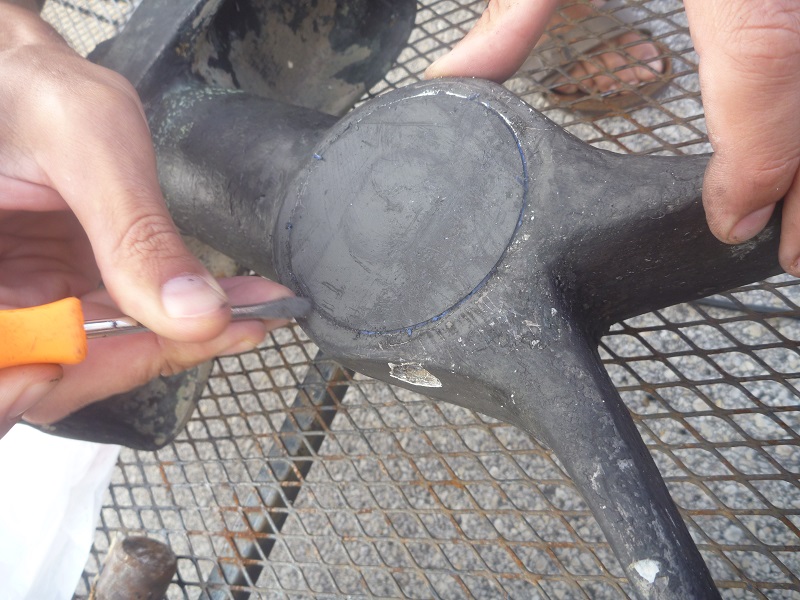
Gently tap on the hub
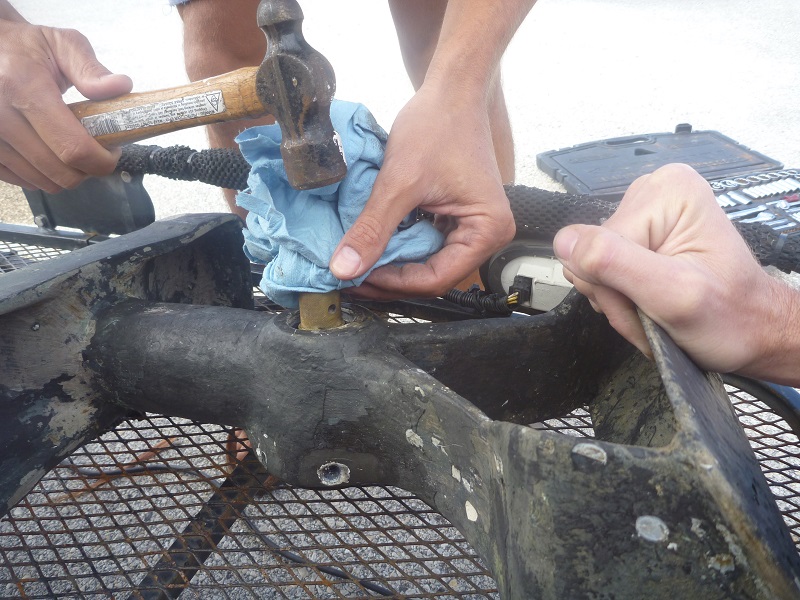
Which start to go out
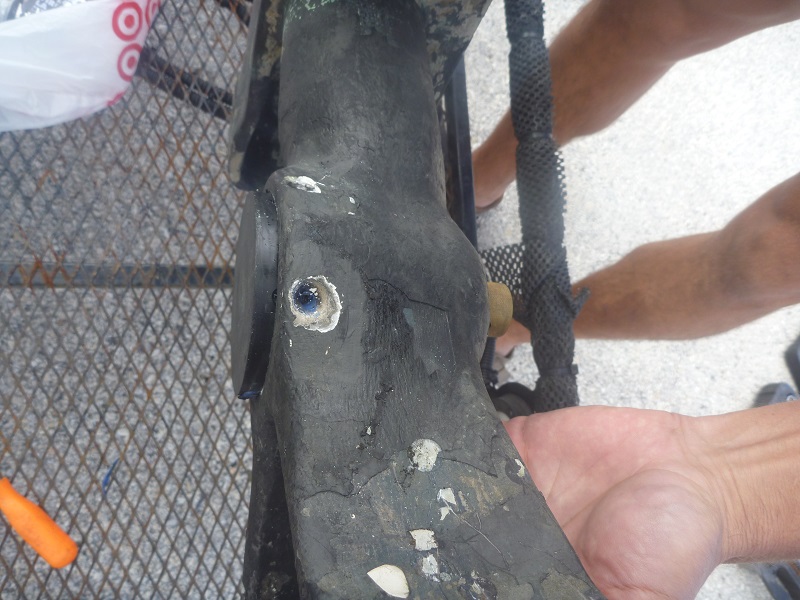
And is gone
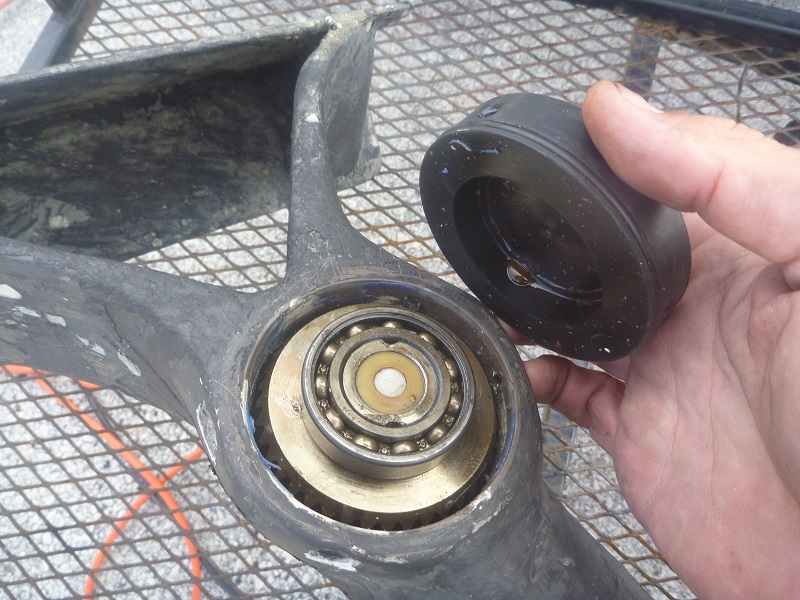
Pulling up the assembly
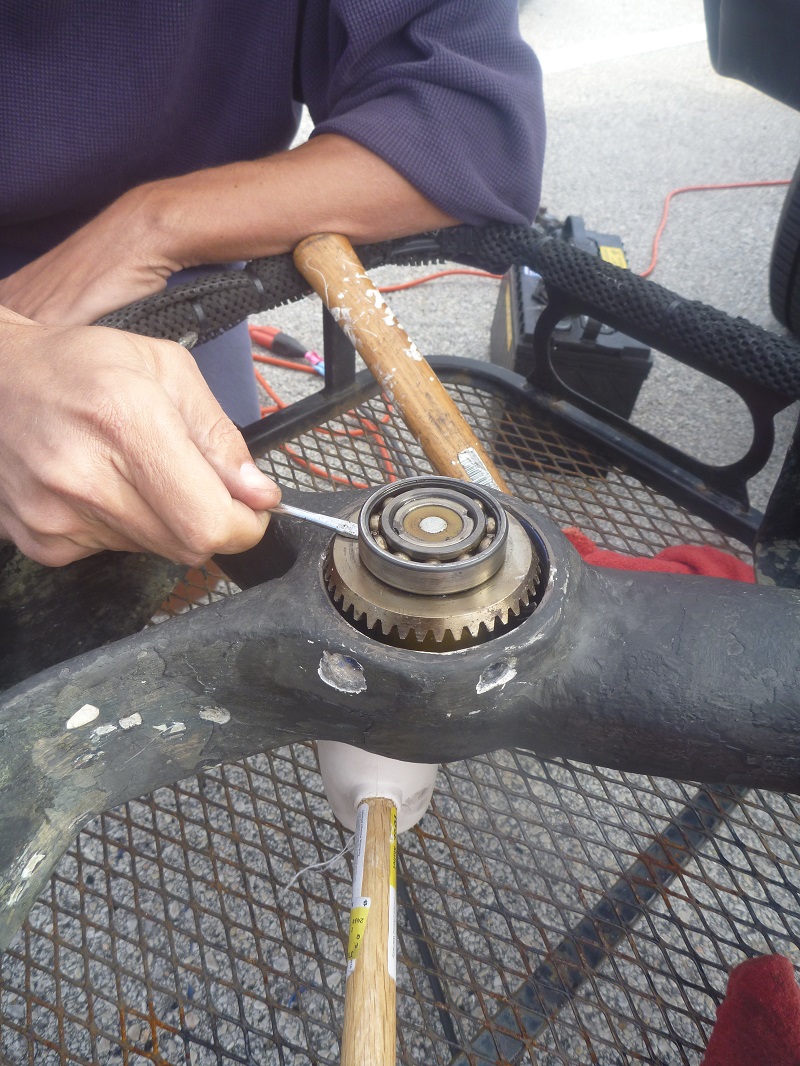
Here it is
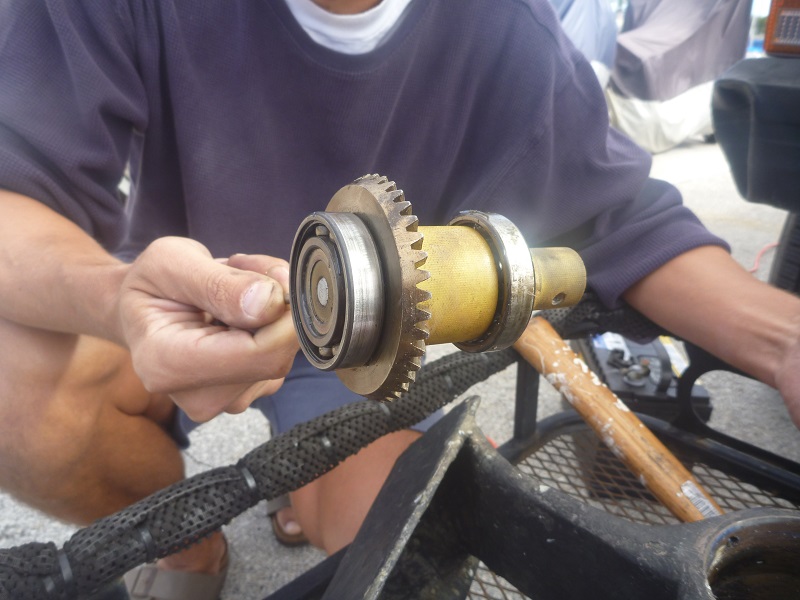
Removing the old bearing
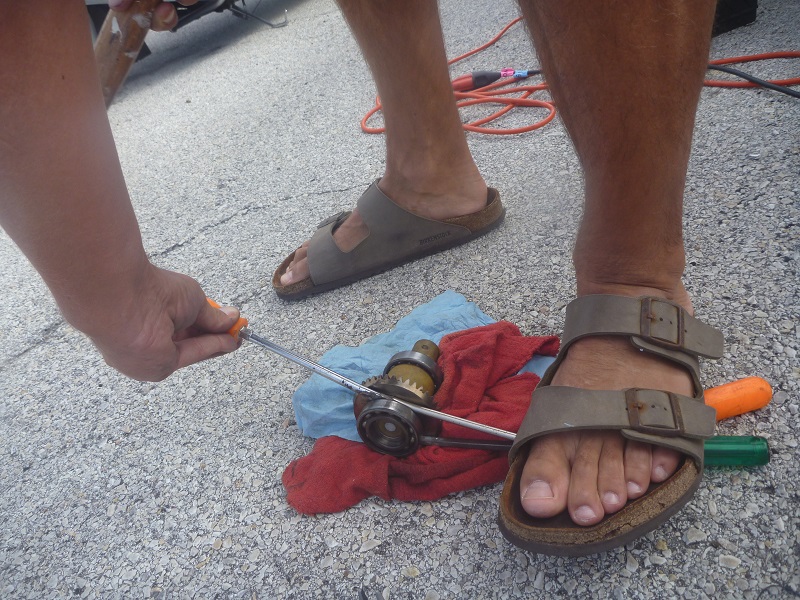
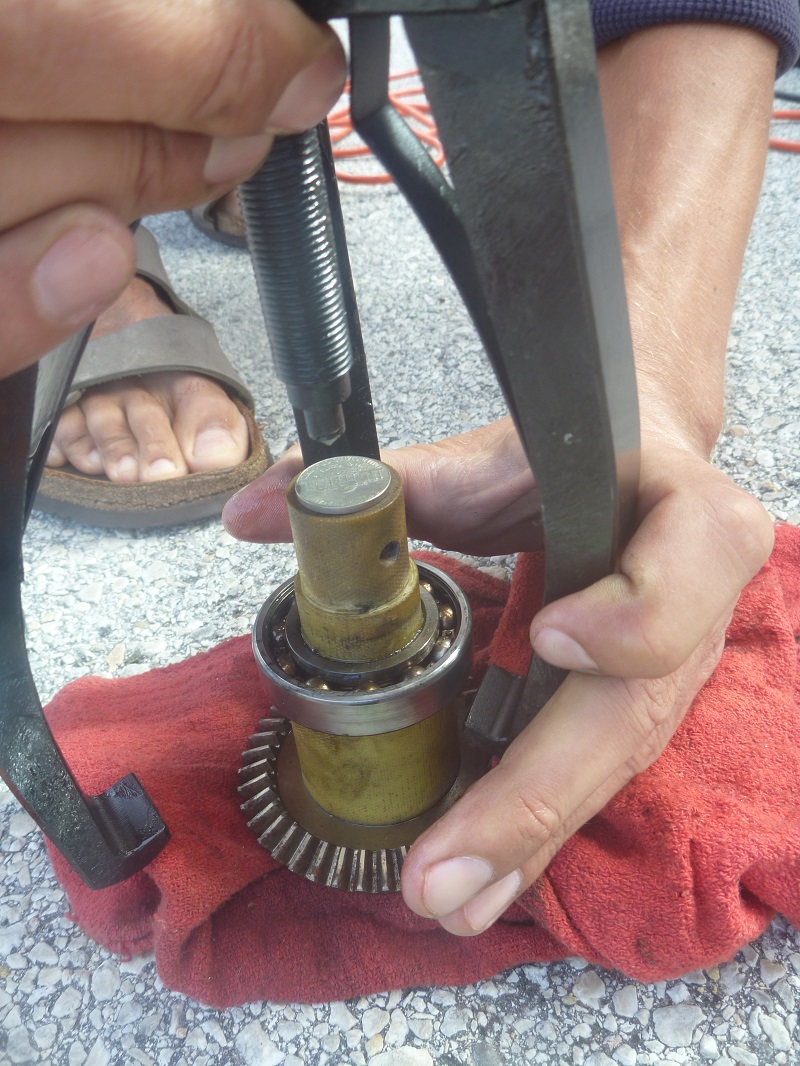
Used a bearing puller to remove the other bearing.
note the coin on top, we end up putting 4 or 5 to protect as the plastic is very tender.
Hold tight the end of shaft of the bow thruster so it would not rotate
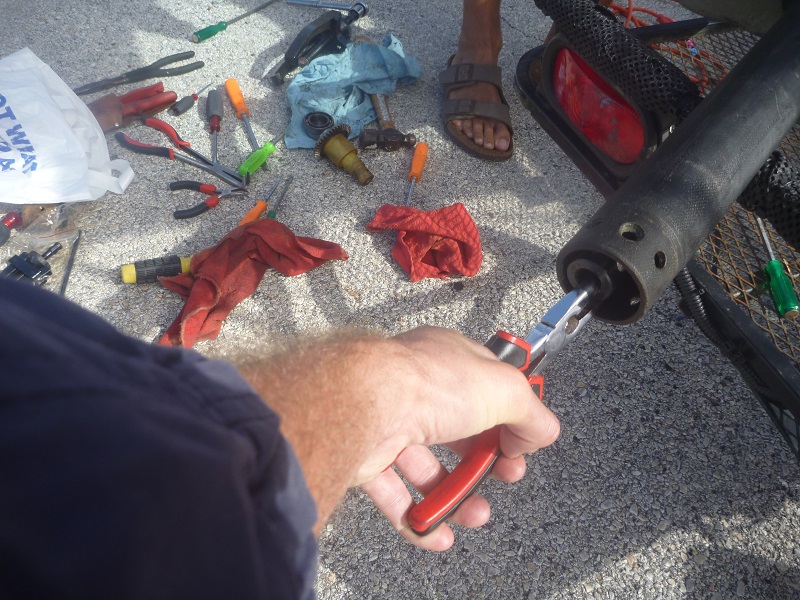
Unscrew the other end of the shaft
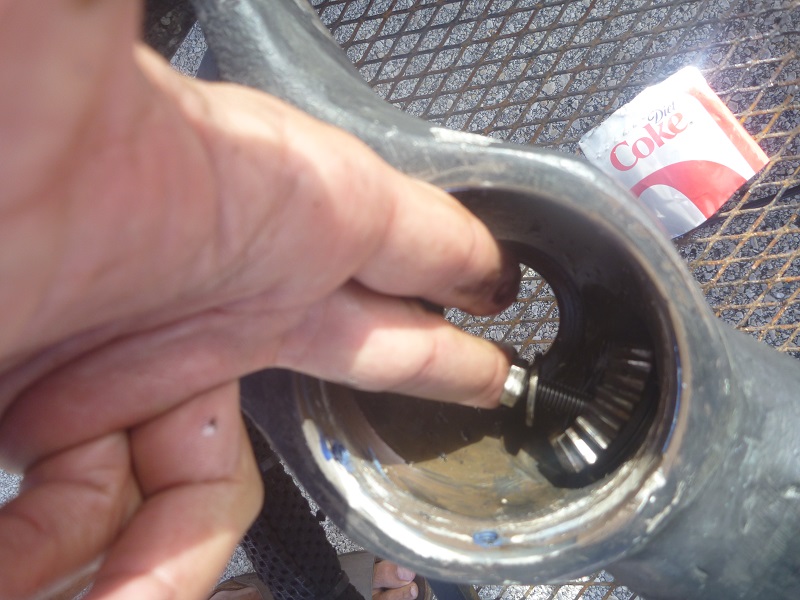
Remove the shaft
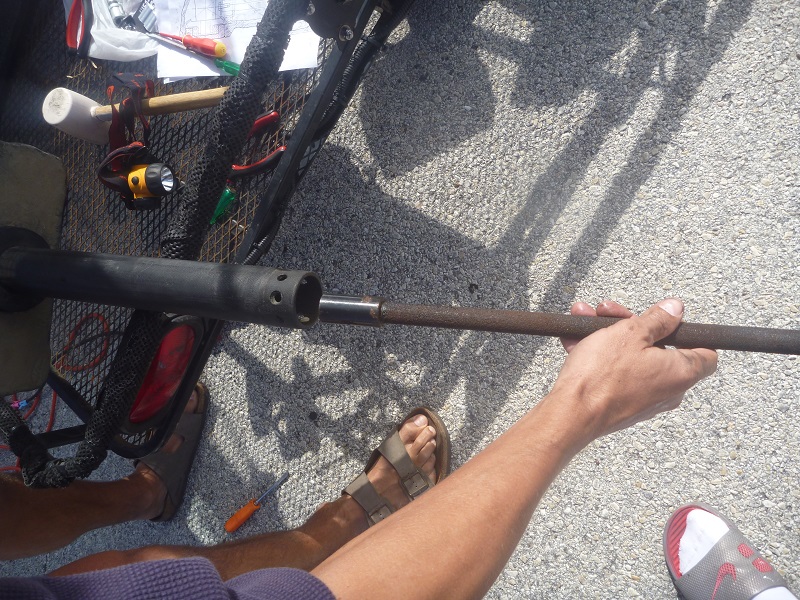
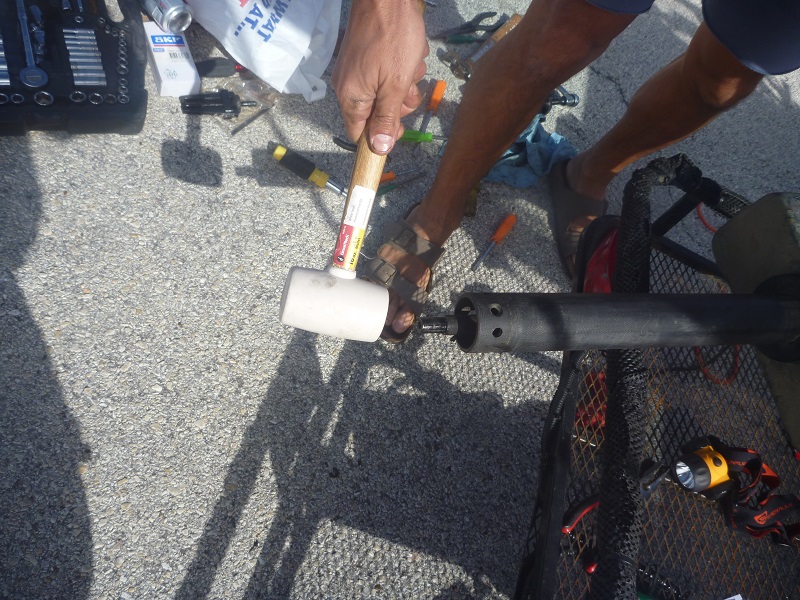
Put new besring
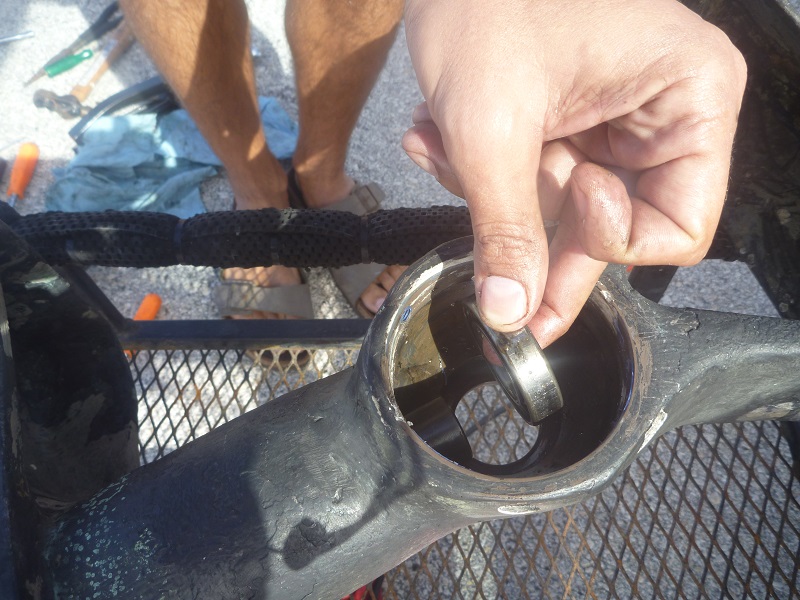
Gently tap in place with rubber hammer
To add new bearing to the assembly we used a PVC pipe on one side to hold.
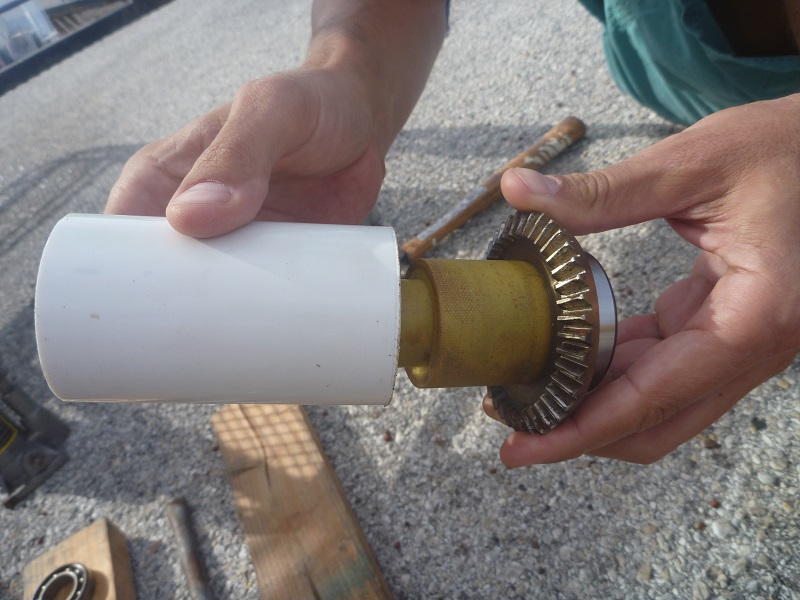
And the old bearing on the other and gently tap
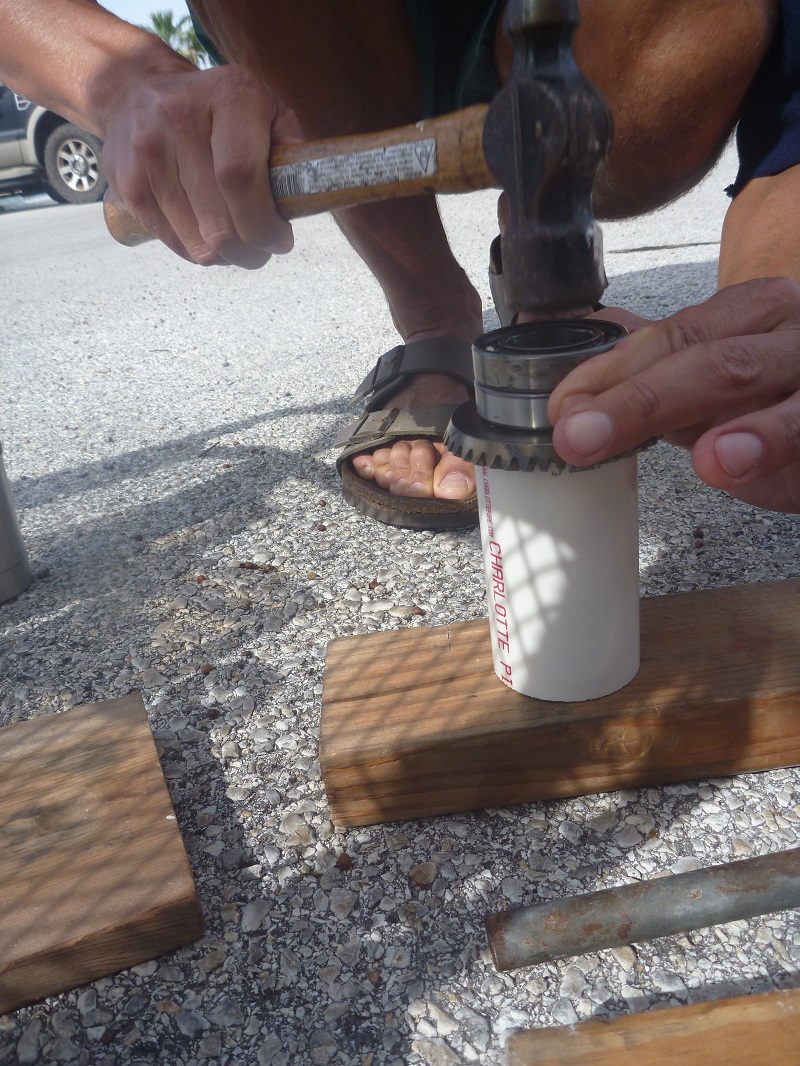
For the other bearing, we used another smaller PVC pipe
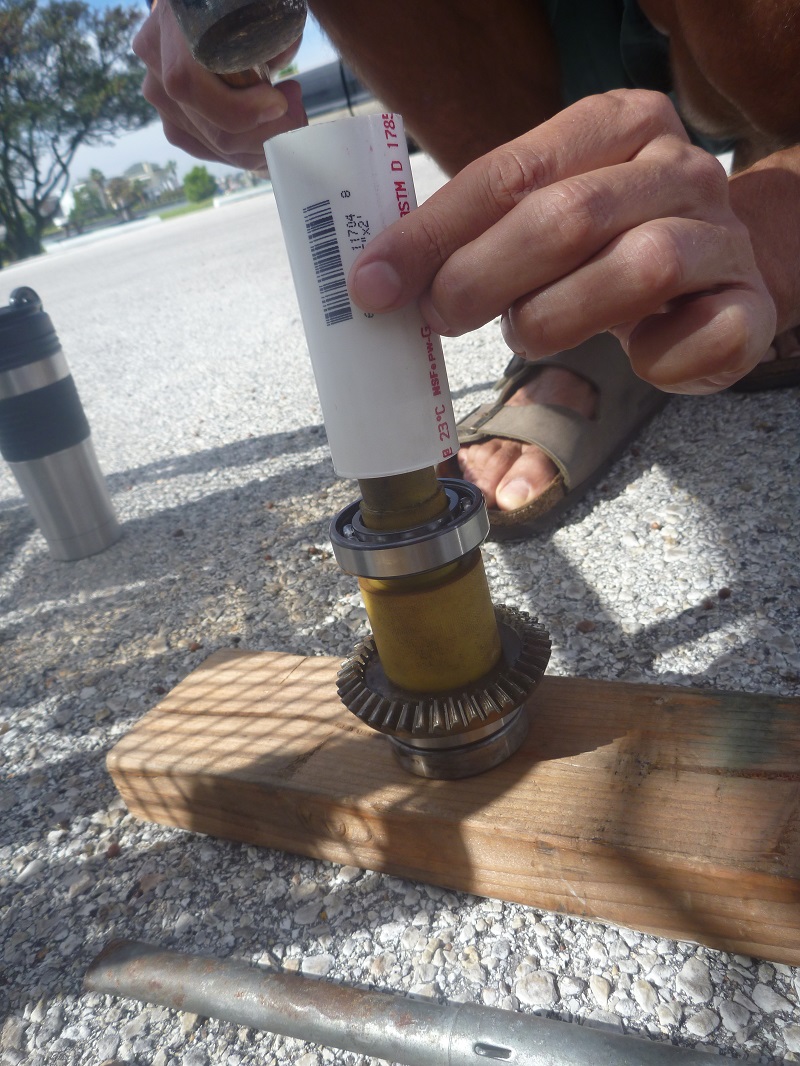
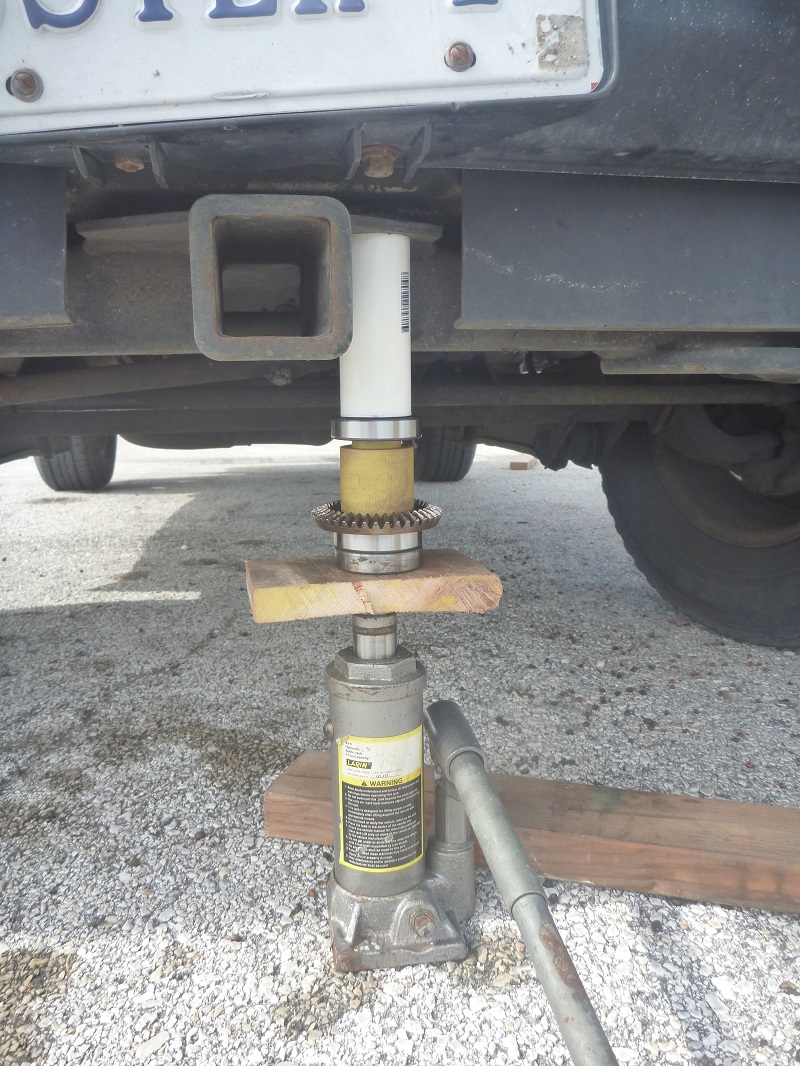
Since I did not had a press, I used my old car and a hydraulic lift (it required a lot of force to put the bearing in)
Then start to rebuild the unit
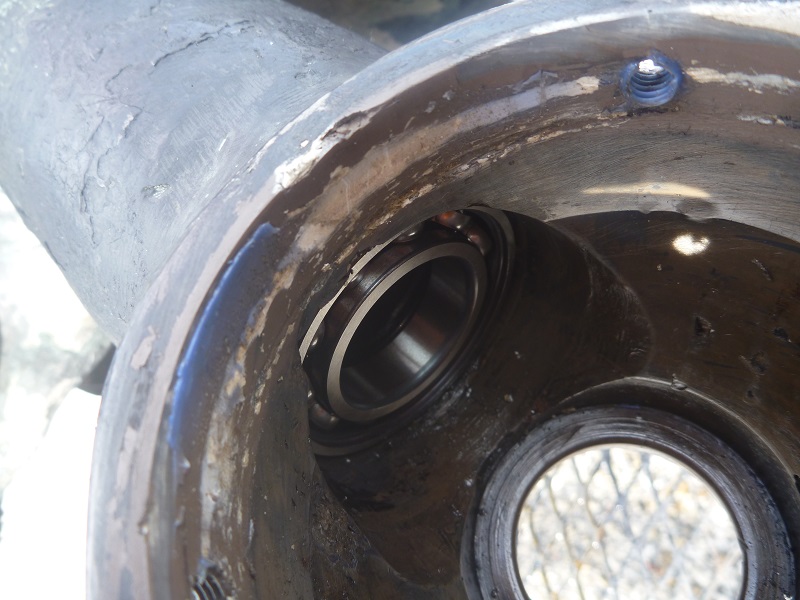
Close up of the bearing inside the bow thruster
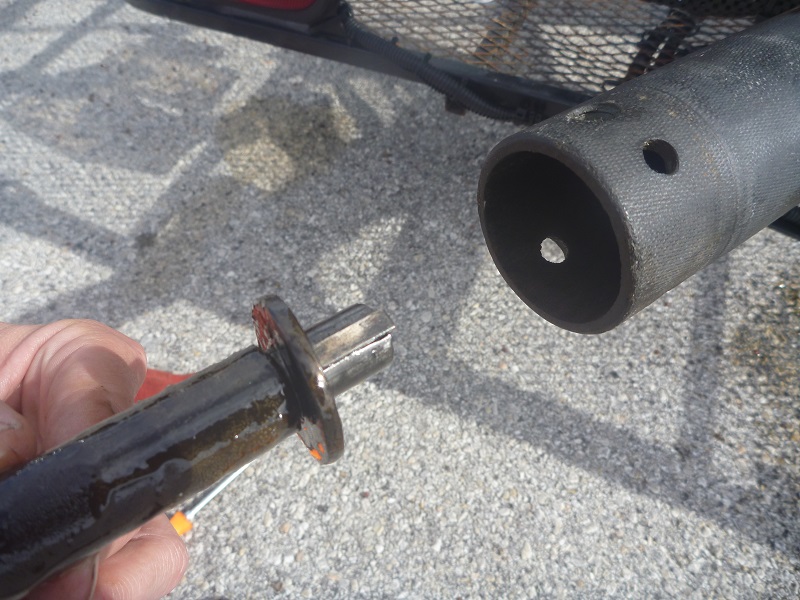
Entering the shaft
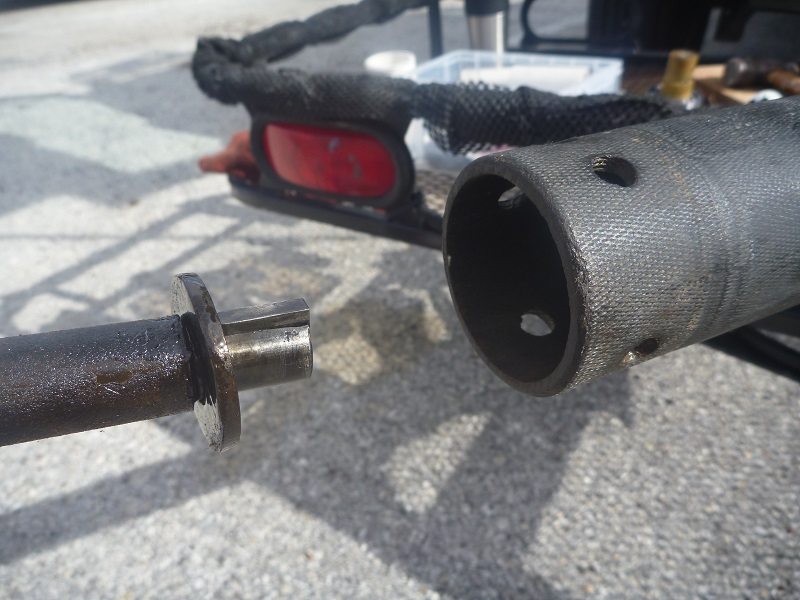
Close up how it passes through the bearing
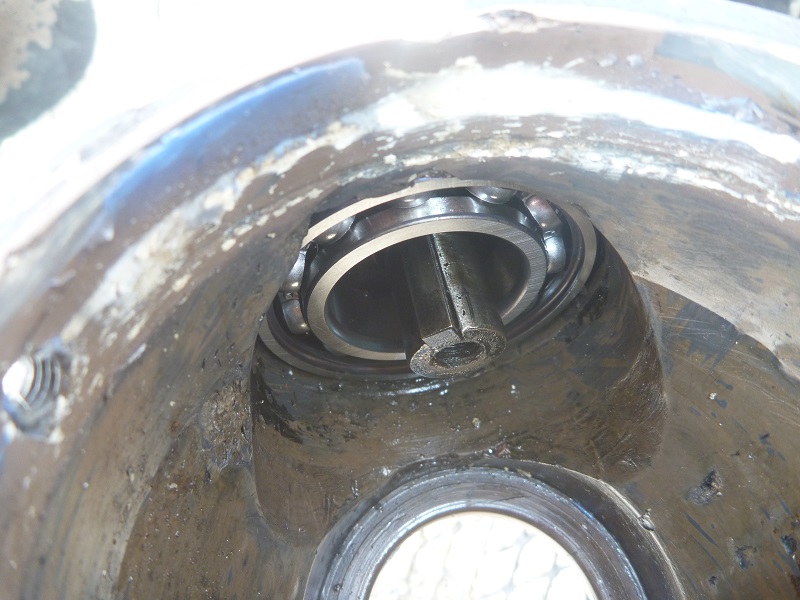
Then reattach the gear
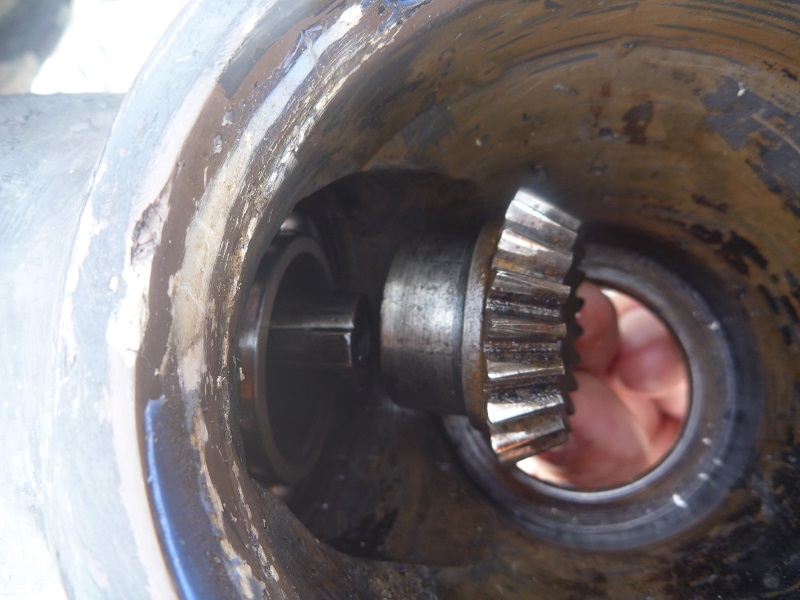
With bolt
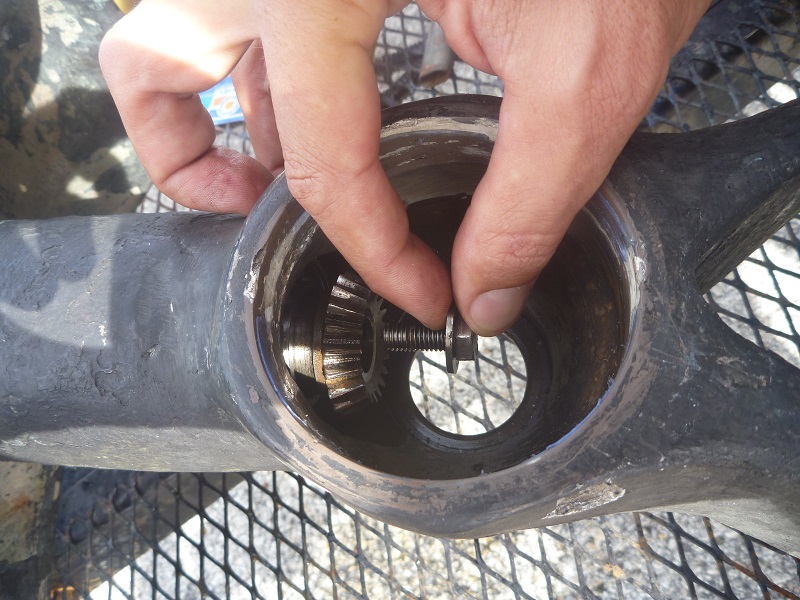
Then tight
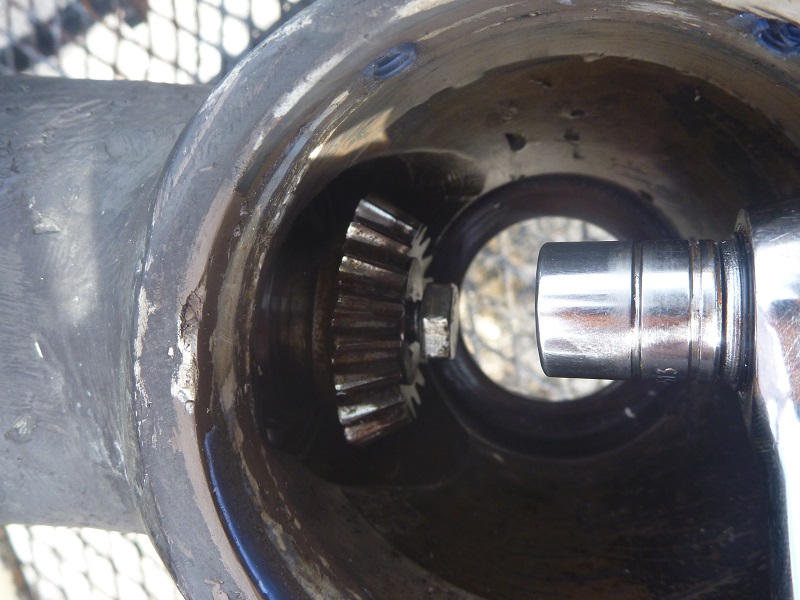
Again by holding the other side of the shaft tight.
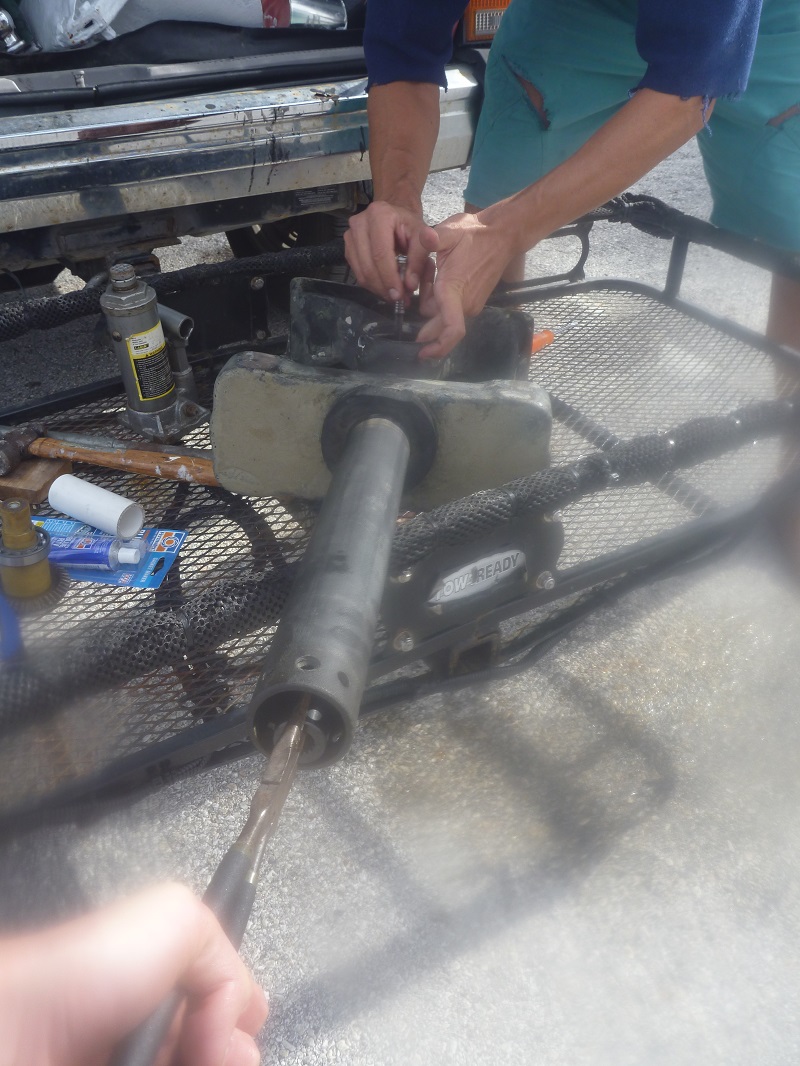
Then the bolts
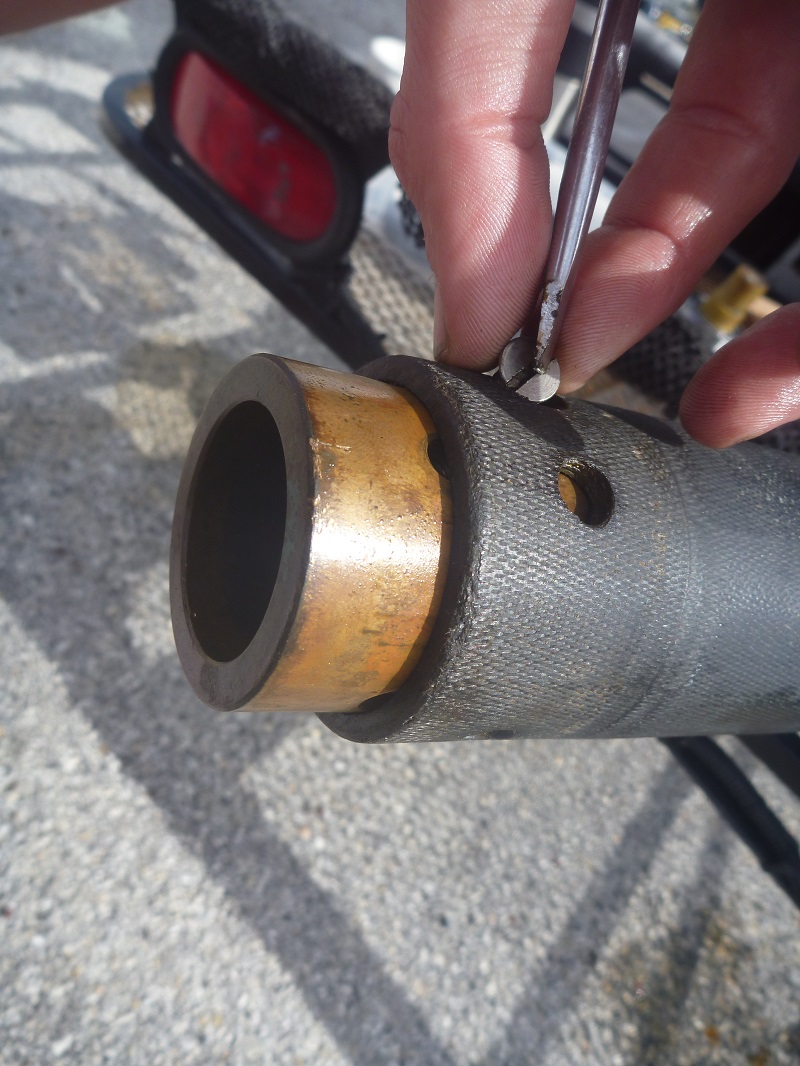
Then put back the assembly
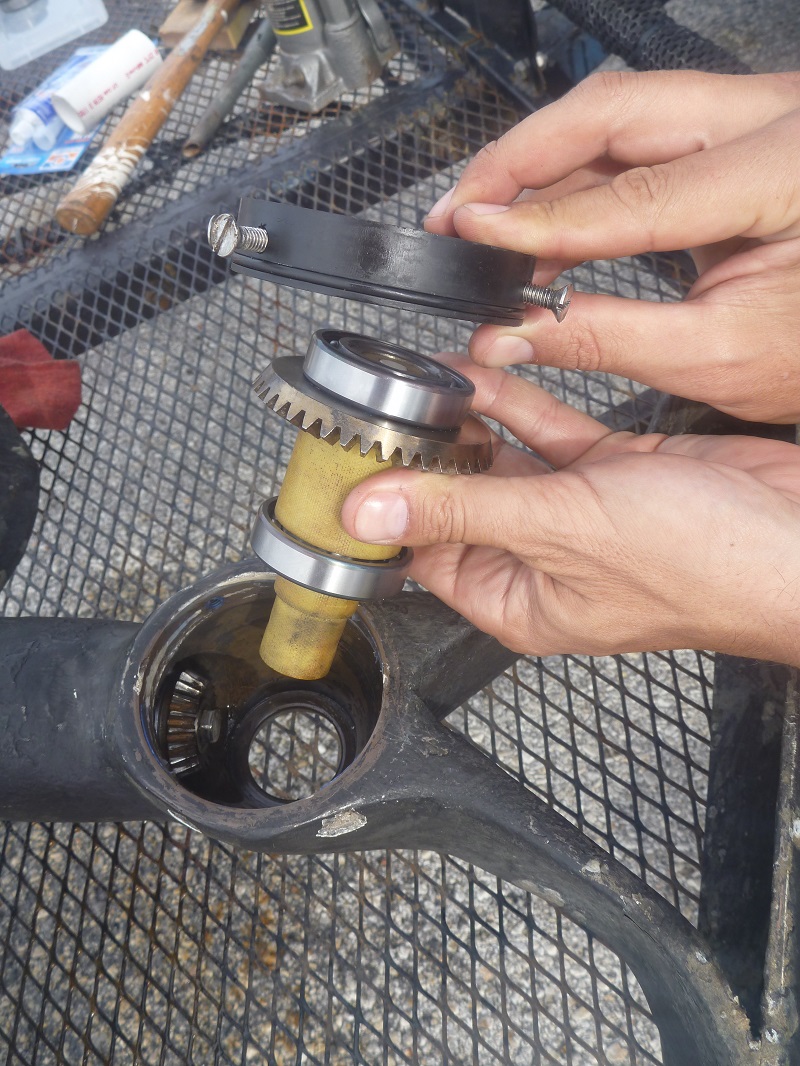
Here in place
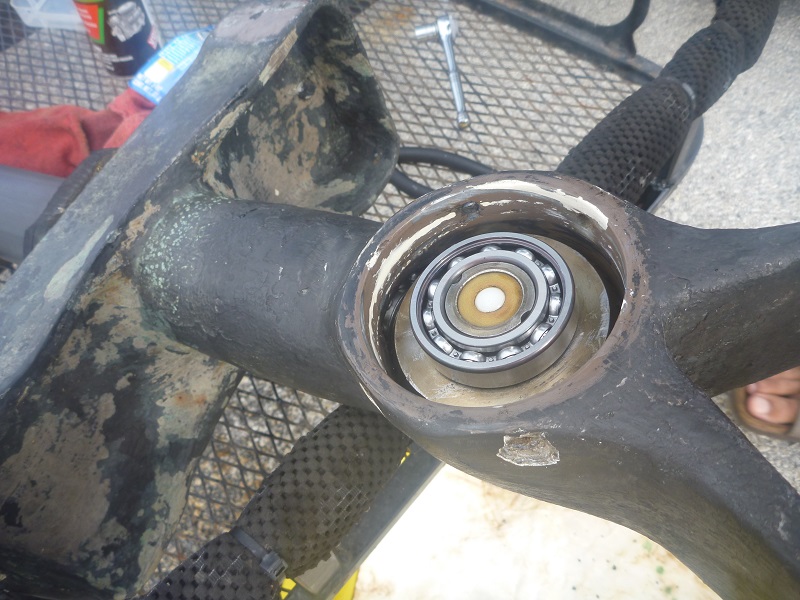
Added some sealant
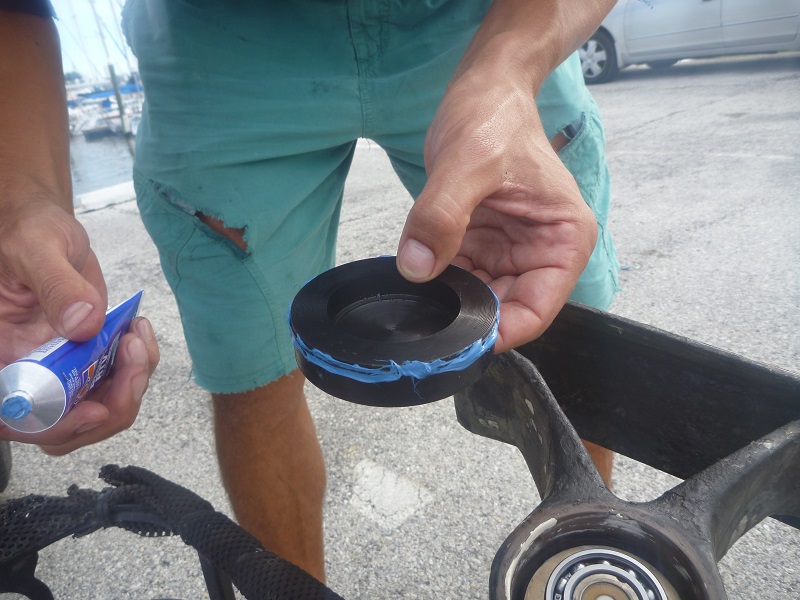
Back in place
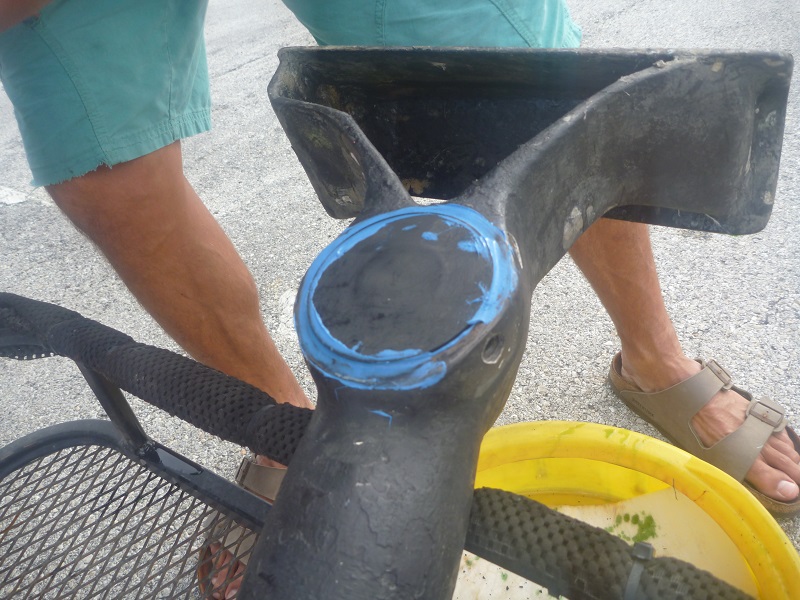
Make sure the bold align
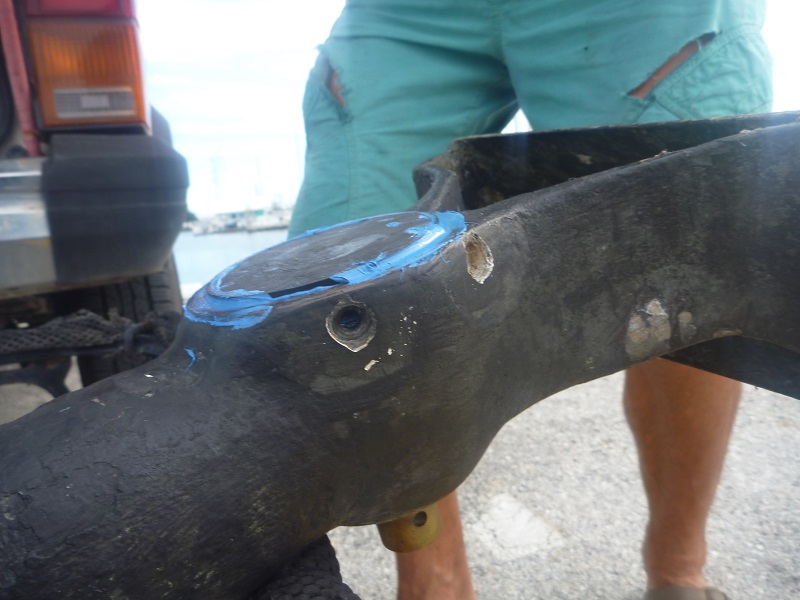
Some sealant as well
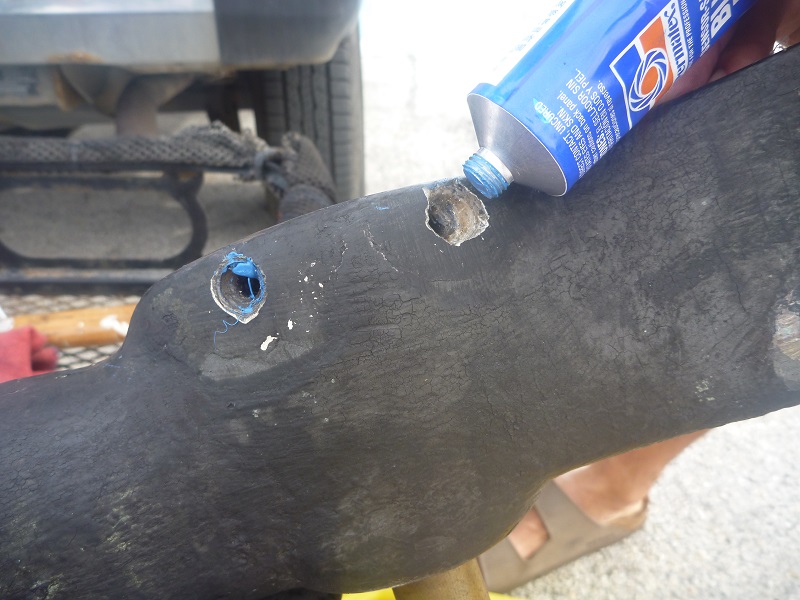
Putting enough
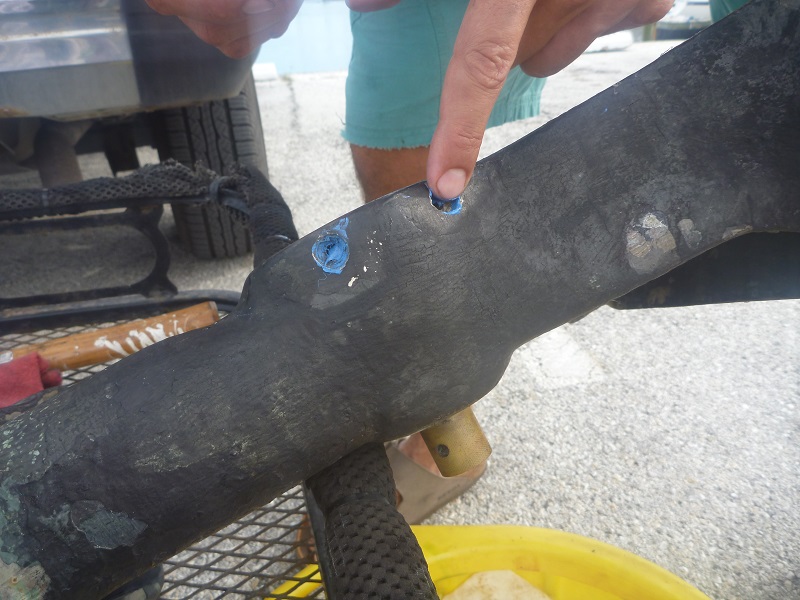
Put back the bolts
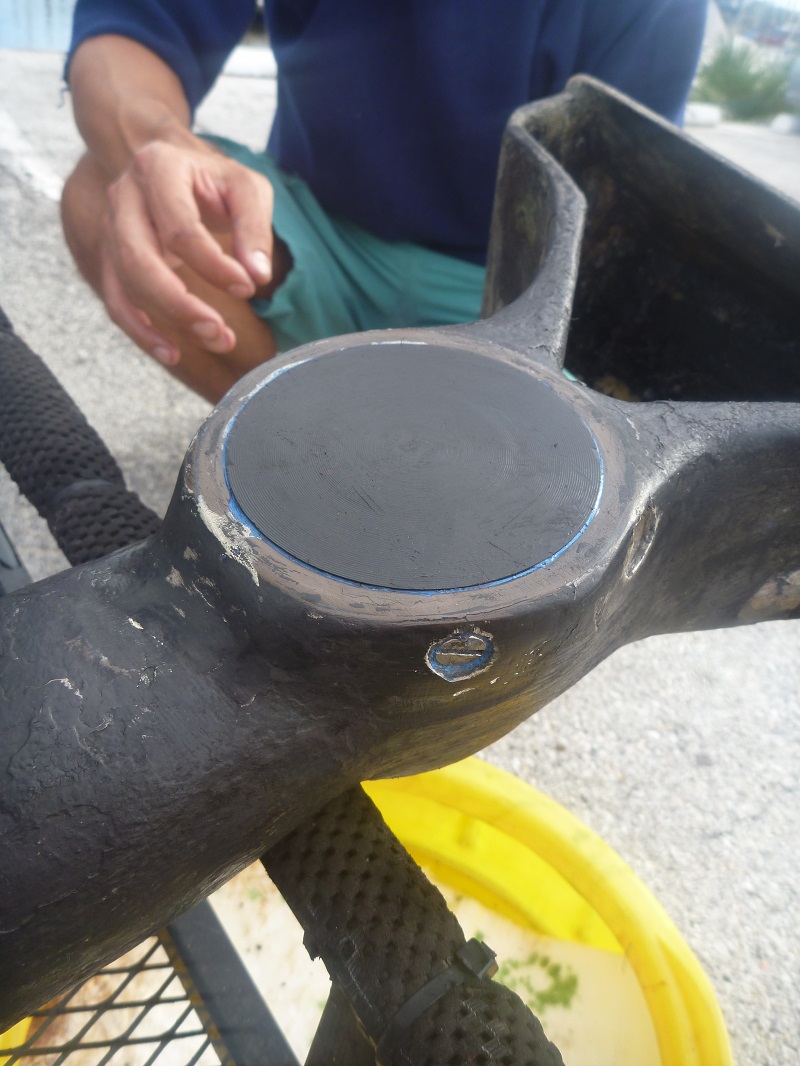
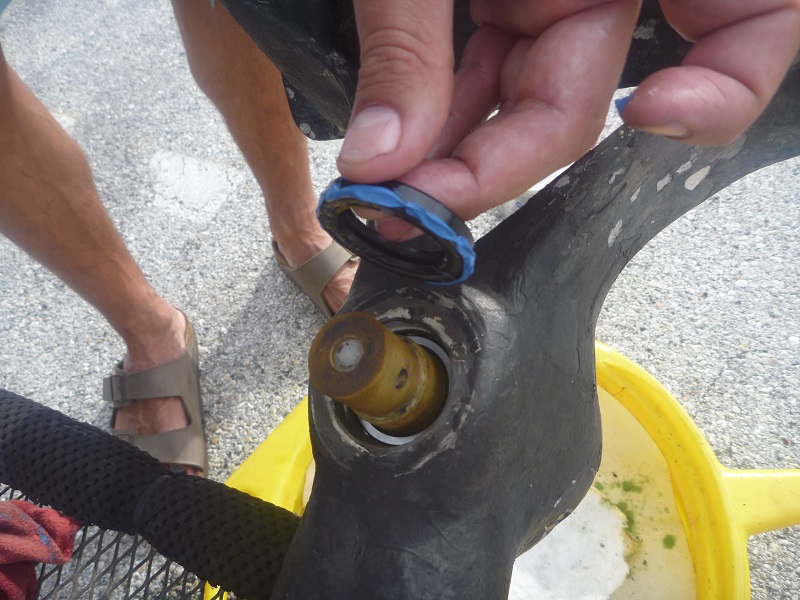
Add sealant to the seal on the other side
Use another PVC tube to gently press in place
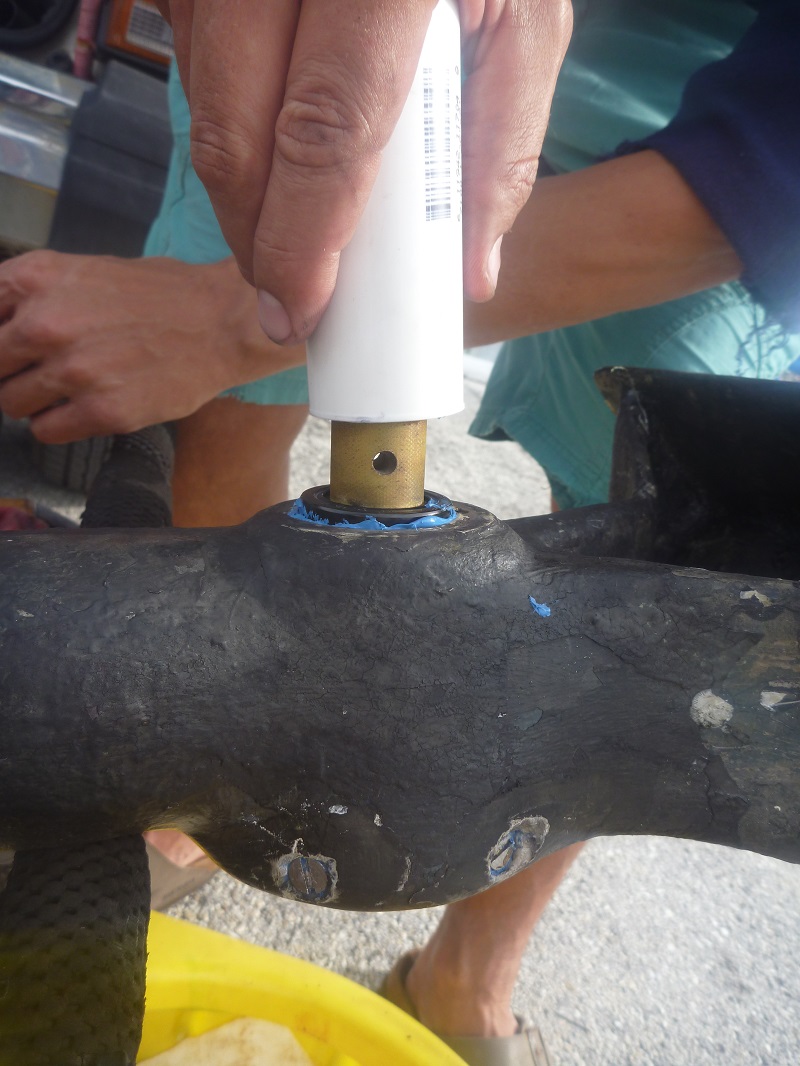
Here it is
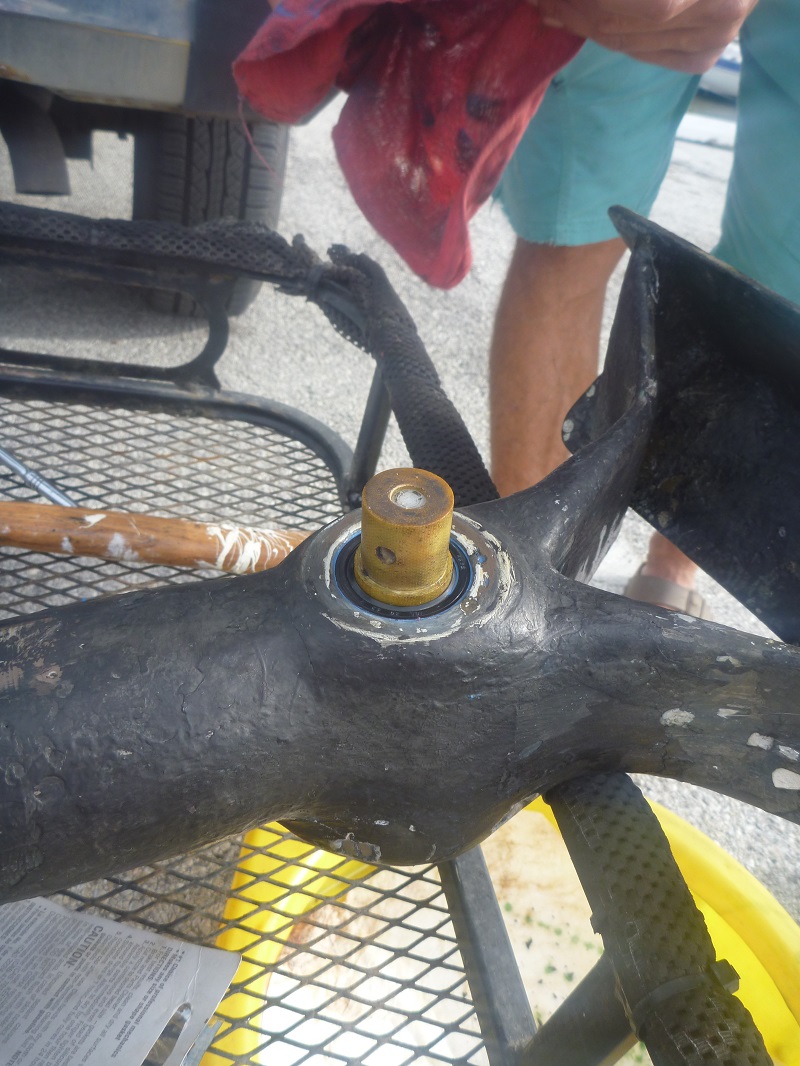
After totally rebalancing the boat, I now have 3 inches or 7 cm (instead of the 1 inch or 3 cm)
Add antofooling on the bow thruster unit
Carefull in some place
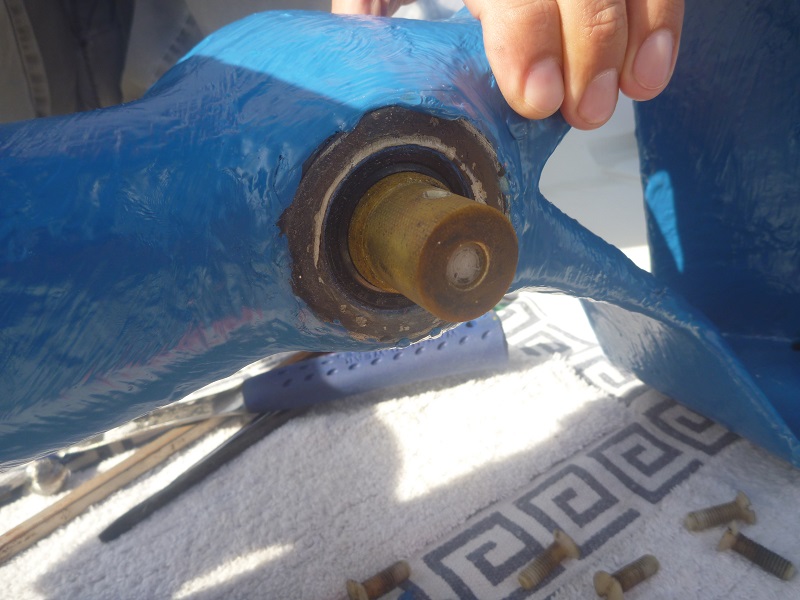
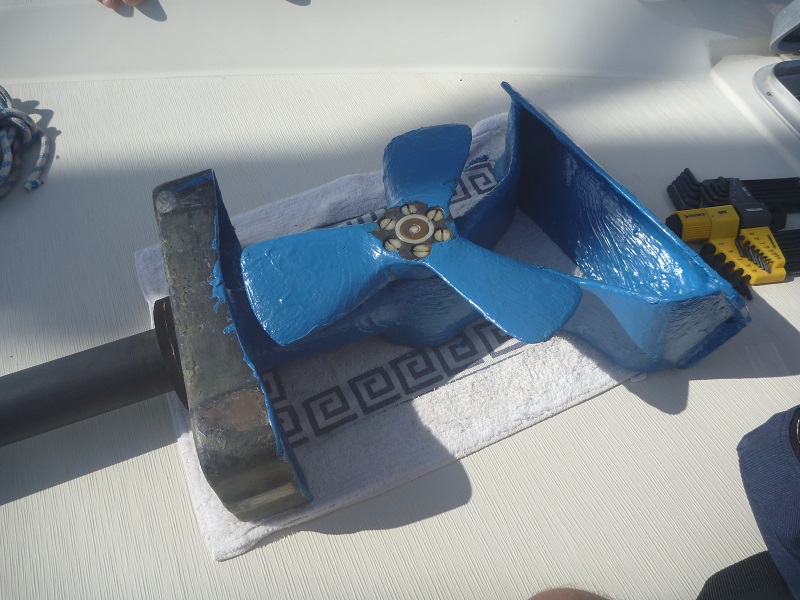
Put back hub and pin, then propeller with new plastic bolt
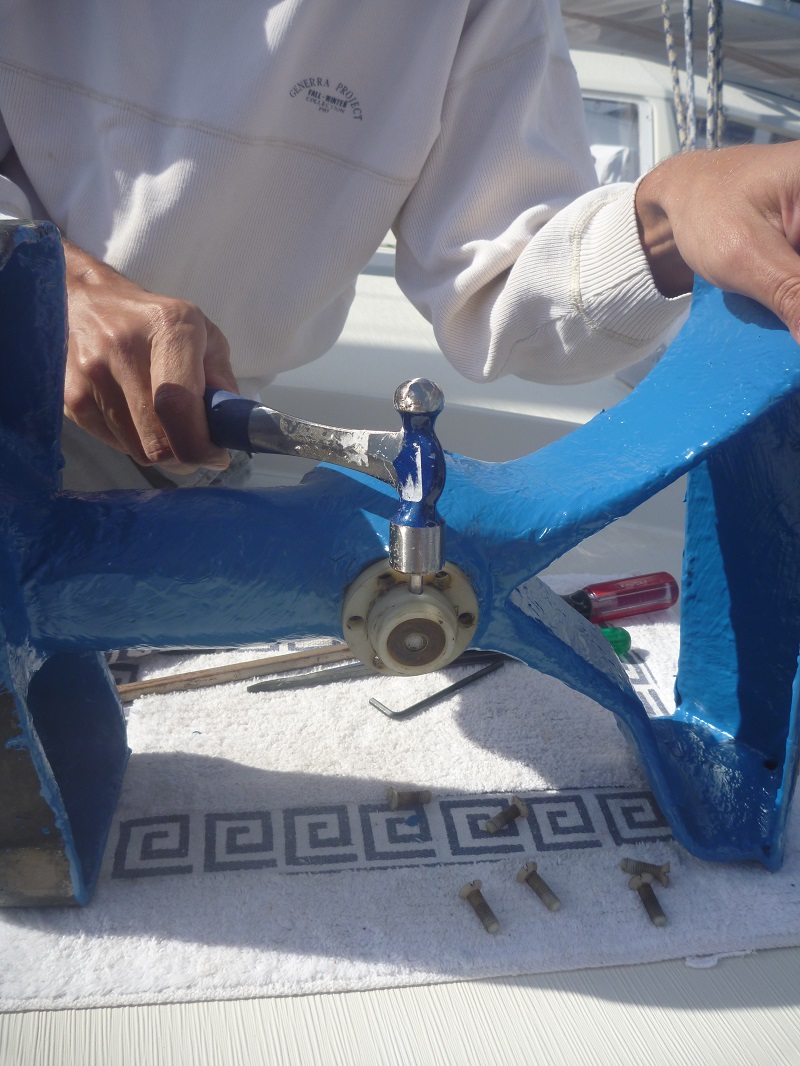
Here it is
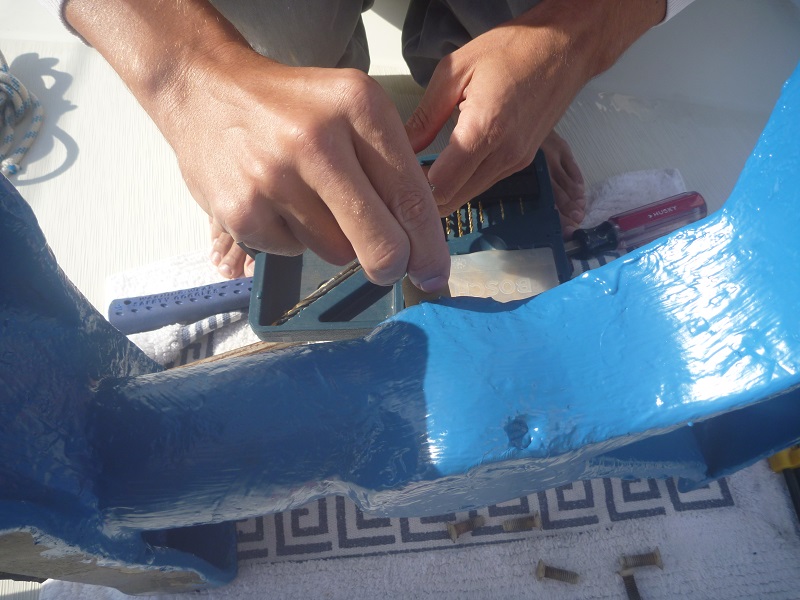
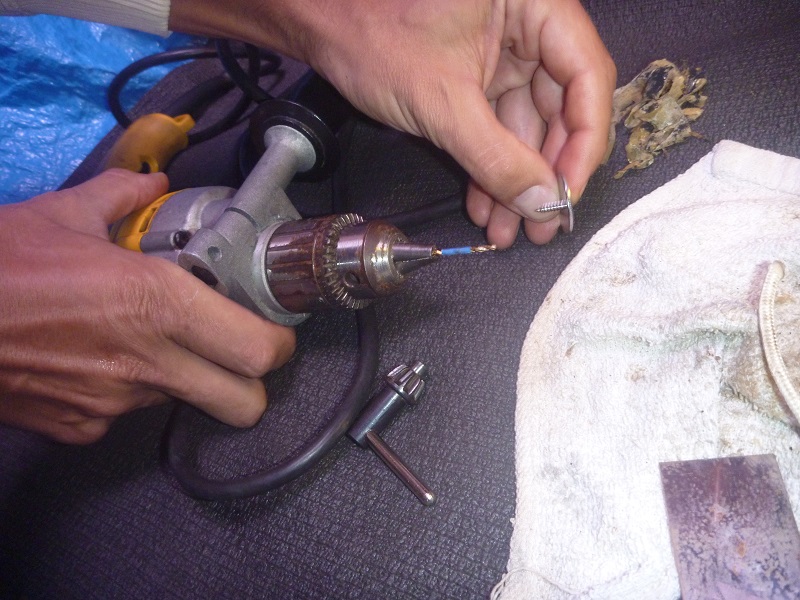
Now we are going to install little retainer screw and washer, we put blue tape to only drill a little.
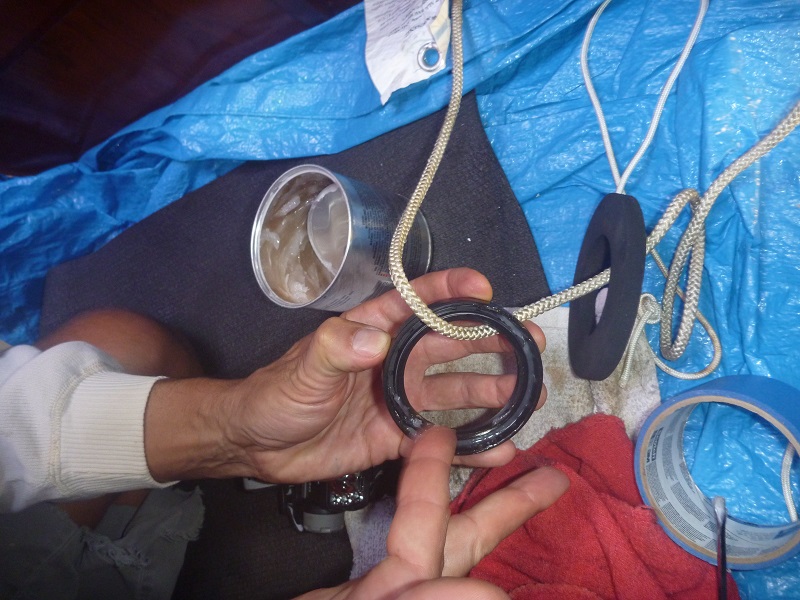
We put the seal and foam seal through the Amel tool. Put some grease on the seal.
to send back the Amel special tool in the water, since it is made of wood and float, I added a small scuba weight.
Put in place seal with sealant, the put in place the first retainer screw and bolt
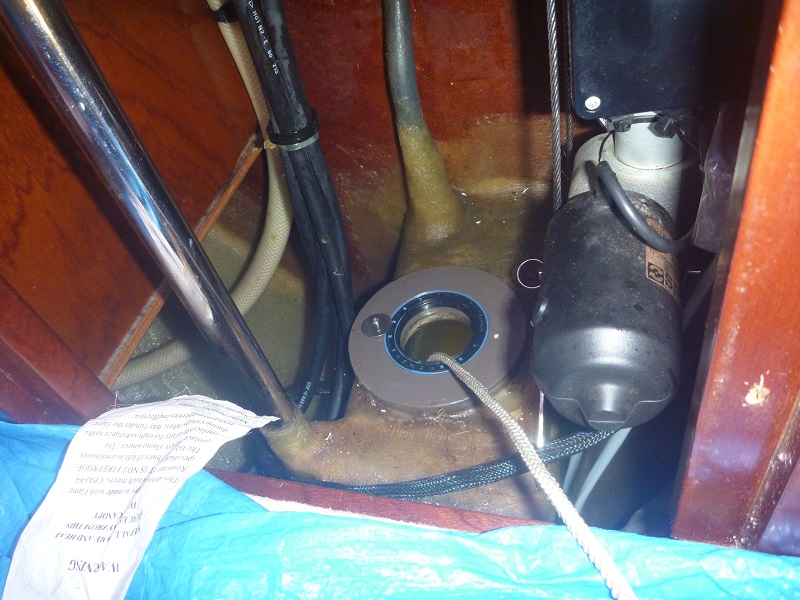
Then second one
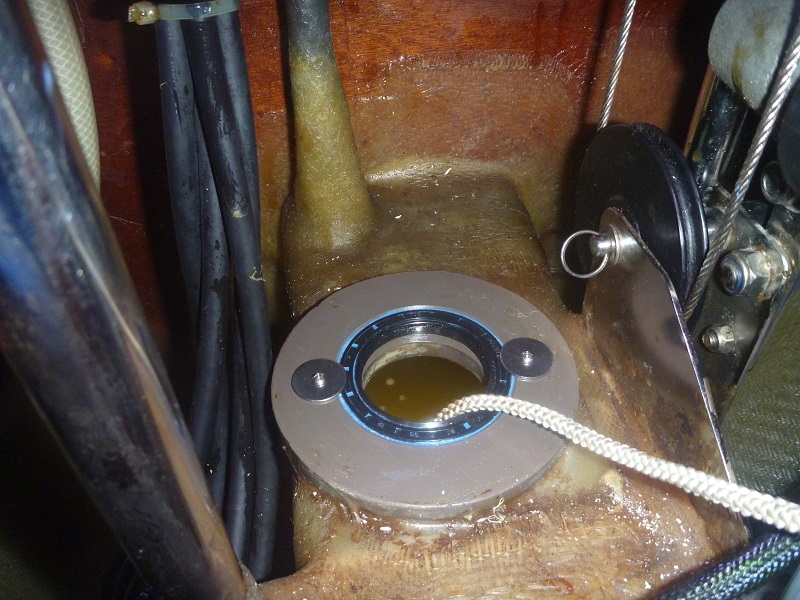
Put the contact cement on the foam seal
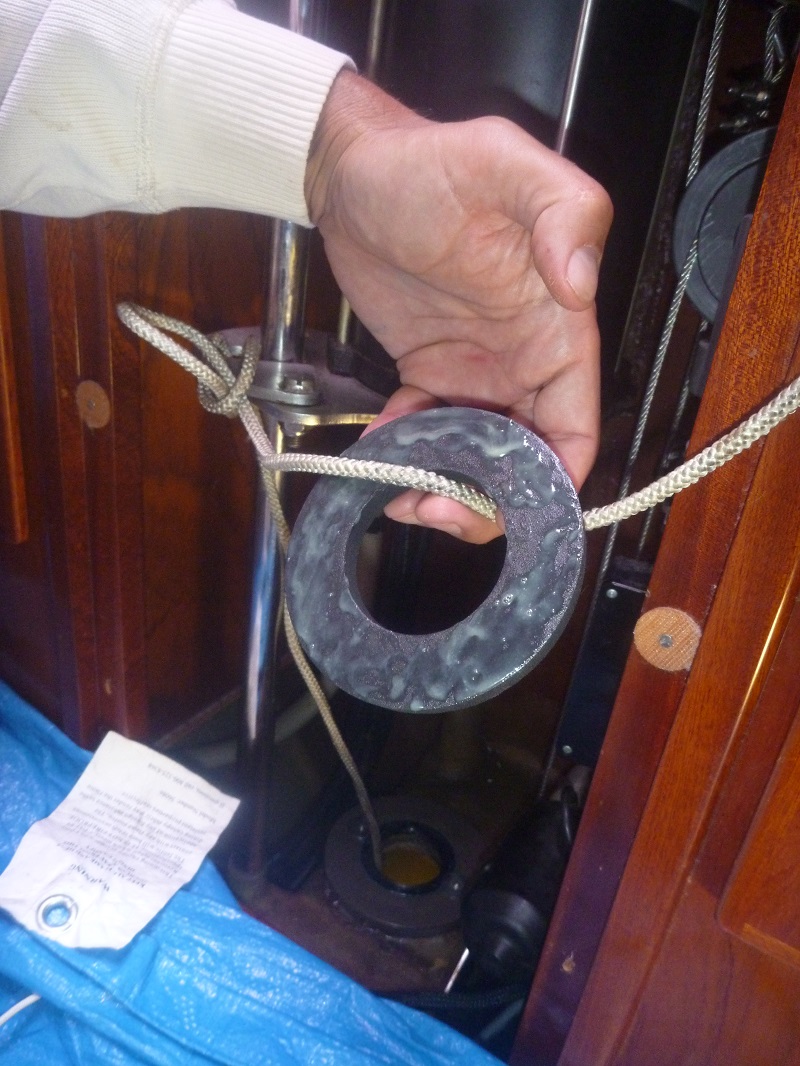
Put in place
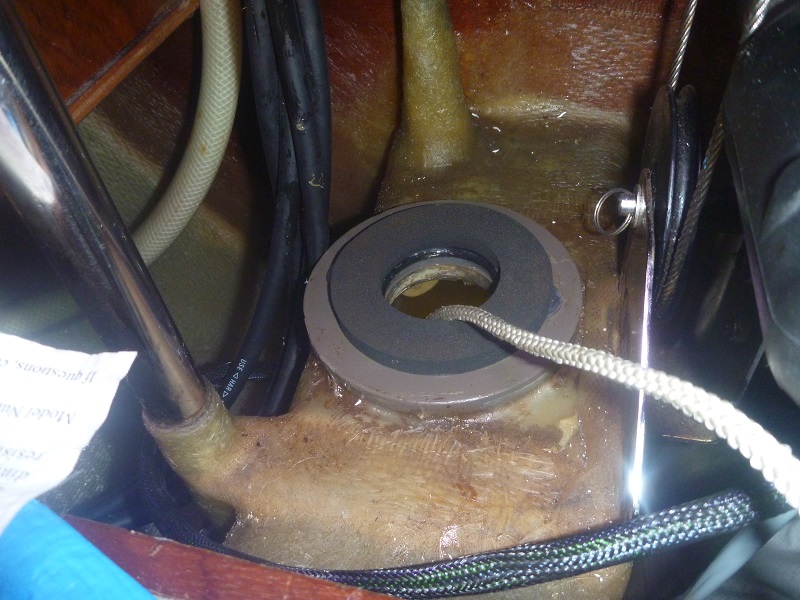
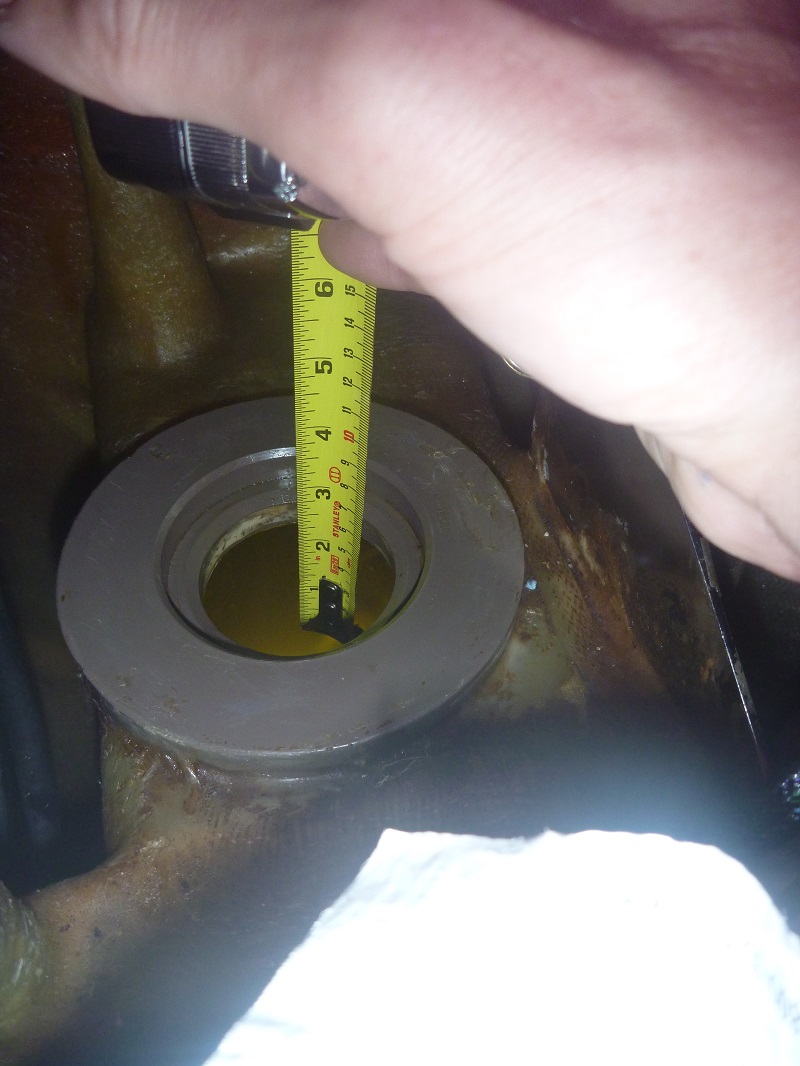
Add the 0.3 Liter of 90 weight oil
Add grease arround the shaft of the bow thruster
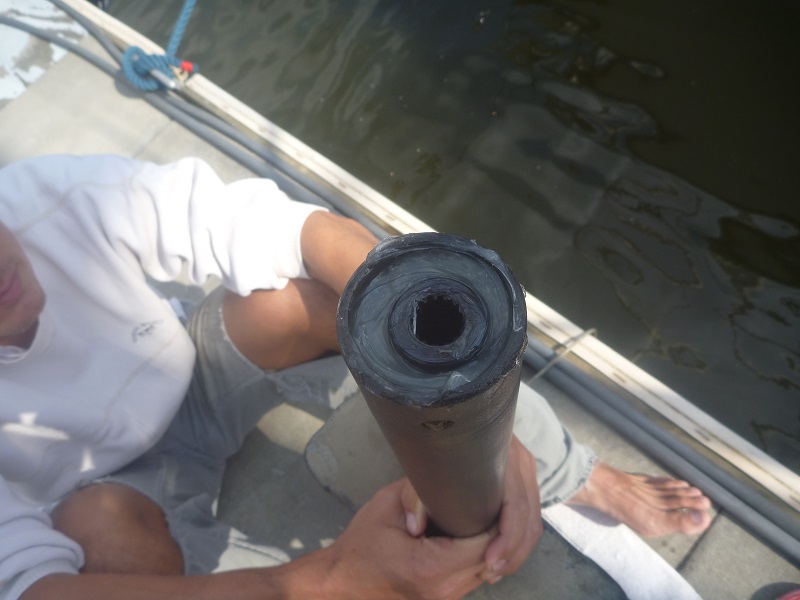
Then add the round spacer
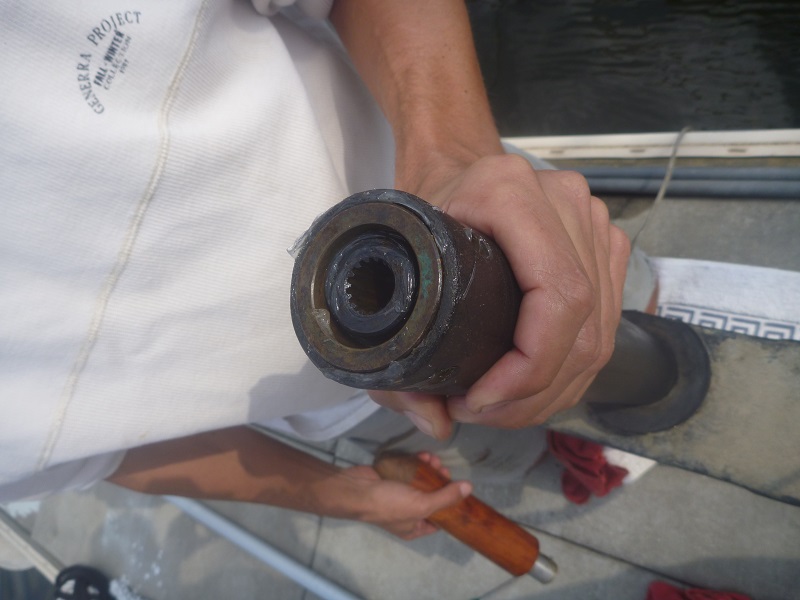
Add the Amel special tool and scotch tape to cover all openings
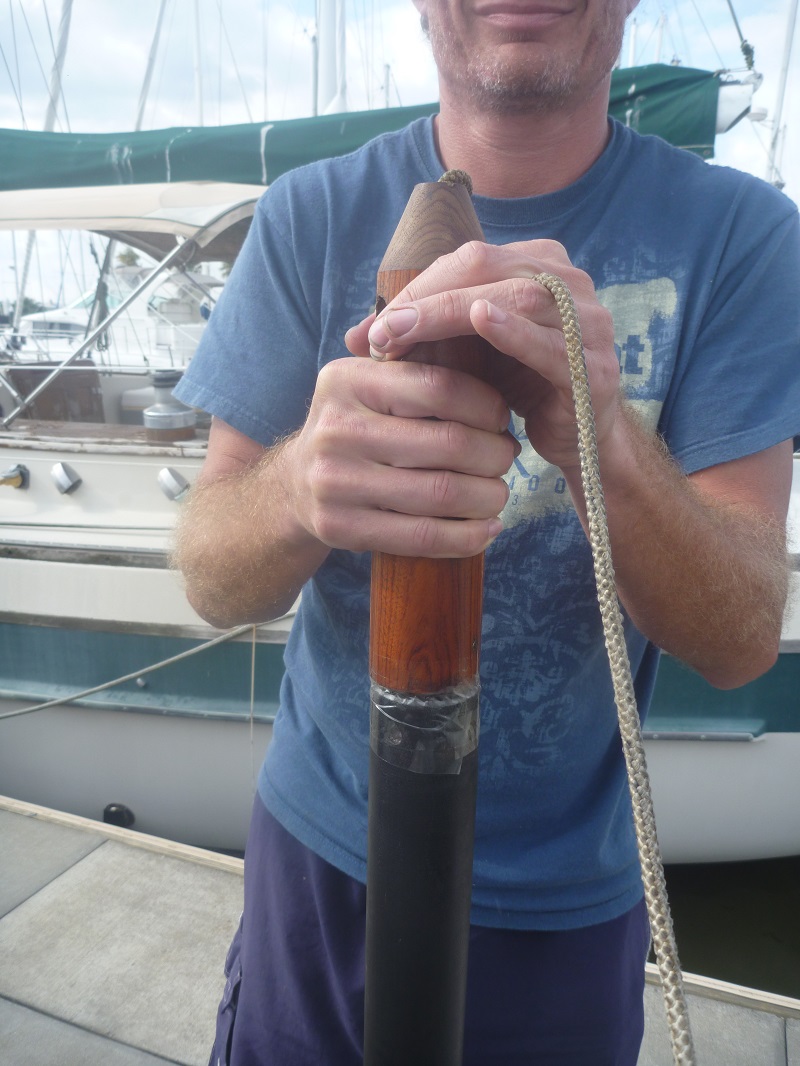
Lower the Bow Thruster unit in the water and gently pull it up
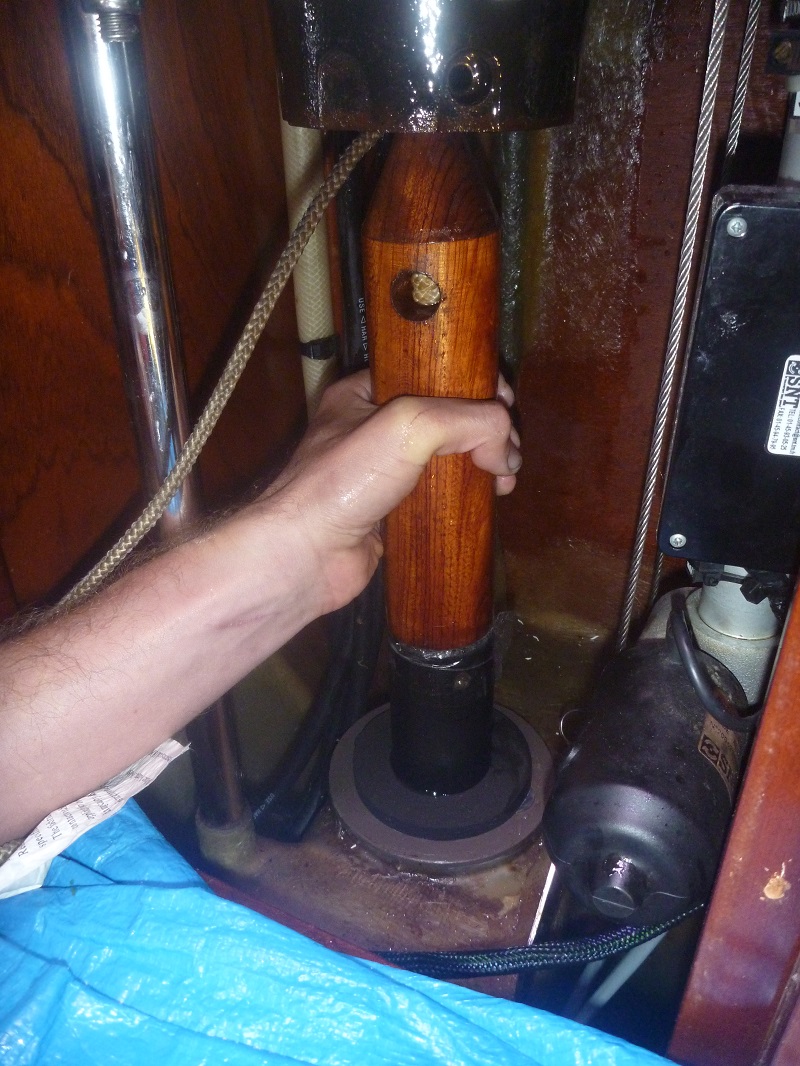
In order to bolt it back, it was easier to lower a little the electric motor.
